이 버전에는 잘못된 편집 사항이 있을 수 있습니다. 최신 확인된 스냅샷으로 전환하십시오.
필요한 것
-
이 단계는 번역되지 않았습니다. 번역을 도와주십시오
-
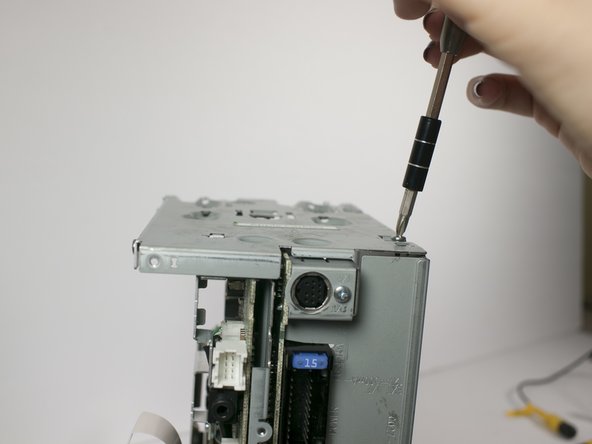
Remove the four 1/8-inch black machine screws using a Phillips #00 screwdriver.
-
-
이 단계는 번역되지 않았습니다. 번역을 도와주십시오
-
Remove three steel-finish, pan-head, 1/64 x 3/16" machine screws identified in the photograph, using the Phillips #0 screwdriver.
-
-
이 단계는 번역되지 않았습니다. 번역을 도와주십시오
-
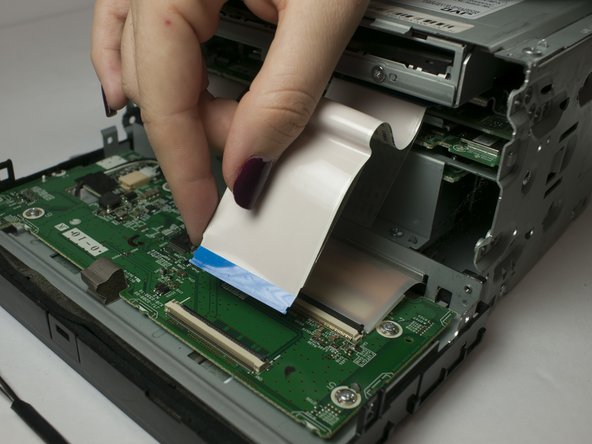
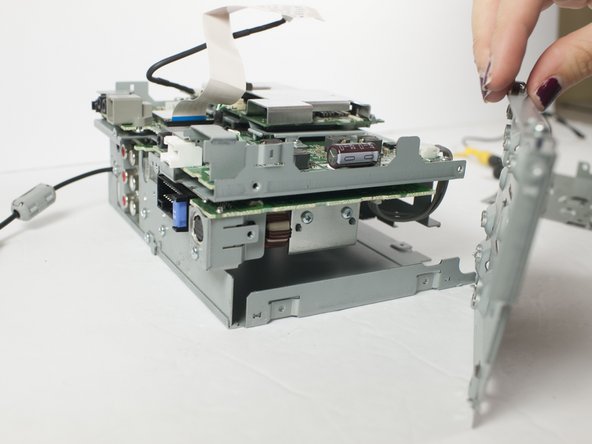
Using your fingers and/or a metal spudger, gently release the plastic locking tabs of the front panel assembly from the steel enclosure while prying the front panel assembly away from the steel enclosure with your fingers.
-
-
-
이 단계는 번역되지 않았습니다. 번역을 도와주십시오
-
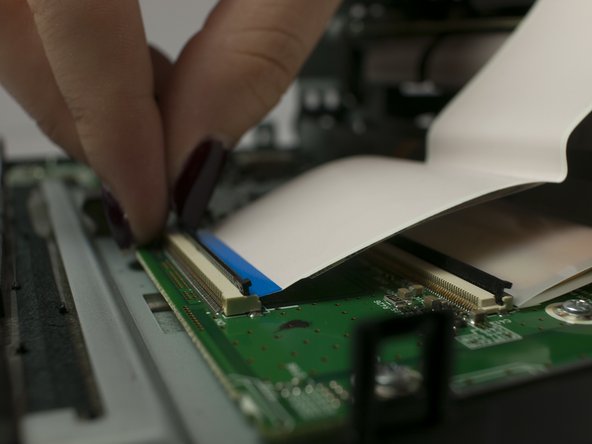
Gently separate the ribbon cable from from ZIF connector on the circuit board using a metal smudger.
-
-
이 단계는 번역되지 않았습니다. 번역을 도와주십시오
-
Remove seven 1/64 x 3/16" screws from the top panel using the Phillips #0 screwdriver.
-
Remove the top panel.
-
-
이 단계는 번역되지 않았습니다. 번역을 도와주십시오
-
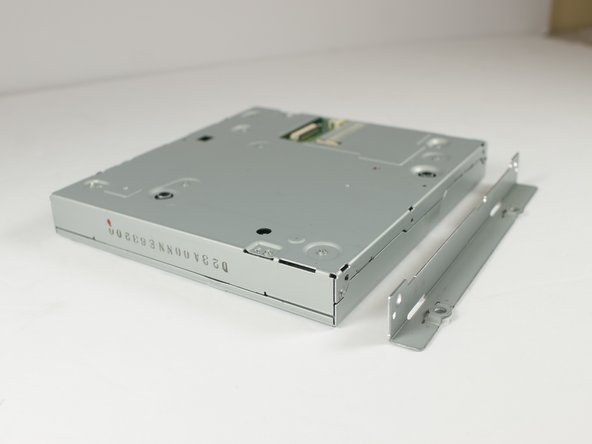
After removing all screws and top panel, lift up disc drive from steel enclosure.
-
-
이 단계는 번역되지 않았습니다. 번역을 도와주십시오
-
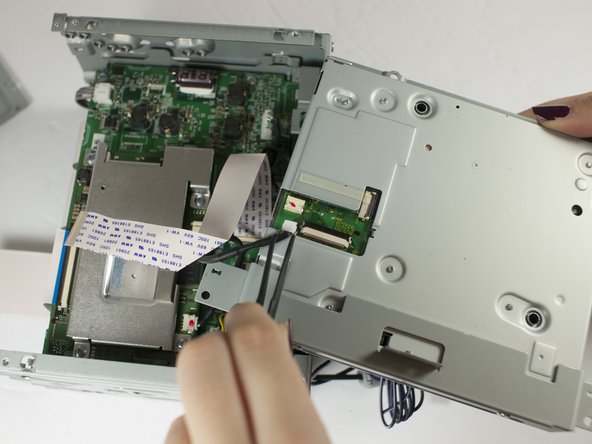
Turn over the disc drive to expose the connector.
-
Gently remove the ribbon cable from the ZIF on the circuit board using the metal spudger.
-
-
이 단계는 번역되지 않았습니다. 번역을 도와주십시오
-
Remove 2 pan-head, 1/64 x 3/16" machine screws using a Phillips #0 screwdriver.
-
-
이 단계는 번역되지 않았습니다. 번역을 도와주십시오
-
Remove 2 pan-head, 1/64 x 3/16" machine screws using a Phillips #0 screwdriver.
-
-
이 단계는 번역되지 않았습니다. 번역을 도와주십시오
-
Remove the six pan-head, 1/64 x 3/16" machine screws using a Phillips #0 screwdriver.
-


팀

Linn Benton Community College, Team S1-G6, Johnson Fall 2018 Linn Benton Community College, Team S1-G6, Johnson Fall 2018 회원
LBCC-JOHNSON-F18S1G6
3 회원들
안내서 8개 작성하였습니다