소개
If the lights on the board aren’t working, the buttons on aren’t responsive, or Bluetooth is no longer functioning correctly, you may need to replace the motherboard. This guide will give you step-by-step instructions on how to replace the motherboard on the Jabra Speak 510.
필요한 것
-
-
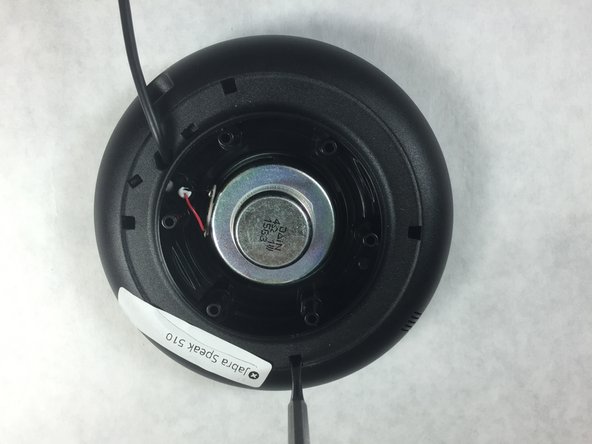
Using a metal spudger, peel back the foam pad on the bottom of the device to reveal six screws.
-
-
-
-
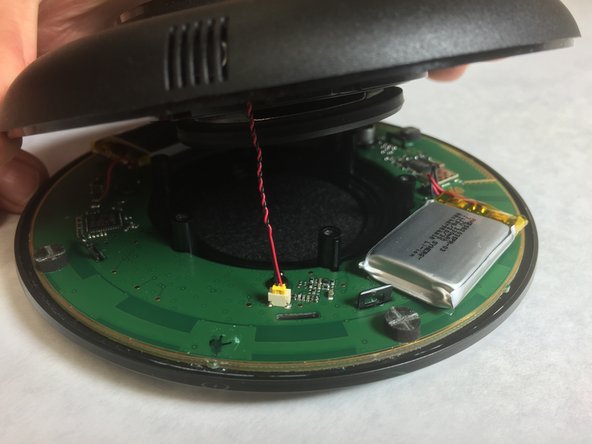
Use a small, pointed metal spudger to release the plastic tabs connecting the faceplate to the bottom of the speaker.
-
Slowly flip the device open like a clam shell.
The hooks on the plastic tabs point inwards. You can see the counterpart of a hook on the 2nd picture on the left of the battery.
I released the hooks by pushing the plastic pads outwards, gently pulling a flat-head screwdriver towards the center. It is necessary to pull the screwdriver ca. 3mm back from the maximum possible depth (otherwise you would push the counterpart outwards, instead of the plastic pad).
-
-
-
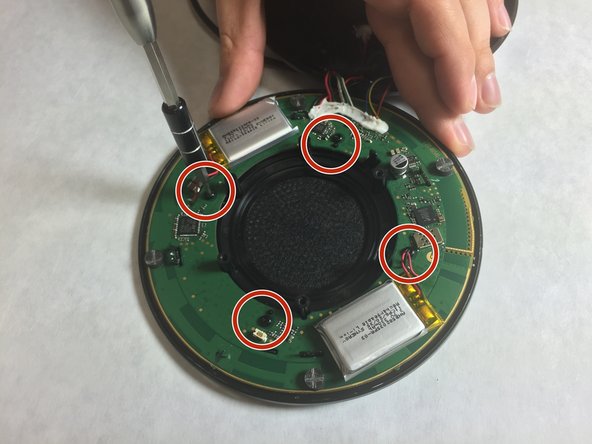
After removing the screws, take out the center covering to free the motherboard by lifting the tabs and pulling it off.
Hi.
Perhaps it could seem strange but I need to reduce the Bluetooth range so the device doesn't connect to my cellphone when I'm more tan three meters from it. Where is the BT antenna? It's the Golden ring in the outer of the MB maybe? What could be the better way to reduce the BT range?.
Thanks.
-


To reassemble your device, follow these instructions in reverse order.
To reassemble your device, follow these instructions in reverse order.
다른 4명이 해당 안내서를 완성하였습니다.

팀

IUPUI, Team 2-3, Harley Spring 2016 IUPUI, Team 2-3, Harley Spring 2016 회원
IUPUI-HARLEY-S16S2G3
4 회원들
안내서 8개 작성하였습니다
댓글 3개
Great walk-through... thanks
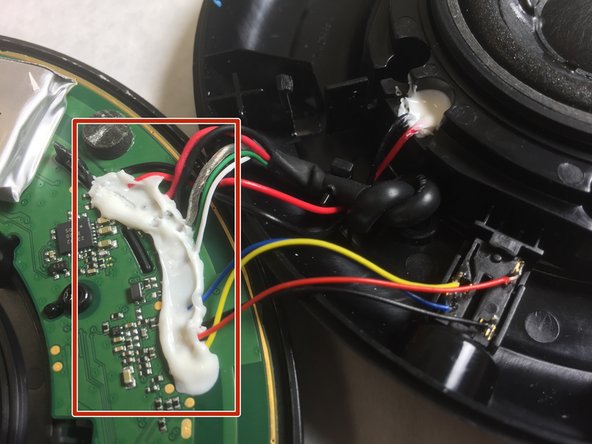
Be very careful when desoldering the connector cables! The soldering lugs are poor quality and tend to tear off the PCB