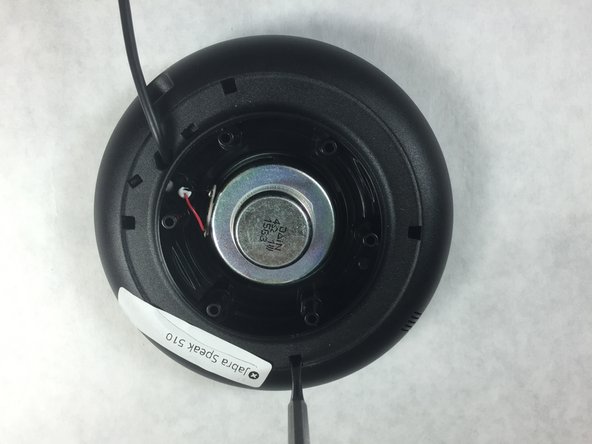
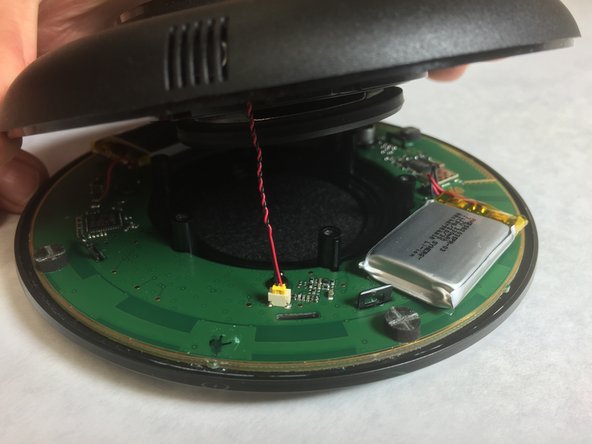
주요 콘텐츠로 건너뛰기

Jabra Speak 510 Outer Casing Replacement

단지 전제 조건
이 안내서는 다른 가이드의 선행 작업으로 사용하기 위한 것입니다. 그 자체로는 불완전합니다.

필요한 것

  1. Jabra Speak 510 Outer Casing Replacement, Outer Casing: 1 단계, 이미지 1/2 Jabra Speak 510 Outer Casing Replacement, Outer Casing: 1 단계, 이미지 2/2
    • Using a metal spudger, peel back the foam pad on the bottom of the device to reveal six screws.

  2. Jabra Speak 510 Outer Casing Replacement: 2 단계, 이미지 1/1
    • Remove the six 20 mm T6 screws from the bottom of the device.

  3. Jabra Speak 510 Outer Casing Replacement: 3 단계, 이미지 1/2 Jabra Speak 510 Outer Casing Replacement: 3 단계, 이미지 2/2
    • Remove the back plate and the grey foam underneath.

  4. Jabra Speak 510 Outer Casing Replacement: 4 단계, 이미지 1/3 Jabra Speak 510 Outer Casing Replacement: 4 단계, 이미지 2/3 Jabra Speak 510 Outer Casing Replacement: 4 단계, 이미지 3/3
    • Use a small, pointed metal spudger to release the plastic tabs connecting the faceplate to the bottom of the speaker.

    • A small cable connects the faceplate to the device. Carefully disconnect the cable before fully opening the device.

    • Slowly flip the device open like a clam shell.

    • There are several wires soldered to the motherboard that prevent the faceplate from detaching completely.

결론

To reassemble your device, follow these instructions in reverse order.

Jordan Murphy

회원 가입일: 02/16/16

717 평판

안내서 3개 작성하였습니다

IUPUI, Team 2-3, Harley Spring 2016 IUPUI, Team 2-3, Harley Spring 2016 회원

IUPUI-HARLEY-S16S2G3

4 회원들

안내서 8개 작성하였습니다

댓글 0개

댓글 쓰기

조회 통계:

24 시간 전: 0

7일 전: 0

30일 전: 1

전체 시간: 136