소개
If your KYVOL CYBOVAC E20 breaks down randomly, or refuses to correctly go back to its charging port, use this guide to replace the motherboard within the device.
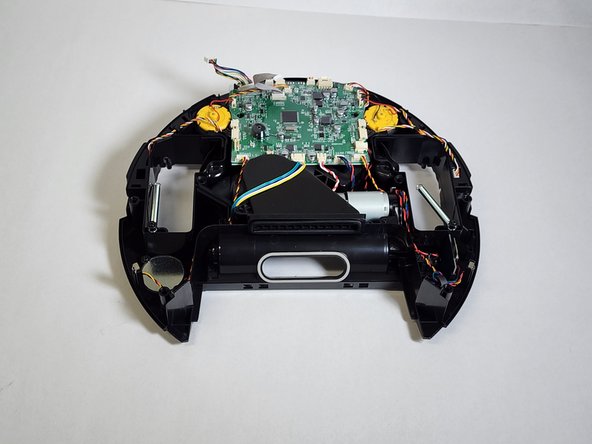
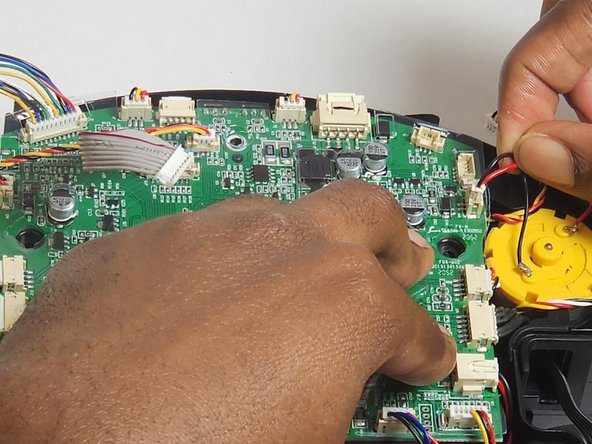
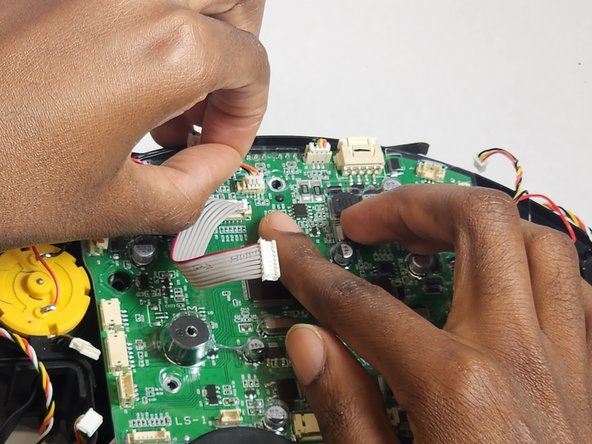
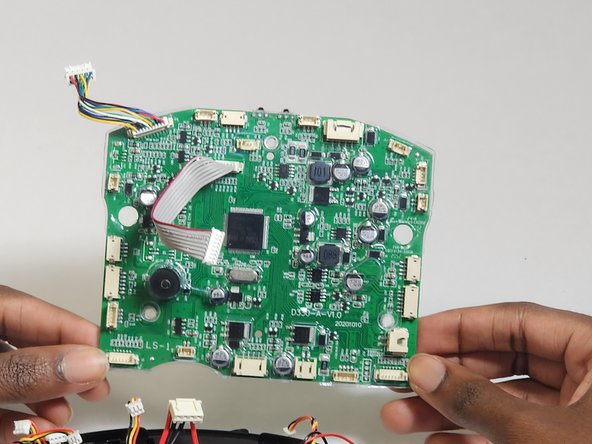
The motherboard is responsible for connecting all the components within the device together, so a faulty motherboard would result in a device that either just stops working or acting weird depending on what part of the motherboard is faulty.
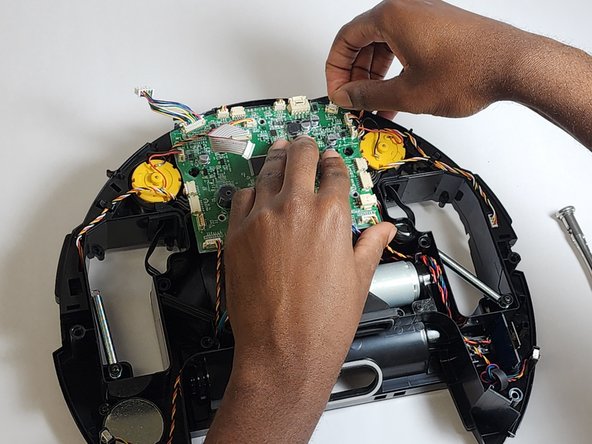
This guide requires constant handling of motherboard connections and cables that deliver power throughout the device. it is crucial to turn off the device prior to following the steps of this guide.
필요한 것
-
-
Start by laying the device on a flat surface with the logo facing up.
-
Flip the device over.
-
-
-
-
Flip the device over.
-
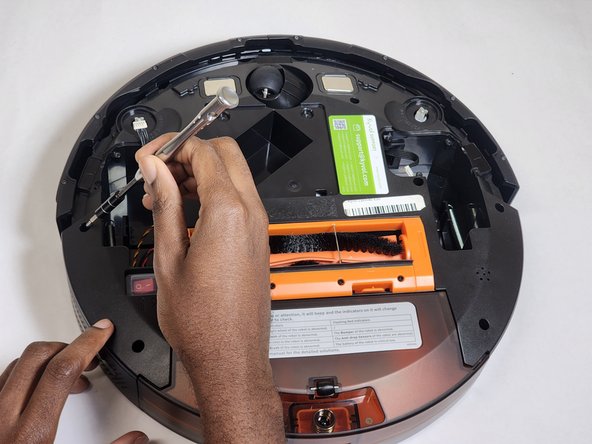
Remove the eight 15 mm screws on the device's underside using a Phillips #2 screwdriver
-


To reassemble your device, follow these instructions in reverse order.
To reassemble your device, follow these instructions in reverse order.
다른 한 분이 해당 안내서를 완성하였습니다.
팀

IUPUI, Team 1-1, Harley Summer 2023 IUPUI, Team 1-1, Harley Summer 2023 회원
IUPUI-HARLEY-SU23S1G1
4 회원들
안내서 4개 작성하였습니다