소개
Disassemble the gear to replace the "Vertical Drive Shaft" and the "Planet Hub"
필요한 것
-
-
Loosen hex nut
-
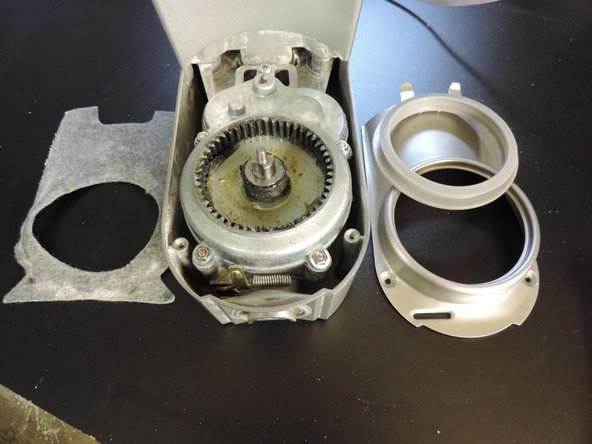
Pull "Planetary Hub" straight away
-
Loosen Torx screws holding the lower housing
-
-
-
Take away lower housing
-
Rubber can be taken away for cleaning
-
Take away damping lint
-
-
-
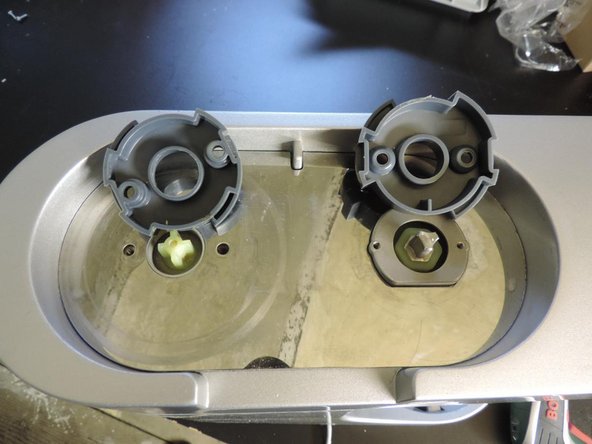
Unscrew to take away the plastic parts
-
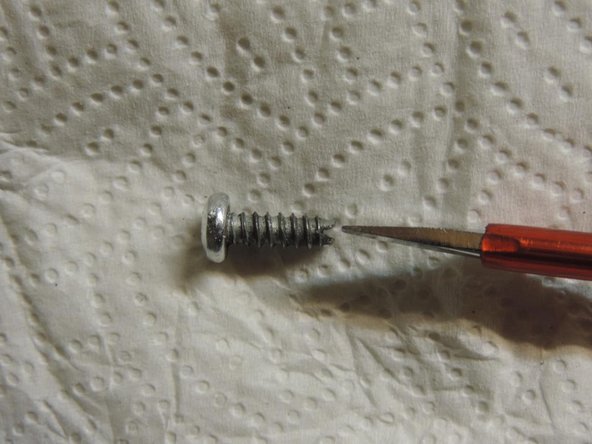
The parts are different
-
The screws have no metric thread
-
-
-
Unscrew the 3 Torx
-
Lift off the Upper Housing
-
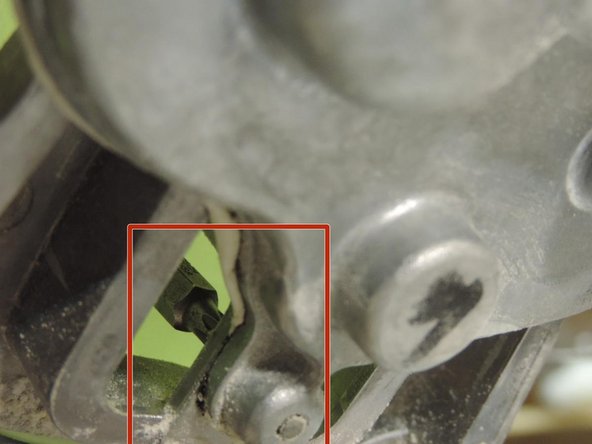
Take care of white rubber marked with the red square
-
-
-
-
No need to proceed with the custom tool if the plastic wheel has already been removed in the previous step
-
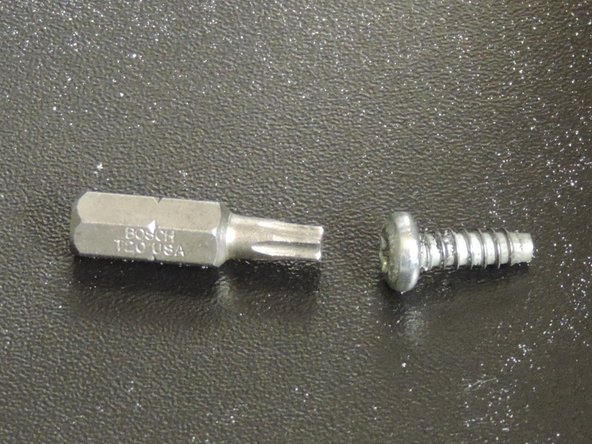
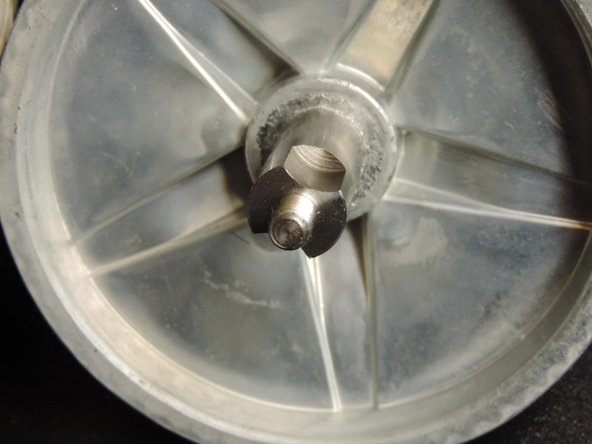
The tricky part is to unscrew the Tx20 screw located under the plastic wheel
-
I was not able to pull the plastic wheel from the shaft
-
If you like the risk you might drill a hole in the plastic wheel for easy access
-
I used a custom tool -> see next step
I found this disassembly on YouTube: starting at 7:25 you will find a clear demonstration on how to remove the plastic wheel from the shaft without drilling or improvised tools. You don’t even have to understand Italian :-)
I can’t see the video because it is private. Can jou tell me how to remove the plastic wheel please?
-
-
-
I machined a 6 mm wrench to fit on the Tx20 bit
-
After removal I slotted the screw for easier mounting
May I ask how the slot helps with mounting?
In step 14 you can ee, how the screw ist reached from the “wrong" side through the screwhole.
VauWeh -
-
-
-
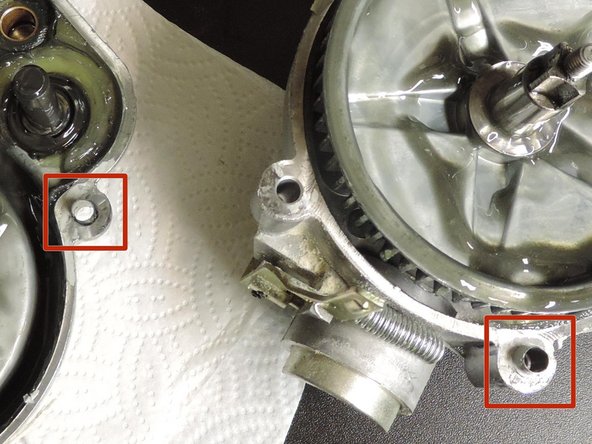
Take care of the guides (red markers). They can be pushed in after closing the gear box
-
Take away the sealing. To reseal I used sealant normally used in washing rooms.
-
-
-
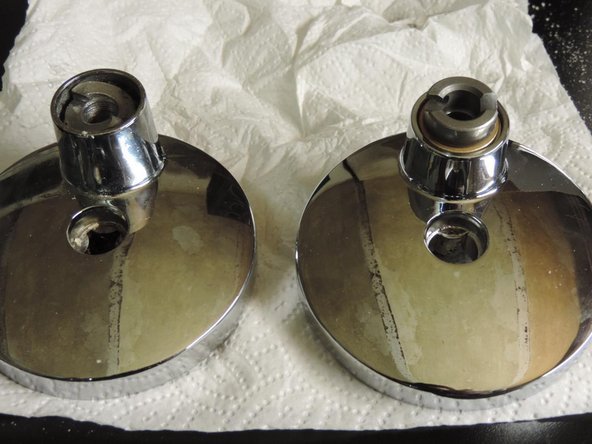
The one with the cross is the old one
-
The bayonet doesn't look the same but the tools fits as before. The position of beater and whisk stay the same in respect to the bowl
-
The thickness change of the gearwheel doesn't seem to matter
-
-
-
Cod. SER1018: Label of the bag containing the tree parts
-
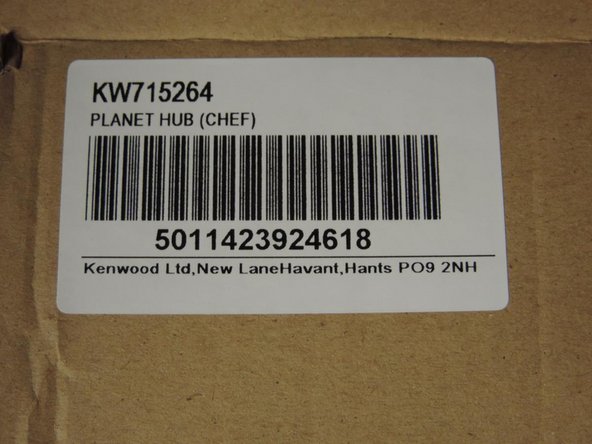
Label of "Planet Hub"
-
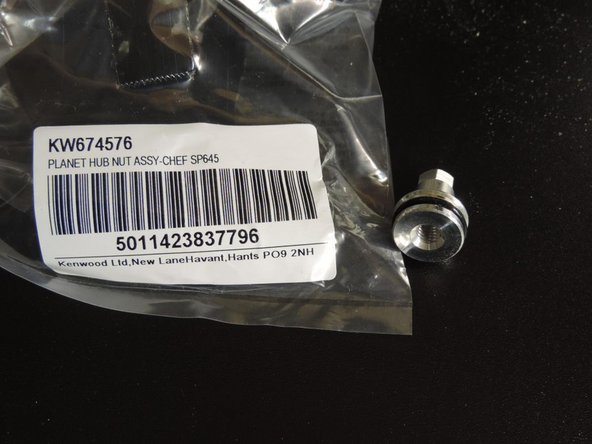
Label and part designated "Planet Hub Nut"
-
-
-
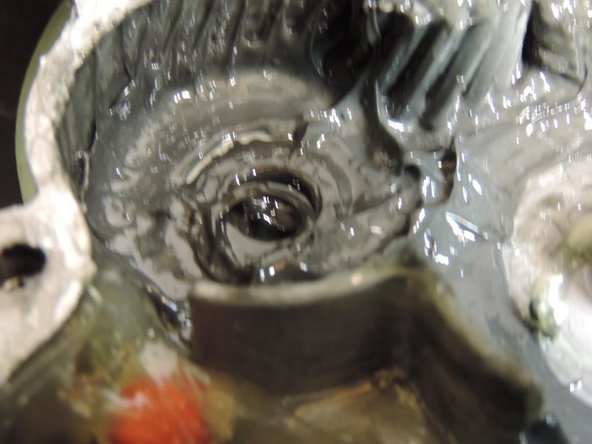
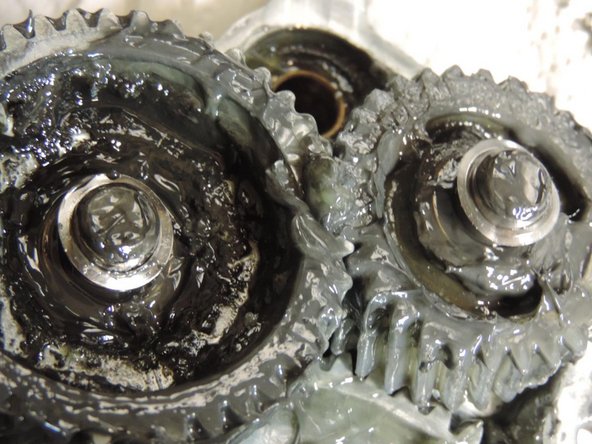
There is plenty of grease. Put it on the parts to be greased.
-
Put sealant on the box (see step 8)
-
Place the machine upright standing in the normal working position with lowered arm. The front axle will fall out if the arm is in the upper position.
-
Gently slip the lower part in the upper part
-
As the screws were loose when disassembling, I put a drop of thread locker before mounting.
-
Mount the guides in the correct place
-
-
-
Insert hidden screw
-
Tighten with custom tool of step 7
Hello, this is a nice fixit. Step 6 and step 14 are wrong. Normaly you have only to block the slow-speed outlet with KW658479, a steel-pulley. This works also for all other kenwood's since A901 series both Chef and Major . You only need to block the slow-speed then turn the the plastic-wheel counter-clockwise to remove it now the screw is free to unscrew.
It is much easier and shorter.
Hope it will help somebody to fix another Kenwood chef or Major or cooking-chef
Hi Jens, Thank you for the information. The guides were modified according to your suggestion.
Bruno M -
-


To reassemble your device, follow these instructions in reverse order at step 6.
To reassemble your device, follow these instructions in reverse order at step 6.
다른 5명이 해당 안내서를 완성하였습니다.
댓글 14개
Hello,
I was not able to realise the suggestion of "Jens" in step 6. Maybe it works on older machines (A901), but it did not work on my Chef Titanium KM001 which has the same gear as the one depicted herein. I chose to make a hole in the plastic wheel instead, using a Dremel at with a corundum tip, after marking the right distance from the center with a pe n by applying the pen from below at the same distance as the screw and rotating the plastic wheel. The The TX 20 screw came off just fine and without fiddling around. The machine turns again. Note: I had not put enough grease inside, and it didn't sound so good. I therefore added additional lube via the hole under the red stopper, and everything was fine (no need to disassemble the machine again).
It worked for me. The YouTube video was very useful to see how to get the plastic wheel off. My only problem is that on reassembly I found a black rubber seal (I think it’s a seal) but I couldn’t see where it belongs. Its tapered. If anyone has a suggestion, I would appreciate it.
Hallo,
zuerst mein Kompliment zur gelungenen Darstellung. Meine Kenwood KM001 Chef hat noch den Kreuzantrieb. Die Fotos 1-3 zeigen den Antrieb mit Bajonetanschluss. Bei meiner KM001 ist lediglich der Anschluss am Plantengetriebe zum Knethaken verschlissen.
Daher meine Frage: findet dieser abgebildete Austausch des kompletten Kenwood Chef Planetengetriebes SER1018 statt, weil es das komplette Getriebe defekt ist? Kann es sein, dass es das Kreuzgetriebe nicht mehr mehr als Ersatzteil gibt oder ist das neue Teil mit Bajonetverschluss kompatibel auf den Kreuzantreib der Antriebsachse?
Vielen Dank für eine Erläuterung
Harald.K.
Hall Bruno,
Keine Ahnung, ob mein Kommentar von gestern angekommen ist. Vielen Dank für die detaillierte Anleitung. Sie hat mir sehr geholfen. Obwohl das Video nicht funktioniert ist es mir problemlos gelungen das Kunststoffzahnrad gegen den Uhrzeigersinn zu lösen. Bei mir ist der untere Getriebedeckel gebrochen. Es gibt verschiedene , aber entweder in Italien oder UK, oder “ nicht auf Lager" . Hast du noch einen Tipp?
Beste Grüsse
Armin
hallo
I can’t see the video of step 6 because it is private. Can jou tell me how to remove the plastic wheel please?
Thanks!
Please read the remark from “Jens”
Bruno
Bruno M -
Hi, I’m stuck at step 2 here; my cover simply wont pull away, though the hex nut came off just fine, is there some special position it needs to be in or any steps prior that that are required?
Many thanks,
Katey
Hi, There is no special position.
Maybe you could try to insert a beater or whisk to apply more force.
The planet hub is shown from the other side in step 9.
Bruno
Bruno M -
¨Hallo Bruno
Bin über repair Cafe zu euch gestossen. Bei mir ist dasselbe Problem mit der verschlissenen Aufhängung der Kneteinheit: ein winziger Bolzen regelt dies. Muss ich deiner Ansicht das ganze Planetgetriebe für den ca. 15 jährigen Kitchen Chief Major erstehen für den Ersatz diese kleinen Teils. Kenwood will mir beim erstehen solch eines Ersatzteils nicht behilflich sein. Wo finde ich also eintweder den einzupassenden Bolzen oder ein Planetgetriebe. Auf jeden Fall herzlichen Dank für die Anleitung und Deine Hilfe - Andreas Zimmermann
Kenwood major premiere
Failure and burn of motor
VauWeh -