주요 콘텐츠로 건너뛰기

Kenwood KDC-BT362U Button Replacement

필요한 것

  1. Kenwood KDC-BT362U Button  Replacement, Front Panel: 1 단계, 이미지 1/1
    • Locate the face-plate eject button.

  2. Kenwood KDC-BT362U Button  Replacement: 2 단계, 이미지 1/2 Kenwood KDC-BT362U Button  Replacement: 2 단계, 이미지 2/2
    • Press the eject button with your forefinger.

    • Remove the face-plate.

  3. Kenwood KDC-BT362U Button  Replacement: 3 단계, 이미지 1/2 Kenwood KDC-BT362U Button  Replacement: 3 단계, 이미지 2/2
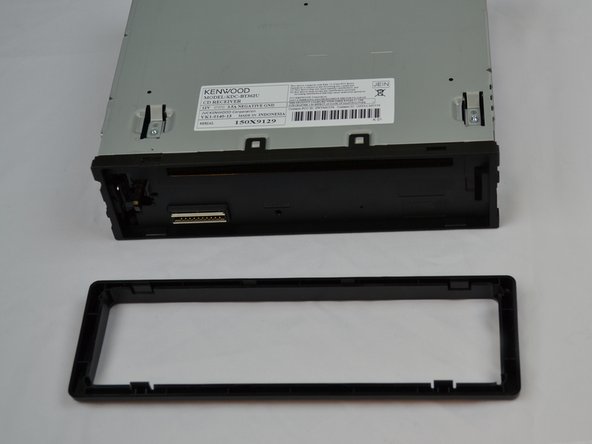
    • Starting on the top side, pop the front panel frame out.

    • Remove the face-plate frame.

  4. Kenwood KDC-BT362U Button  Replacement: 4 단계, 이미지 1/2 Kenwood KDC-BT362U Button  Replacement: 4 단계, 이미지 2/2
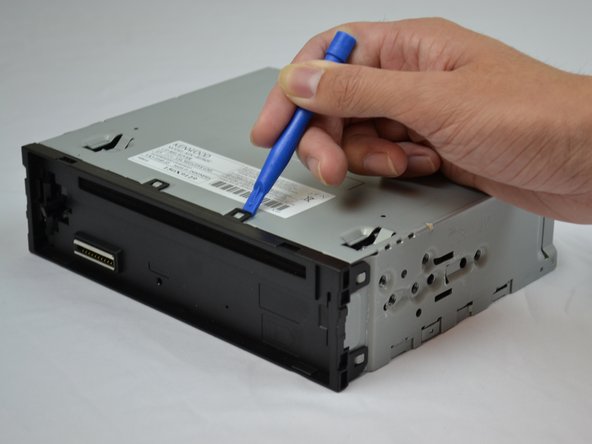
    • Use the plastic opening tool to pry open the tabs.

    • Repeat on the opposite side.

  5. Kenwood KDC-BT362U Button  Replacement: 5 단계, 이미지 1/1
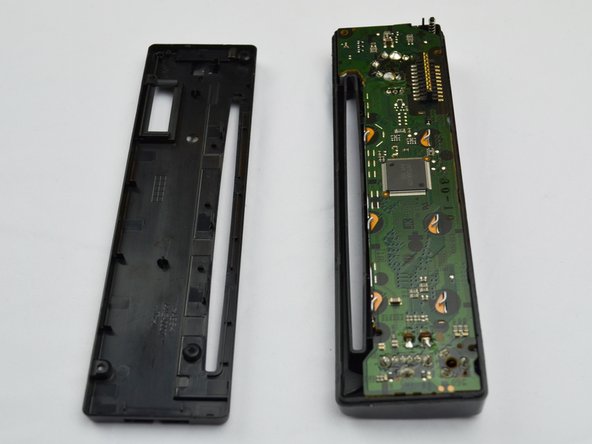
    • Remove the front panel.

  6. Kenwood KDC-BT362U Button  Replacement, Button: 6 단계, 이미지 1/1
    • Use the Phillips #0 Screwdriver to remove the four screws.

  7. Kenwood KDC-BT362U Button  Replacement: 7 단계, 이미지 1/2 Kenwood KDC-BT362U Button  Replacement: 7 단계, 이미지 2/2
    • Use the plastic opening tool to pry it open.

  8. Kenwood KDC-BT362U Button  Replacement: 8 단계, 이미지 1/2 Kenwood KDC-BT362U Button  Replacement: 8 단계, 이미지 2/2
    • Lift and remove the motherboard to reveal the inside of the front panel.

  9. Kenwood KDC-BT362U Button  Replacement: 9 단계, 이미지 1/2 Kenwood KDC-BT362U Button  Replacement: 9 단계, 이미지 2/2
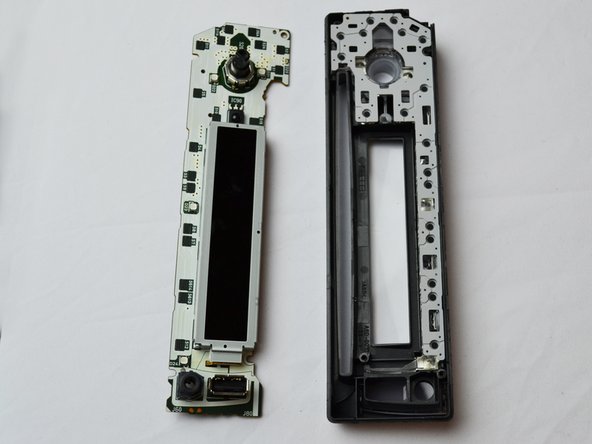
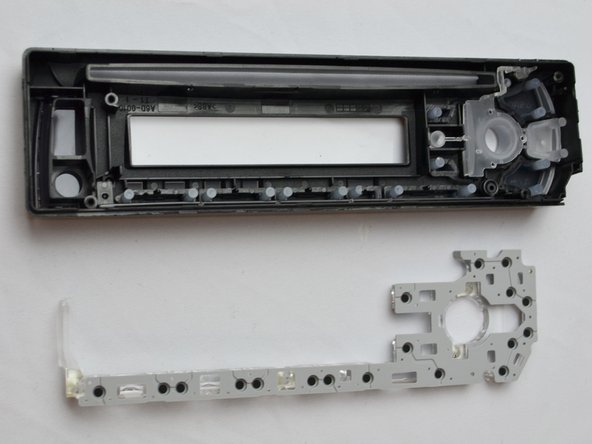
    • Use the plastic opening tool to lift up and remove the cover.

  10. Kenwood KDC-BT362U Button  Replacement: 10 단계, 이미지 1/1
    • The buttons are now able to be removed and replaced if damaged or missing.

결론

To reassemble your device, follow these instructions in reverse order.

다른 2명이 해당 안내서를 완성하였습니다.

Steven Chov

회원 가입일: 10/04/16

349 평판

안내서 3개 작성하였습니다

USF Tampa, Team 2-5, Cagle Fall 2016 USF Tampa, Team 2-5, Cagle Fall 2016 회원

USFT-CAGLE-F16S2G5

4 회원들

안내서 5개 작성하였습니다

댓글 0개

댓글 쓰기

조회 통계:

24 시간 전: 0

7일 전: 0

30일 전: 2

전체 시간: 748