소개
The battery on the back of the control panel is used to back up the settings in the microcontroller. If it dies, the microcontroller gets confused and it no longer controlls the screw in a predictable manner. When this happens, it is necessary to remove the battery, and solder on a new one.
필요한 것
-
-
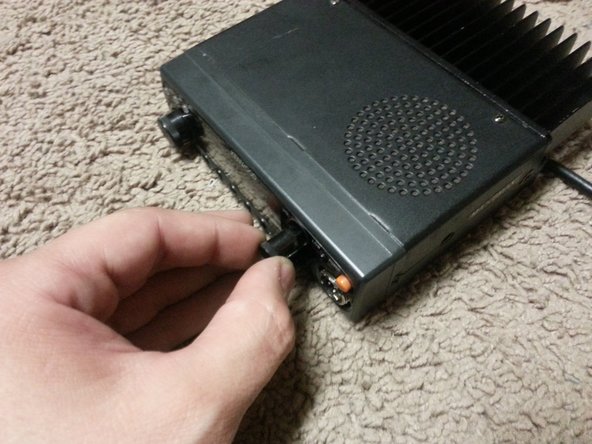
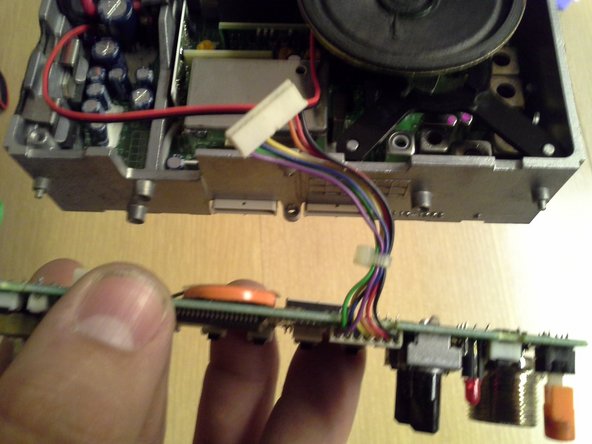
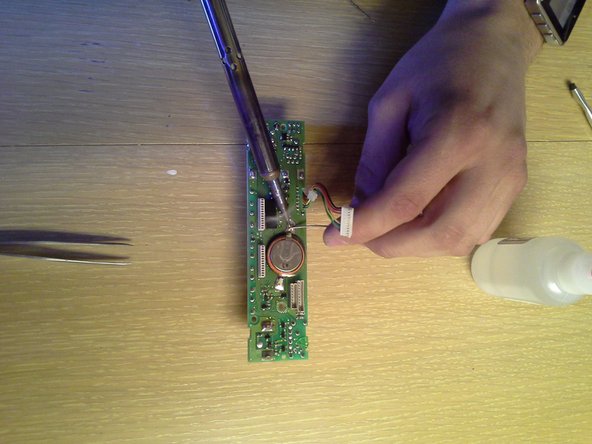
Push down on the tab that locks the power connection together, and slide the two connectors apart.
-
Unscrew the antenna downlead from the antenna pigtail coming out of the radio, and pull the two apart.
-
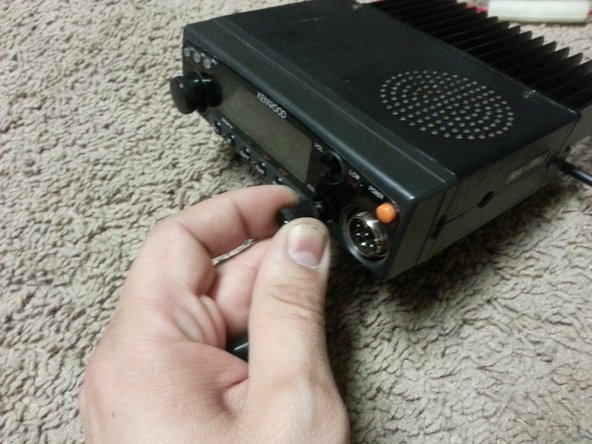
Unscrew the microphone connector from the front panel of the radio, and pull it out.
-
-
-
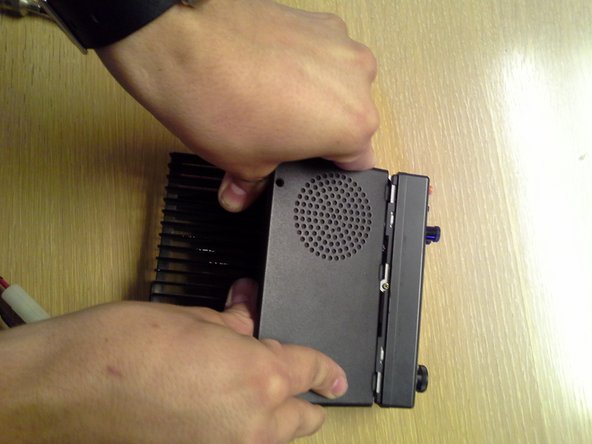
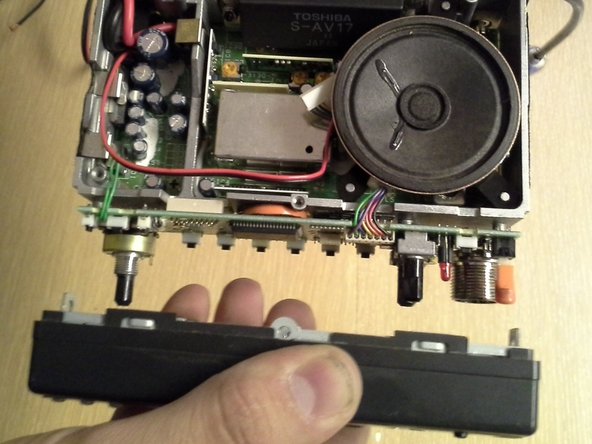
There are two tabs that sit underneath the sides of the face plate. They have a tendency to break out the plastic over top of them while removing the covers. To help prevent this, push inward on the side of the cover, just behind the face plate as you take off the covers.
-
Lift up on the rear of the top cover, and slide it towards the back of the radio to disengage the three tabs at the front.
-
Repeat for the bottom cover of the radio.
-
-
-
On the left side of the screen, gently pull on the tuning knob, separating it from the radio.
-
The upper knob on the right is the volume. Gently pull it away from the radio to remove it.
-
The lower knob on the right is the squelch knob. Remove it in the same way as the other two knobs.
-
Set the three knobs aside, so they can be put back on later.
-
-
-
-
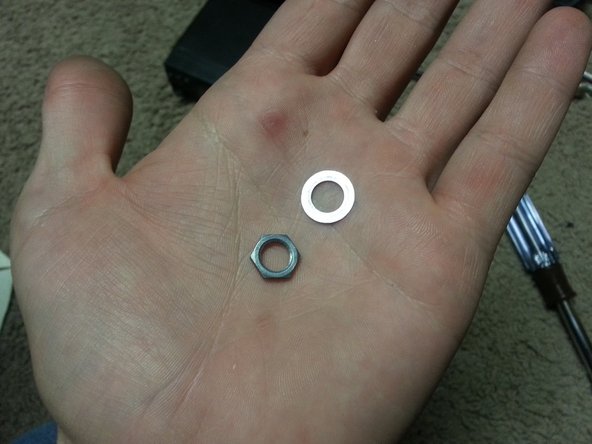
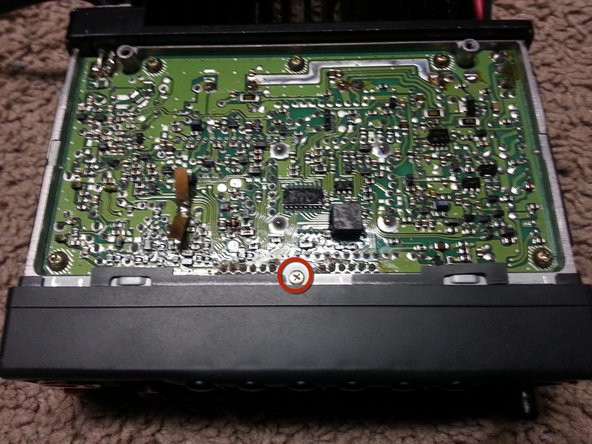
On the right side of the board, there is a screw that goes through a transistor, that secures the control board to the radio. Remove this screw, and set aside.
-
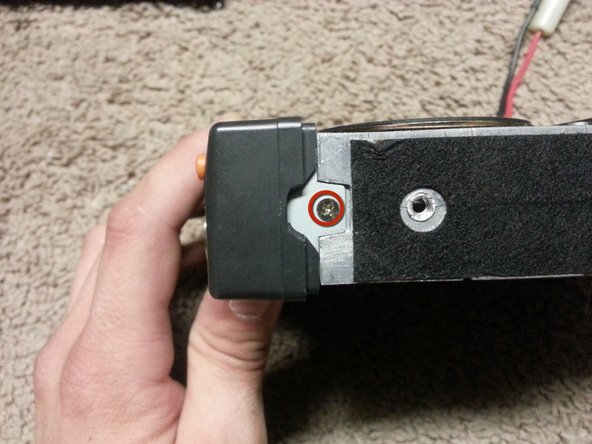
Remove the screw on the left that holds the board to the radio. Set it aside.
-
The two screws that are removed during this step are not the same. Note which screw comes from which side. The screw with the tapered head goes on the left. The screw with a flat mounting surface goes on the right.
-
-
-
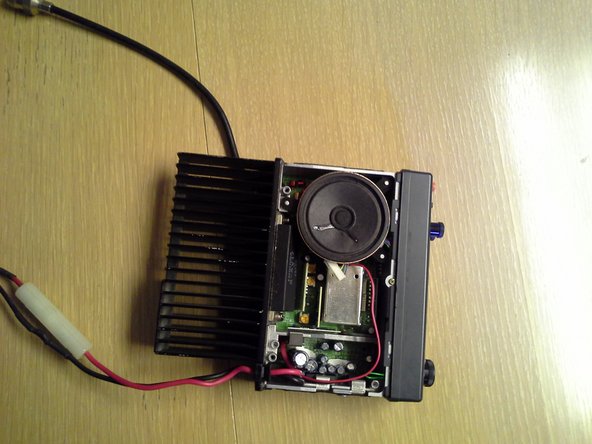
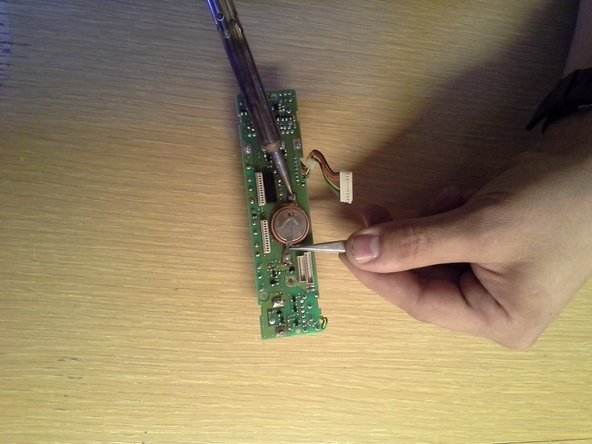
Using a voltmeter, measure the voltage of the battery. The voltage should be around 3.0 volts.
-
-
-
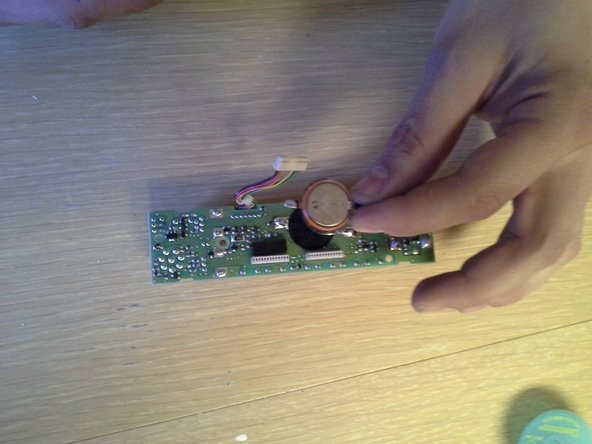
If the voltage is below about 2.75 volts, the battery will have to be removed. Using a soldering iron, melt the solder holding one of the solder tabs to the board. While the solder is molten, pull the solder tab away from the board with a pair of tweezers.
-
Repeat the procedure for the other solder tab.
-
The battery is held to the board with a piece of double sided fabric tape. This will probably rip apart when you pull the battery off.
-
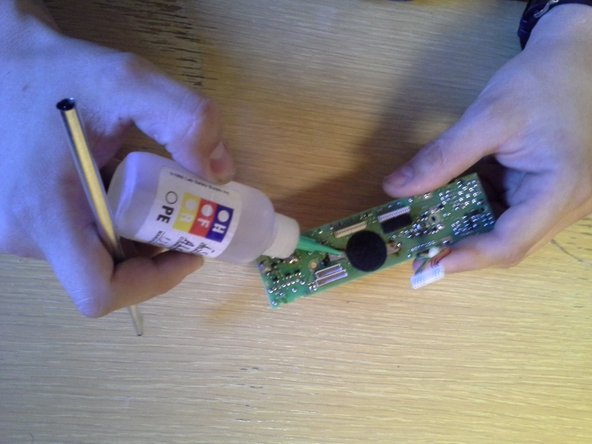
It would be a good idea to put shrink tubing around the new battery to ensure it doesn't short out to anything on the control board.
-


To reassemble your device, follow these instructions in reverse order, beginning with step 9.
To reassemble your device, follow these instructions in reverse order, beginning with step 9.
다른 6명이 해당 안내서를 완성하였습니다.
댓글 4개
Great info thanks for the post !!! On mine I wired in a button battery holder. Connect the wires, observing polarity, to a Radio Shack (RS 270-430) button battery holder. Insulate the positive terminal and negitive with either heat shrink tubing or liquid electrical tape. The single tab is the negative. Mount the battery holder on top of the metal can located in the center of the transceiver with a double-sided sticky pad, making sure not to cover the adjustment openings. Install a CR2032 3 Volt Lithium battery in the holder.
erichraven - 답글
Good HOWTO with photo’s how to replace the battery.
After 25 years of gathering dust my TM531’s memory works again.
Thanks!
Great replacement guide. Polarity of the battery is negative “up” in the picture with the meter measuring the old battery.
Thomas Fry - 답글