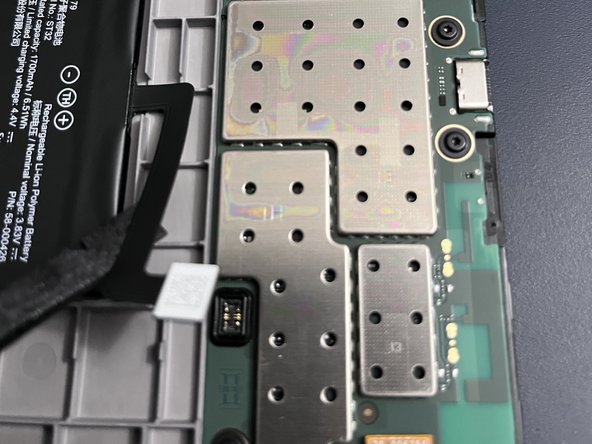
주요 콘텐츠로 건너뛰기

Kindle Paperwhite 11th Generation Disassembly

필요한 것

  1. Kindle Paperwhite 11th Generation Disassembly, Kindle Paperwhite: 1 단계, 이미지 1/3 Kindle Paperwhite 11th Generation Disassembly, Kindle Paperwhite: 1 단계, 이미지 2/3 Kindle Paperwhite 11th Generation Disassembly, Kindle Paperwhite: 1 단계, 이미지 3/3
    • Using a guitar pick style pry tool and/or black pry tool get started on one of the corners to loosen back cover from display. Once the corner is loose, you'll notice you can pry the back away and slide your pick to the next corner

  2. Kindle Paperwhite 11th Generation Disassembly: 2 단계, 이미지 1/2 Kindle Paperwhite 11th Generation Disassembly: 2 단계, 이미지 2/2
    • At this point, having one or more corners loose, you can almost pry by hand, but best to be safe and not break the plastic by continuing to run pry tool around each corner (see open case photo for clip style)

  3. Kindle Paperwhite 11th Generation Disassembly: 3 단계, 이미지 1/1
    • Ah sweet open Kindle...feels good. Easier than we thought. No messy adhesives. And no cables on back case just unclip, unclip...snap, snap, snap.

  4. Kindle Paperwhite 11th Generation Disassembly: 4 단계, 이미지 1/2 Kindle Paperwhite 11th Generation Disassembly: 4 단계, 이미지 2/2
    • Whatever repair you have in mind next, always start with disconnecting the battery, and for this, the black pry tool is your friend. Enjoy.

결론

To reassemble your device, follow these instructions in reverse order.

다른 한 분이 해당 안내서를 완성하였습니다.

mcvtech

회원 가입일: 12/20/17

109 평판

안내서 1개 작성함

mcvtech mcvtech 회원

Business

1 회원

안내서 1개 작성하였습니다

댓글 0개

댓글 쓰기

조회 통계:

24 시간 전: 2

7일 전: 56

30일 전: 264

전체 시간: 572