주요 콘텐츠로 건너뛰기

Kodak EasyShare C1505 LCD screen replacement

필요한 것

  1. Kodak EasyShare C1505 LCD screen replacement, LCD: 1 단계, 이미지 1/3 Kodak EasyShare C1505 LCD screen replacement, LCD: 1 단계, 이미지 2/3 Kodak EasyShare C1505 LCD screen replacement, LCD: 1 단계, 이미지 3/3
    • View of the back of the camera. Dirt and grime from water damage becomes instantly recognizable.

    • Open the battery compartment door and remove any batteries and memory card if installed.

    • Remove the two screws on the right side.

  2. Kodak EasyShare C1505 LCD screen replacement: 2 단계, 이미지 1/3 Kodak EasyShare C1505 LCD screen replacement: 2 단계, 이미지 2/3 Kodak EasyShare C1505 LCD screen replacement: 2 단계, 이미지 3/3
    • Remove the two screws on the right side.

    • Remove two screws on the bottom of the camera.

    • All six screws from the case are the same length. It is not necessary to keep those separated from each other.

  3. Kodak EasyShare C1505 LCD screen replacement: 3 단계, 이미지 1/3 Kodak EasyShare C1505 LCD screen replacement: 3 단계, 이미지 2/3 Kodak EasyShare C1505 LCD screen replacement: 3 단계, 이미지 3/3
    • Use a plastic opening tool, or your fingernails, to separate the case. Start at the battery compartment

    • Work your way around, carefully pushing the tools slightly at an angle.

    • The case will easily separate once the opening tool goes all the way around the camera.

  4. Kodak EasyShare C1505 LCD screen replacement: 4 단계, 이미지 1/3 Kodak EasyShare C1505 LCD screen replacement: 4 단계, 이미지 2/3 Kodak EasyShare C1505 LCD screen replacement: 4 단계, 이미지 3/3
    • The front half of the camera is usually the first thing that comes off (notice dirt and grime from water damage)

    • Pull off the back part of the case.

    • LCD is now easily visible in its small metal holder.

  5. Kodak EasyShare C1505 LCD screen replacement: 5 단계, 이미지 1/3 Kodak EasyShare C1505 LCD screen replacement: 5 단계, 이미지 2/3 Kodak EasyShare C1505 LCD screen replacement: 5 단계, 이미지 3/3
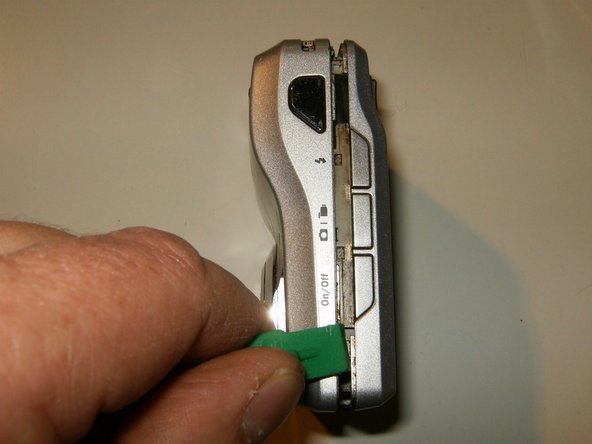
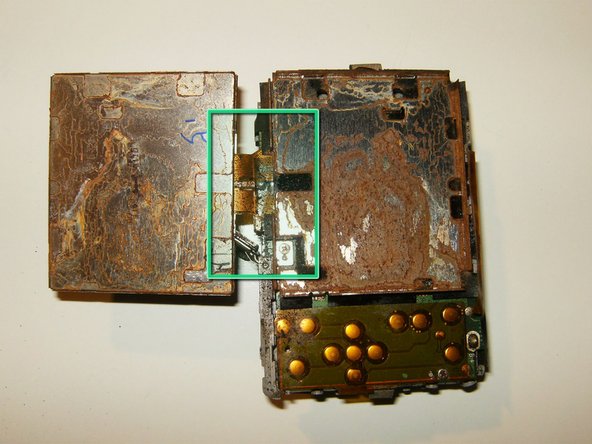
    • Flip the LCD out of the holder from the top to the bottom.

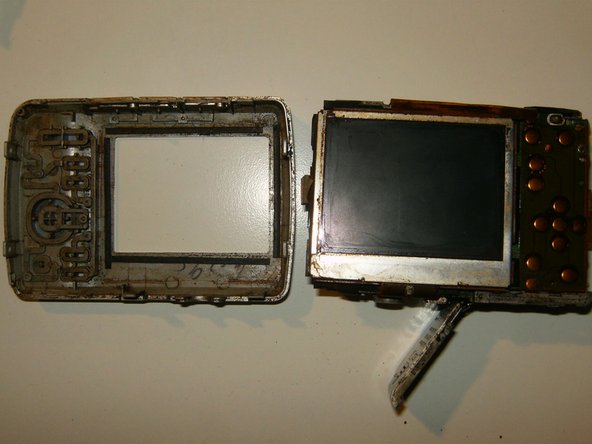
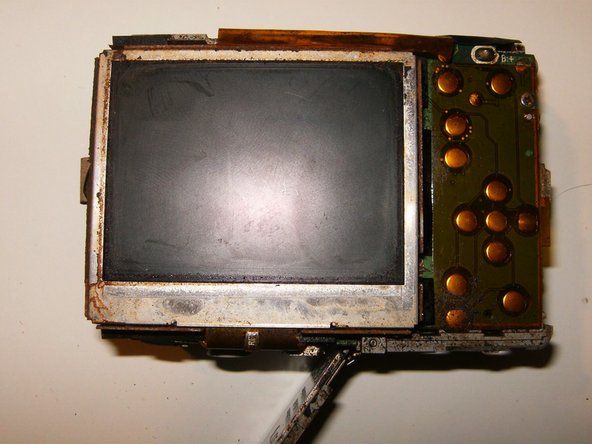
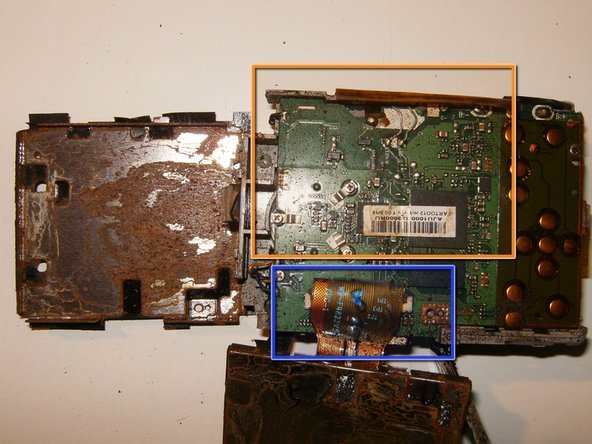
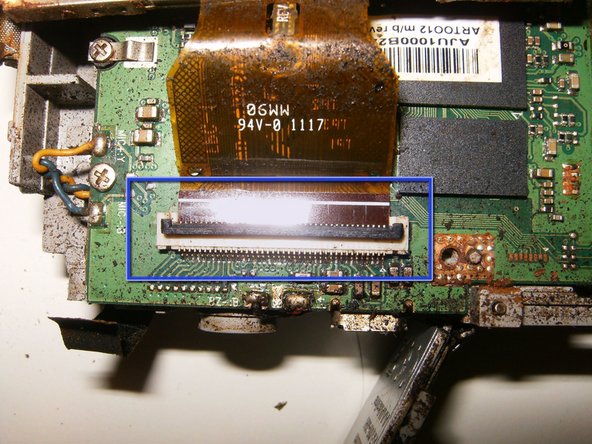
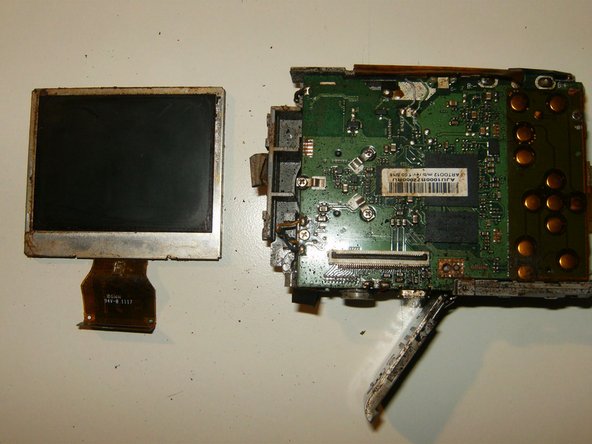
    • Once flipped over, the ribbon cable mounting underneath the LCD holder becomes visible. Extensive water damage is noted to the back frame of the LCD as well as corrosion on the LCD cable.

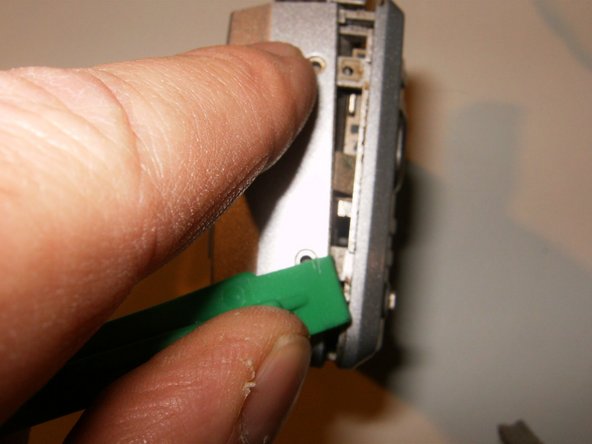
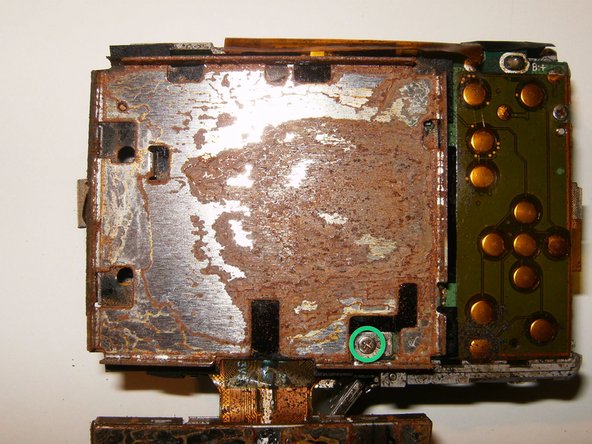
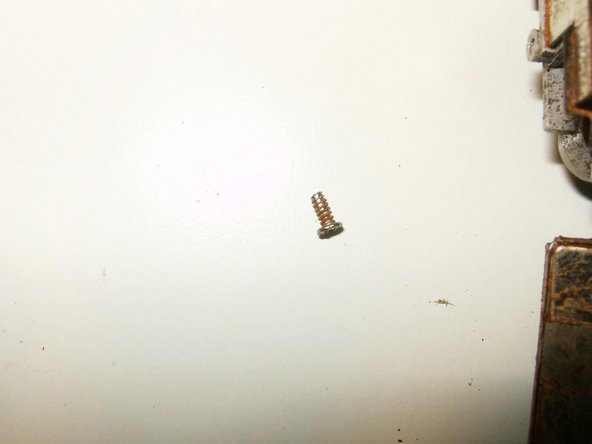
    • Remove the small Philips Screw on the bottom right hand side of the LCD holder.

  6. Kodak EasyShare C1505 LCD screen replacement: 6 단계, 이미지 1/3 Kodak EasyShare C1505 LCD screen replacement: 6 단계, 이미지 2/3 Kodak EasyShare C1505 LCD screen replacement: 6 단계, 이미지 3/3
    • Remove the small screw.

    • This one is slightly smaller than the ones from the case. Keep it separated.

    • With the screw removed, separate the LCD holder from the circuit board. Note the direction of the LCD ribbon cable

    • Corrosion and contamination of the circuit board is now clearly visible

  7. Kodak EasyShare C1505 LCD screen replacement: 7 단계, 이미지 1/3 Kodak EasyShare C1505 LCD screen replacement: 7 단계, 이미지 2/3 Kodak EasyShare C1505 LCD screen replacement: 7 단계, 이미지 3/3
    • Flip the LCD right-side-up toward the top of the camera.

    • Open the clip on the connector by using your fingernails. the black clip needs to be flipped toward the bottom of the camera.

    • The LCD can now be removed and replaced

결론

To reassemble your device, follow these instructions in reverse order.

다른 한 분이 해당 안내서를 완성하였습니다.

oldturkey03

회원 가입일: 09/29/10

782,052 평판

안내서 119개 작성하였습니다

Global Fixers Global Fixers 회원

Community

33 회원들

안내서 537개 작성하였습니다

댓글 0개

댓글 쓰기

조회 통계:

24 시간 전: 0

7일 전: 0

30일 전: 3

전체 시간: 801