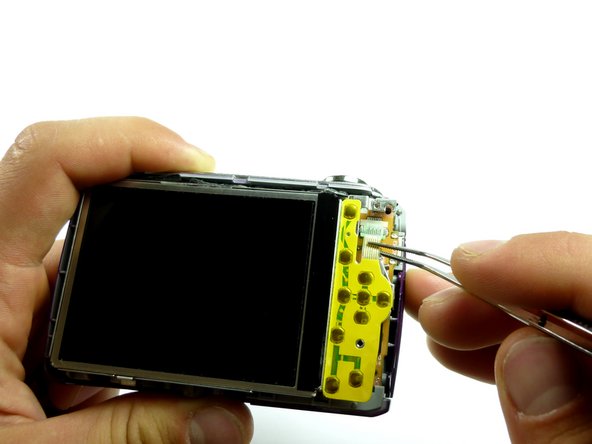
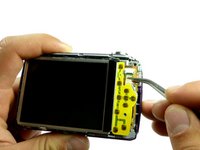
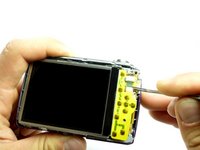
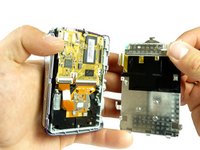
주요 콘텐츠로 건너뛰기

Kodak EasyShare C195 LCD Screen Replacement

필요한 것

  1. Kodak EasyShare C195 LCD Screen Replacement, LCD Screen: 1 단계, 이미지 1/3 Kodak EasyShare C195 LCD Screen Replacement, LCD Screen: 1 단계, 이미지 2/3 Kodak EasyShare C195 LCD Screen Replacement, LCD Screen: 1 단계, 이미지 3/3
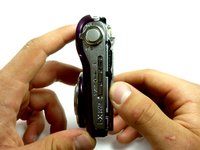
    • To start, remove the Philips #00 4.5 mm screws on both sides of the camera.

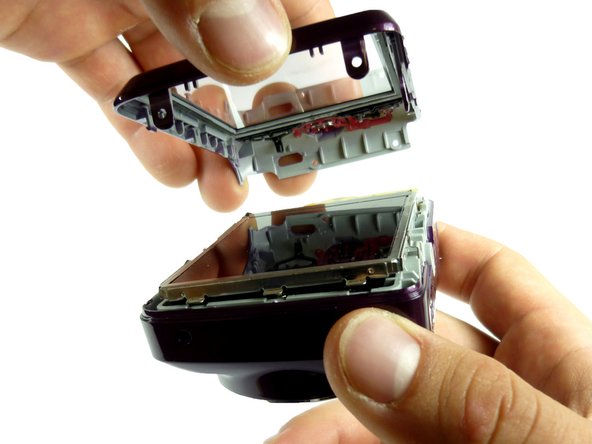
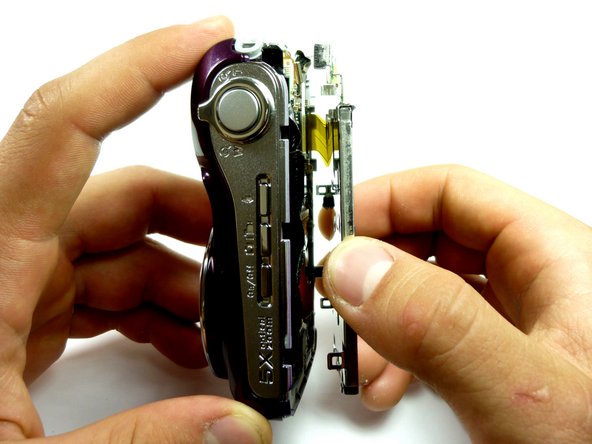
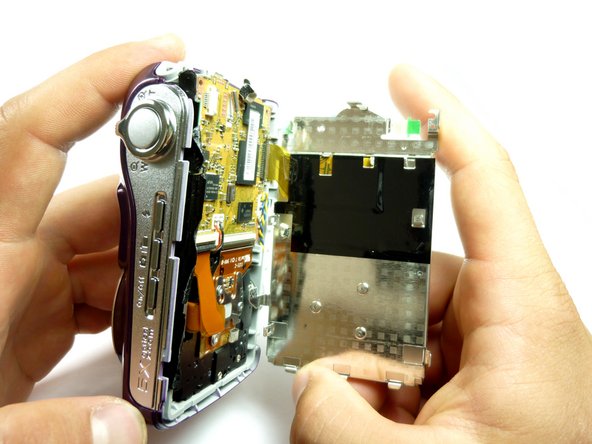
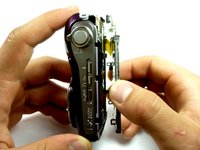
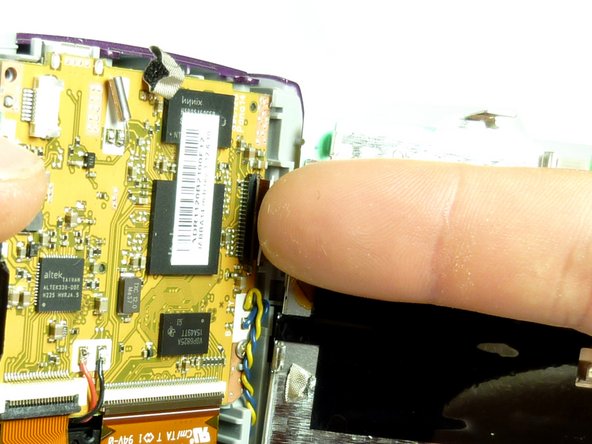
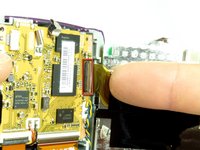
    • On the bottom, there are three Philips #00 4.5 mm screws. Two are for the front panel and one is for the back panel. To remove the back panel, take out the screws indicated in the final picture of the sequence.

  2. Kodak EasyShare C195 LCD Screen Replacement: 2 단계, 이미지 1/3 Kodak EasyShare C195 LCD Screen Replacement: 2 단계, 이미지 2/3 Kodak EasyShare C195 LCD Screen Replacement: 2 단계, 이미지 3/3
    • Once all the screws are out, remove the back panel.

    • The front panel does not need to be removed for replacing the LCD or the Lens.

    • To do this, start by removing the bottom of the panel.

  3. Kodak EasyShare C195 LCD Screen Replacement: 3 단계, 이미지 1/2 Kodak EasyShare C195 LCD Screen Replacement: 3 단계, 이미지 2/2
    • Once the bottom part is unhooked, unhook the top, and the whole panel should come off.

    • Be sure to gently pry the cover off.

  4. Kodak EasyShare C195 LCD Screen Replacement: 4 단계, 이미지 1/1
    • In the top right hand corner of the inside of the camera, there is a Philips #00 4 mm screw that needs to be removed.

  5. Kodak EasyShare C195 LCD Screen Replacement: 5 단계, 이미지 1/3 Kodak EasyShare C195 LCD Screen Replacement: 5 단계, 이미지 2/3 Kodak EasyShare C195 LCD Screen Replacement: 5 단계, 이미지 3/3
    • The next step is to remove the white ribbon on the upper right hand corner next to the LCD screen.

    • This can be done with or without tweezers.

    • The screen is still attached at the bottom, so do not take the screen off yet.

  6. Kodak EasyShare C195 LCD Screen Replacement: 6 단계, 이미지 1/3 Kodak EasyShare C195 LCD Screen Replacement: 6 단계, 이미지 2/3 Kodak EasyShare C195 LCD Screen Replacement: 6 단계, 이미지 3/3
    • Carefully pry the top portion of the screen from the camera.

    • The screen is still attached to the camera via a yellow ribbon at the bottom of the camera.

  7. Kodak EasyShare C195 LCD Screen Replacement: 7 단계, 이미지 1/3 Kodak EasyShare C195 LCD Screen Replacement: 7 단계, 이미지 2/3 Kodak EasyShare C195 LCD Screen Replacement: 7 단계, 이미지 3/3
    • To remove the screen completely, push down on the rectangular tab indicated in the picture.

  8. Kodak EasyShare C195 LCD Screen Replacement: 8 단계, 이미지 1/2 Kodak EasyShare C195 LCD Screen Replacement: 8 단계, 이미지 2/2
    • The LCD screen is now completely removed from the rest of the camera.

결론

To reassemble your device, follow these instructions in reverse order. NOTE: be sure to put the internal screws on the inside and the external screws on the outside.

다른 4명이 해당 안내서를 완성하였습니다.

Alyssa

회원 가입일: 04/12/12

81 평판

안내서 4개 작성하였습니다

Cal Poly, Team 6-22, Amido Spring 2012 Cal Poly, Team 6-22, Amido Spring 2012 회원

CPSU-AMIDO-S12S6G22

4 회원들

안내서 8개 작성하였습니다

댓글 0개

댓글 쓰기

조회 통계:

24 시간 전: 0

7일 전: 3

30일 전: 14

전체 시간: 2,683