이 버전에는 잘못된 편집 사항이 있을 수 있습니다. 최신 확인된 스냅샷으로 전환하십시오.
필요한 것
-
이 단계는 번역되지 않았습니다. 번역을 도와주십시오
-
To start, remove the Philips #00 4.5 mm screws on both sides of the camera.
-
On the bottom, there are three Philips #00 4.5 mm screws. Two are for the front panel and one is for the back panel. To remove the back panel, take out the screws indicated in the final picture of the sequence.
-
-
이 단계는 번역되지 않았습니다. 번역을 도와주십시오
-
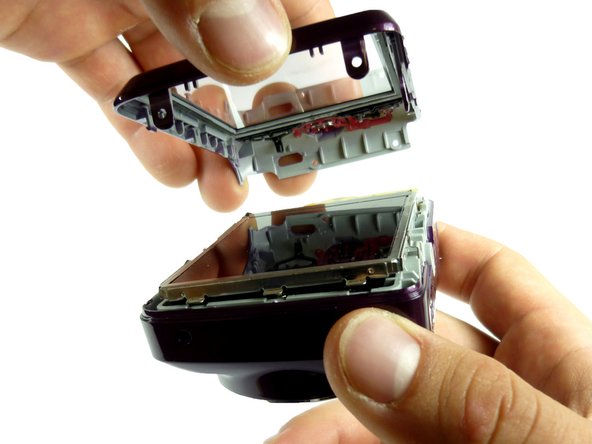
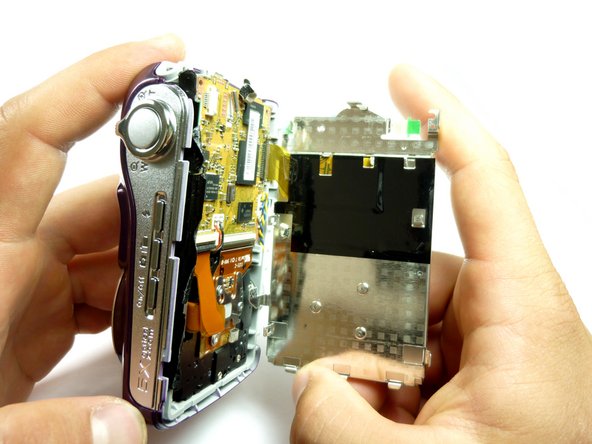
Once all the screws are out, remove the back panel.
-
To do this, start by removing the bottom of the panel.
-
-
이 단계는 번역되지 않았습니다. 번역을 도와주십시오
-
Once the bottom part is unhooked, unhook the top, and the whole panel should come off.
-
Be sure to gently pry the cover off.
-
-
-
이 단계는 번역되지 않았습니다. 번역을 도와주십시오
-
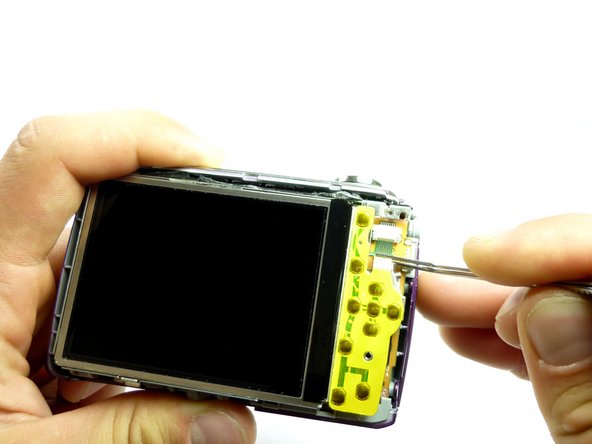
In the top right hand corner of the inside of the camera, there is a Philips #00 4 mm screw that needs to be removed.
-
-
이 단계는 번역되지 않았습니다. 번역을 도와주십시오
-
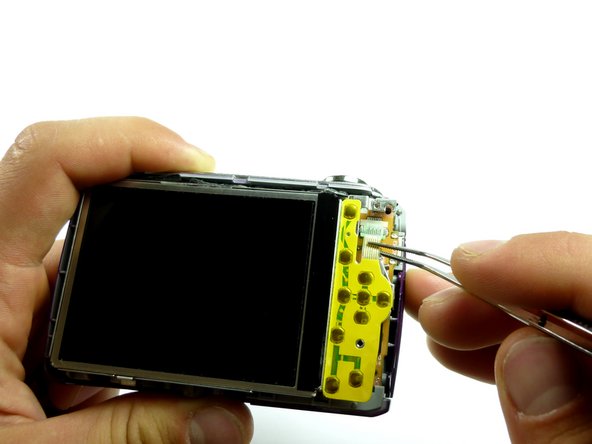
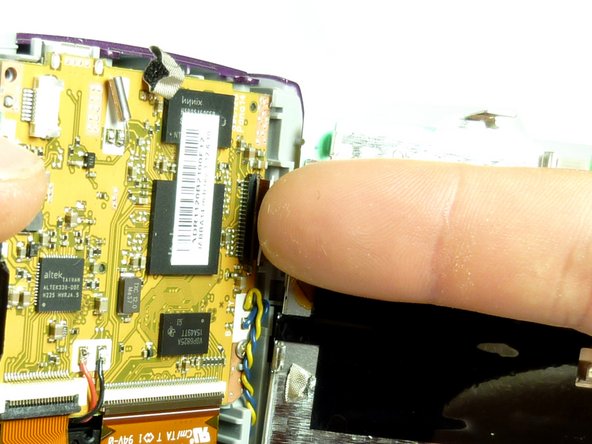
The next step is to remove the white ribbon on the upper right hand corner next to the LCD screen.
-
This can be done with or without tweezers.
-
-
이 단계는 번역되지 않았습니다. 번역을 도와주십시오
-
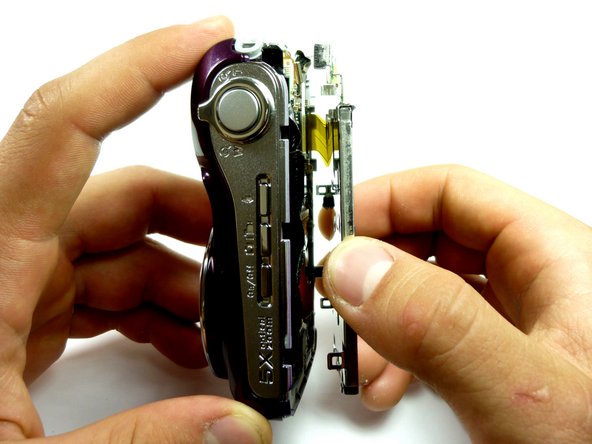
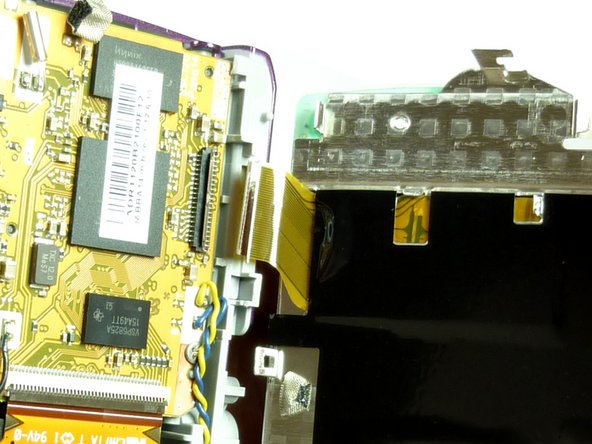
To remove the screen completely, push down on the rectangular tab indicated in the picture.
-


다른 4명이 해당 안내서를 완성하였습니다.
팀

Cal Poly, Team 6-22, Amido Spring 2012 Cal Poly, Team 6-22, Amido Spring 2012 회원
CPSU-AMIDO-S12S6G22
4 회원들
안내서 8개 작성하였습니다