주요 콘텐츠로 건너뛰기

Kodak EasyShare C913 Front Case Replacement

필요한 것

  1. Kodak EasyShare C913 Front Case Replacement, Batteries: 1 단계, 이미지 1/3 Kodak EasyShare C913 Front Case Replacement, Batteries: 1 단계, 이미지 2/3 Kodak EasyShare C913 Front Case Replacement, Batteries: 1 단계, 이미지 3/3
    • Position the camera with the bottom facing up.

    • Slide the battery cover in the direction of the arrow with your finger gently.

    • Remove the batteries

  2. Kodak EasyShare C913 Front Case Replacement, Back Case: 2 단계, 이미지 1/3 Kodak EasyShare C913 Front Case Replacement, Back Case: 2 단계, 이미지 2/3 Kodak EasyShare C913 Front Case Replacement, Back Case: 2 단계, 이미지 3/3
    • Remove the seven 4.5mm screws with a Phillips #00 screwdriver.

    • 2 on the left

    • 2 on the right

    • 3 on the bottom

  3. Kodak EasyShare C913 Front Case Replacement: 3 단계, 이미지 1/3 Kodak EasyShare C913 Front Case Replacement: 3 단계, 이미지 2/3 Kodak EasyShare C913 Front Case Replacement: 3 단계, 이미지 3/3
    • Firmly grasp the back of the camera and pull the away the casing.

  4. Kodak EasyShare C913 Front Case Replacement, Front Case: 4 단계, 이미지 1/3 Kodak EasyShare C913 Front Case Replacement, Front Case: 4 단계, 이미지 2/3 Kodak EasyShare C913 Front Case Replacement, Front Case: 4 단계, 이미지 3/3
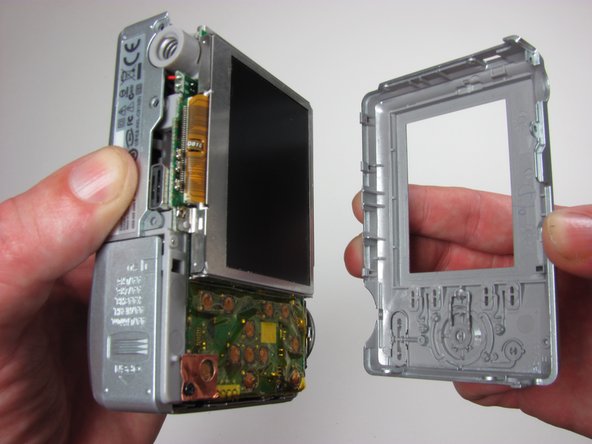
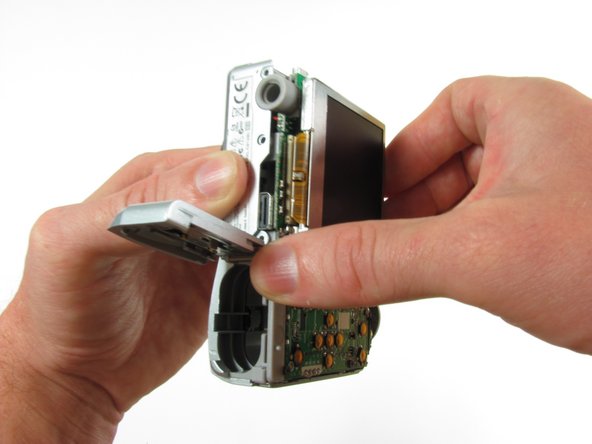
    • Keep the battery door open

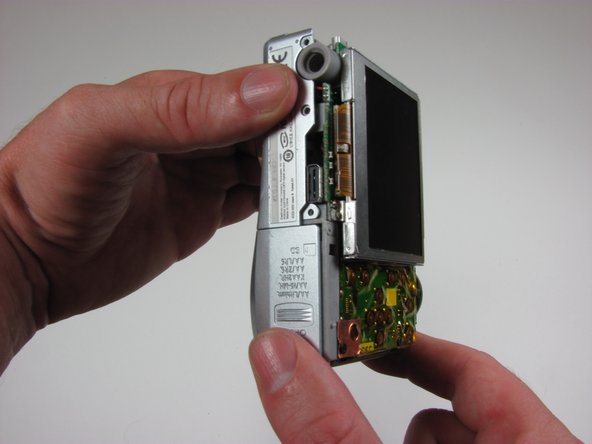
    • Firmly grasp the front casing and pull away from the camera.

결론

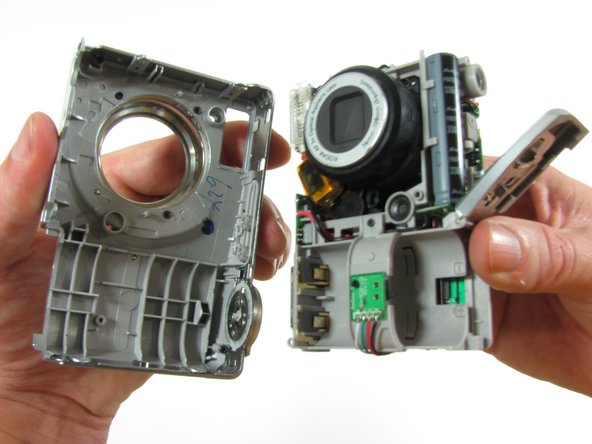
To reassemble your device, follow these instructions in reverse order.

다른 2명이 해당 안내서를 완성하였습니다.

Dustin Rodgers

회원 가입일: 10/05/10

65 평판

안내서 4개 작성하였습니다

Cal Poly, Team 7-51, Amido Fall 2010 Cal Poly, Team 7-51, Amido Fall 2010 회원

CPSU-AMIDO-F10S7G51

4 회원들

안내서 14개 작성하였습니다

댓글 0개

댓글 쓰기

조회 통계:

24 시간 전: 0

7일 전: 1

30일 전: 6

전체 시간: 2,950