이 안내서에는 최근 변경 사항이 더 있습니다. 최신 비검증 버전으로 전환하십시오.
소개
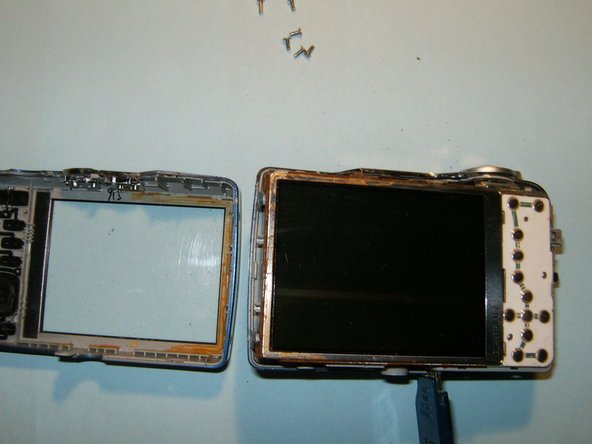
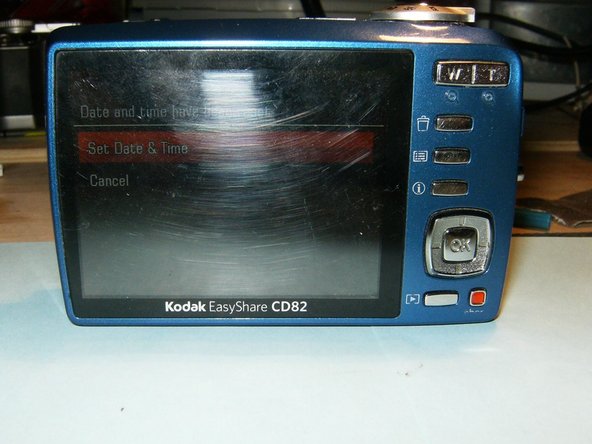
Use this guide to disassemble a Kodak EasyShare CD82, in order to remove and replace the LCD display screen.
필요한 것
-
-
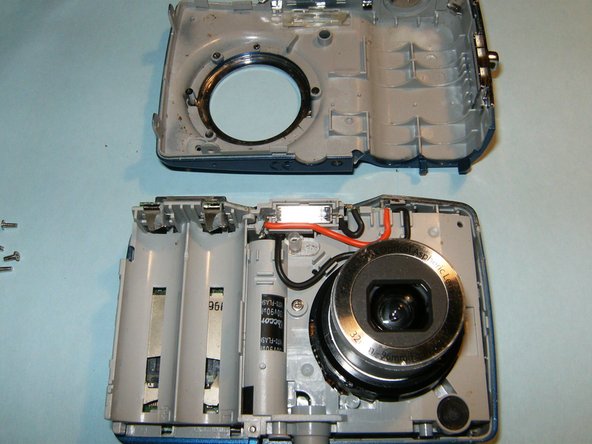
Remove the batteries and the memory card from the device.
-
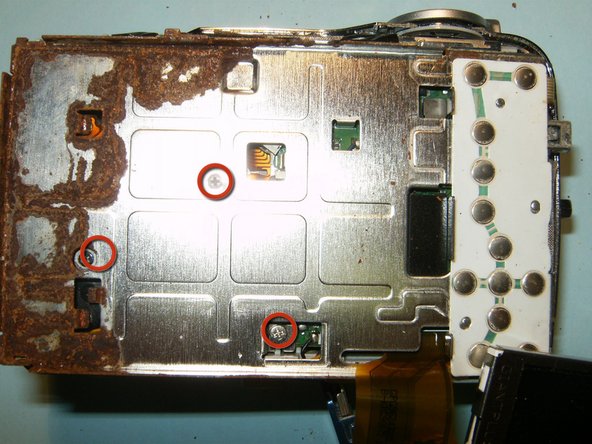
Remove the 2 screws located at the bottom of the device.
-
-


거의 끝나갑니다!
To reassemble your device, follow these instructions in reverse order.
결론
To reassemble your device, follow these instructions in reverse order.
다른 2명이 해당 안내서를 완성하였습니다.

팀

댓글 한 개
Is there any repair for Kodak CD80 easy share camera…..as my camera is not working