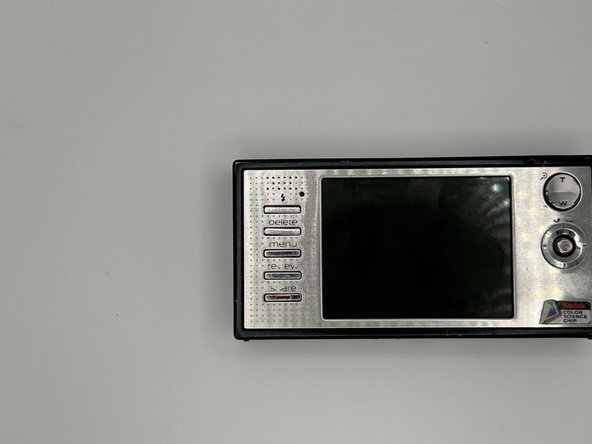
주요 콘텐츠로 건너뛰기

Kodak EasyShare V570 Case Replacement

필요한 것

  1. Kodak EasyShare V570 Case Replacement, Case: 1 단계, 이미지 1/2 Kodak EasyShare V570 Case Replacement, Case: 1 단계, 이미지 2/2
    • Here is the front, back, and right side of the camera.

  2. Kodak EasyShare V570 Case Replacement: 2 단계, 이미지 1/3 Kodak EasyShare V570 Case Replacement: 2 단계, 이미지 2/3 Kodak EasyShare V570 Case Replacement: 2 단계, 이미지 3/3
    • There are going to be four #000 screws on the left side of the camera.

    • Remove the four corner screws using a Philips #000 Screwdriver.

    • On the right side of the camera, remove the two Phillips #000 screws at the bottom.

    • On the underside of the camera, remove the three Phillips #000 screws.

  3. Kodak EasyShare V570 Case Replacement: 3 단계, 이미지 1/3 Kodak EasyShare V570 Case Replacement: 3 단계, 이미지 2/3 Kodak EasyShare V570 Case Replacement: 3 단계, 이미지 3/3
    • As soon as all the screws from the casing are removed, use the iFixit opening pick to slide around the border.

    • If the cover appears loose, try to take it off (with your fingers) while slightly wiggling it, and it should detach.

  4. Kodak EasyShare V570 Case Replacement: 4 단계, 이미지 1/2 Kodak EasyShare V570 Case Replacement: 4 단계, 이미지 2/2
    • Here is what the camera looks like with both of the covers taken off.

    • The T-W button is upside down.

    • To put the top and back camera covers back on, follow the steps but in reverse.

결승점

Isa Hamilton Cruz

회원 가입일: 09/13/23

475 평판

안내서 3개 작성하였습니다

University of North Texas, Team 1-6, Kilpatrick Fall 2023 University of North Texas, Team 1-6, Kilpatrick Fall 2023 회원

UNT-KILPATRICK-F23S1G6

4 회원들

안내서 3개 작성하였습니다

댓글 0개

댓글 쓰기

조회 통계:

24 시간 전: 1

7일 전: 1

30일 전: 6

전체 시간: 85