이 안내서에는 최근 변경 사항이 더 있습니다. 최신 비검증 버전으로 전환하십시오.
소개
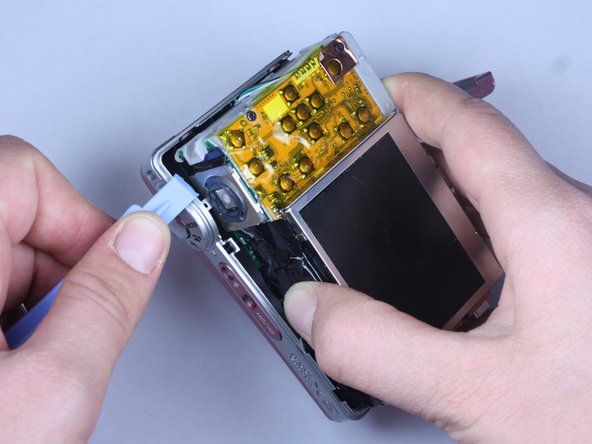
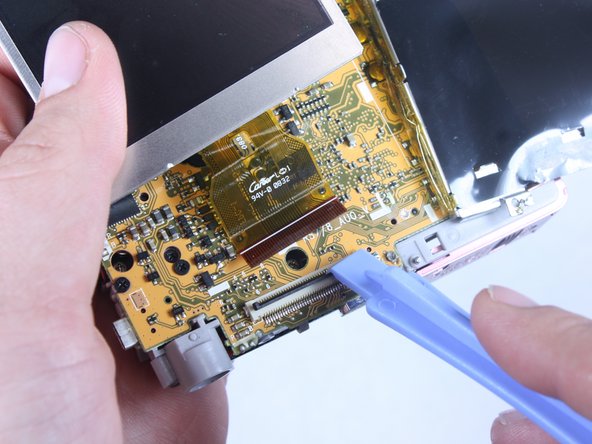
This guide demonstrates how to install a LCD.
필요한 것
-
-
Turn off camera by firmly pressing the power button that is located on the top of the camera near the selector dial.
-
-
-
Before removing back cover, it is advisable to use an anti-static wrist strap to prevent damage to electronics.
-
-
-
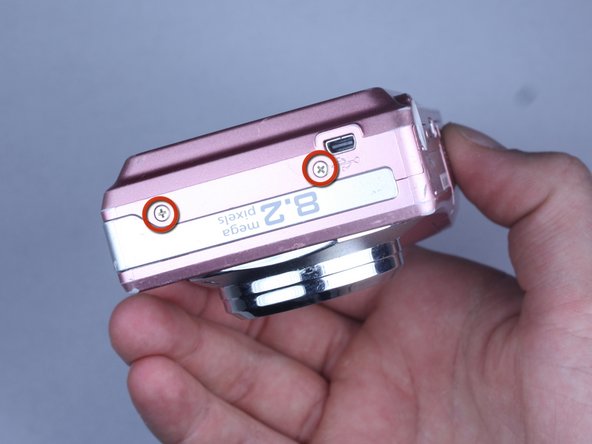
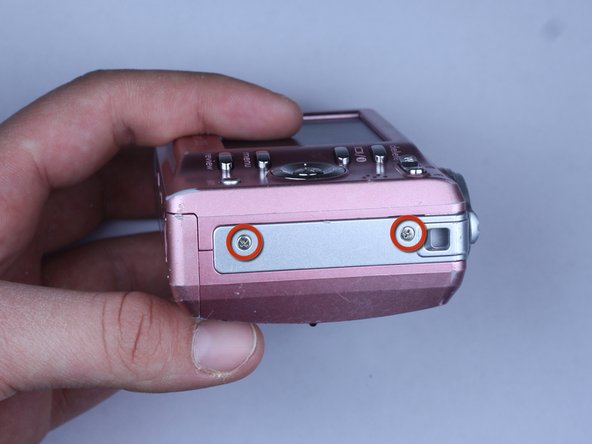
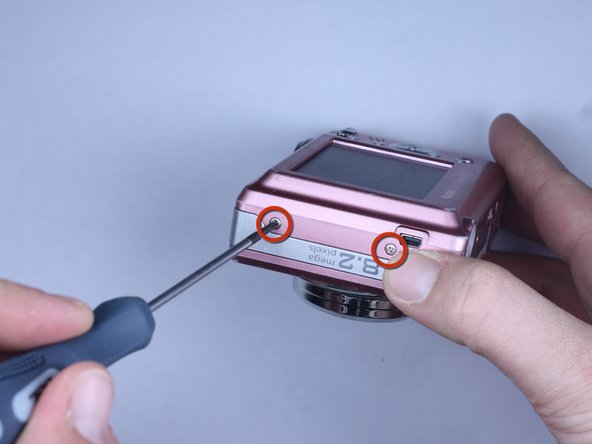
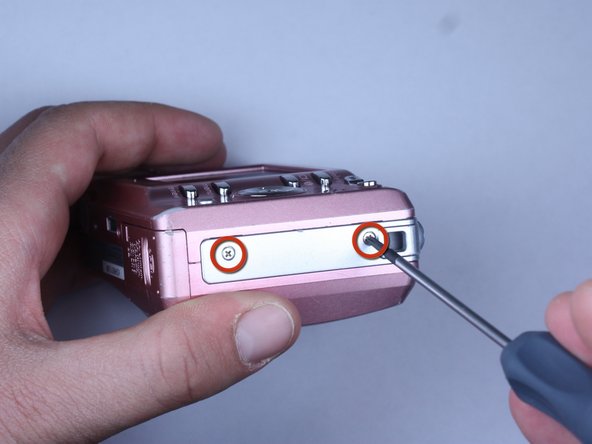
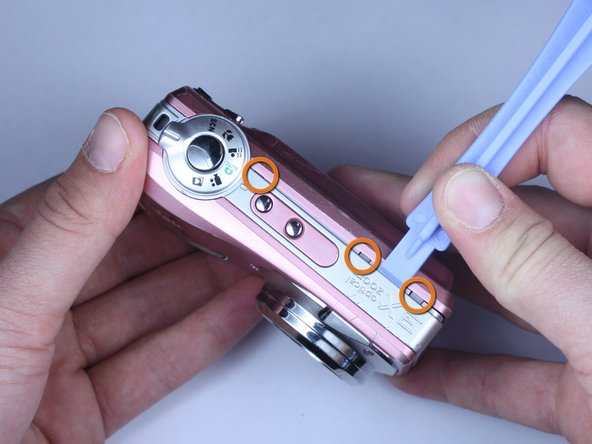
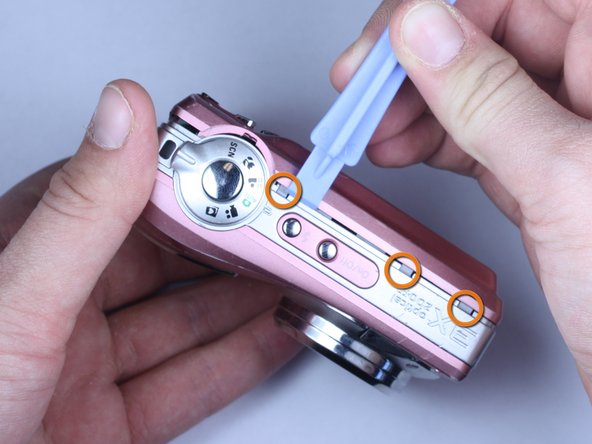
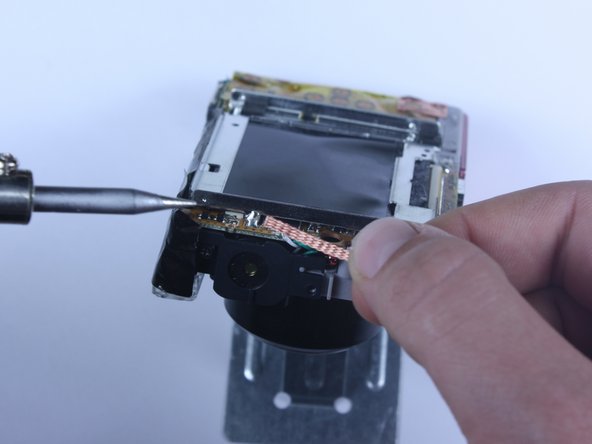
Remove all 7 screws:
-
Hold the camera firmly with one hand so that you can still see a screw.
-
Place the Philips 00(Found here)screwdriver into the screw.
-
Turn the screwdriver to the left until it is free.
-
Repeat for the remaining screws.
-
-
-
-
Open the battery door.
-
Press thumb firmly on battery door and slide it in the direction of the arrow.
-
Lift thumb allowing the door to swing open.
-


To reassemble your device, follow these instructions in reverse order.
To reassemble your device, follow these instructions in reverse order.
다른 2명이 해당 안내서를 완성하였습니다.
팀

Cal Poly, Team 24-22, Regan Spring 2010 Cal Poly, Team 24-22, Regan Spring 2010 회원
CPSU-REGAN-S10S24G22
4 회원들
안내서 20개 작성하였습니다