주요 콘텐츠로 건너뛰기

Kyocera DuraForce Pro Camera Replacement

필요한 것

  1. Kyocera DuraForce Pro Camera Replacement, Camera: 1 단계, 이미지 1/3 Kyocera DuraForce Pro Camera Replacement, Camera: 1 단계, 이미지 2/3 Kyocera DuraForce Pro Camera Replacement, Camera: 1 단계, 이미지 3/3
    • Begin with the phone on its side.

    • Use the plastic opening tool to remove the cover. It is easier to begin near the volume button. The cover should pop off on its own.

  2. Kyocera DuraForce Pro Camera Replacement: 2 단계, 이미지 1/3 Kyocera DuraForce Pro Camera Replacement: 2 단계, 이미지 2/3 Kyocera DuraForce Pro Camera Replacement: 2 단계, 이미지 3/3
    • Remove the 8 screws around the outer portion of the phone with the JIS #0 screwdriver bit.

    • Use the plastic opening tool to remove the backside of the phone.

    • Slide the plastic opening tool under the battery to pry it up and remove it.

  3. Kyocera DuraForce Pro Camera Replacement: 3 단계, 이미지 1/3 Kyocera DuraForce Pro Camera Replacement: 3 단계, 이미지 2/3 Kyocera DuraForce Pro Camera Replacement: 3 단계, 이미지 3/3
    • Once the battery pops out, remove the orange tape that connects the battery to the phone.

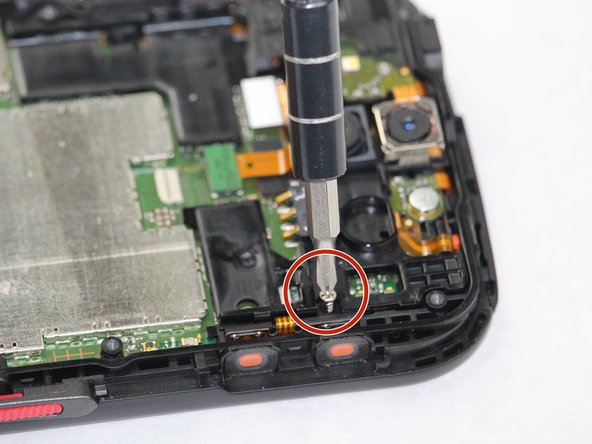
    • Next, remove the 2 screws connecting the mounting bracket.

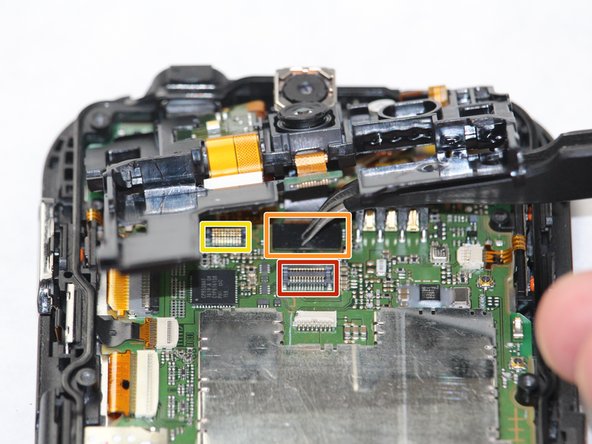
    • Remove mounting bracket.

  4. Kyocera DuraForce Pro Camera Replacement: 4 단계, 이미지 1/2 Kyocera DuraForce Pro Camera Replacement: 4 단계, 이미지 2/2
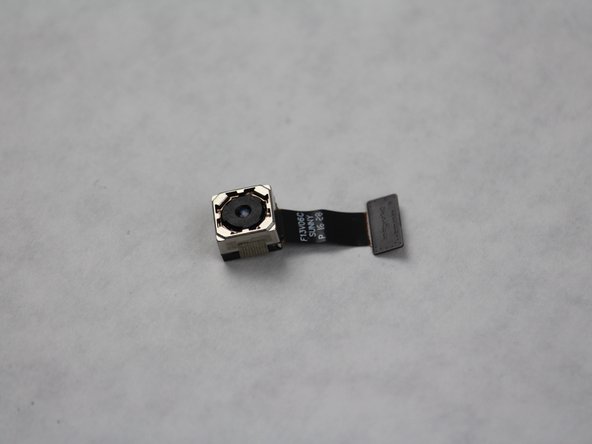
    • Pull the camera housing out of the phone.

결론

To reassemble your device, follow these instructions in reverse order.

Dylan Ulbricht

회원 가입일: 10/08/18

735 평판

안내서 5개 작성하였습니다

Sam Houston State, Team S15-G4, Blackburne Fall 2018 Sam Houston State, Team S15-G4, Blackburne Fall 2018 회원

SHSU-BLACKBURNE-F18S15G4

3 회원들

안내서 10개 작성하였습니다

댓글 0개

댓글 쓰기

조회 통계:

24 시간 전: 2

7일 전: 7

30일 전: 19

전체 시간: 1,783