주요 콘텐츠로 건너뛰기

Kyocera QCP-2035 Display Replacement

필요한 것

  1. Kyocera QCP-2035 Display Replacement, Remove Back Cover: 1 단계, 이미지 1/3 Kyocera QCP-2035 Display Replacement, Remove Back Cover: 1 단계, 이미지 2/3 Kyocera QCP-2035 Display Replacement, Remove Back Cover: 1 단계, 이미지 3/3
    • When looking at the back of the phone, you will see a horizontal line and three raised segments of plastic in the form of a triangle.

    • Place thumb on top of the triangle and press into the phone while sliding your thumb towards the bottom of the phone.

    • In 5 mm it will stop sliding.

  2. Kyocera QCP-2035 Display Replacement: 2 단계, 이미지 1/3 Kyocera QCP-2035 Display Replacement: 2 단계, 이미지 2/3 Kyocera QCP-2035 Display Replacement: 2 단계, 이미지 3/3
    • Grab the bottom of the back cover with your other hand and pull the cover the rest of the way off.

    • Turn the phone over slowly. The battery will fall out on its own.

  3. Kyocera QCP-2035 Display Replacement: 3 단계, 이미지 1/3 Kyocera QCP-2035 Display Replacement: 3 단계, 이미지 2/3 Kyocera QCP-2035 Display Replacement: 3 단계, 이미지 3/3
    • Rotate the phone so the bottom is facing you. There is a small indent on the plastic face.

    • Using the tip of your fingernail or a spudger, pry the cover away from the rest of the phone.

    • Once the cover starts to part, keep separating until the top notches detach.

  4. Kyocera QCP-2035 Display Replacement: 4 단계, 이미지 1/3 Kyocera QCP-2035 Display Replacement: 4 단계, 이미지 2/3 Kyocera QCP-2035 Display Replacement: 4 단계, 이미지 3/3
    • With the cover plate separated, you will see (6) T6x11mm torx screws recessed in the white plastic.

    • Remove screws.

    • The white plastic face plate lifts right off, exposing the main board.

  5. Kyocera QCP-2035 Display Replacement, Display: 5 단계, 이미지 1/3 Kyocera QCP-2035 Display Replacement, Display: 5 단계, 이미지 2/3 Kyocera QCP-2035 Display Replacement, Display: 5 단계, 이미지 3/3
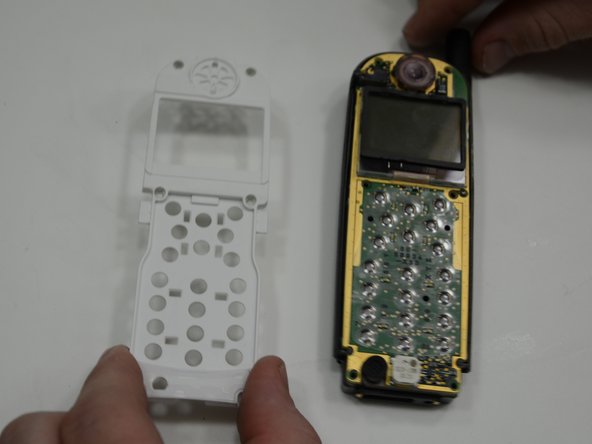
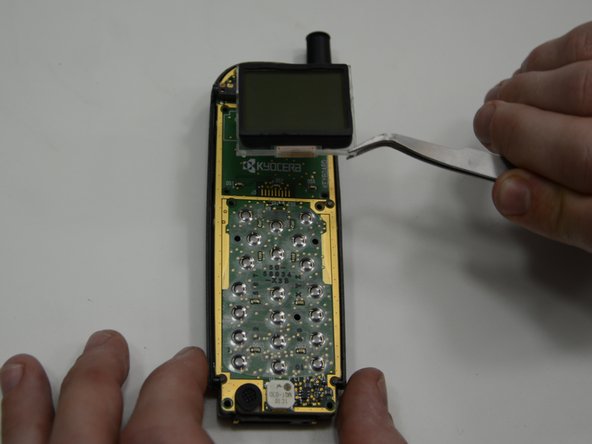
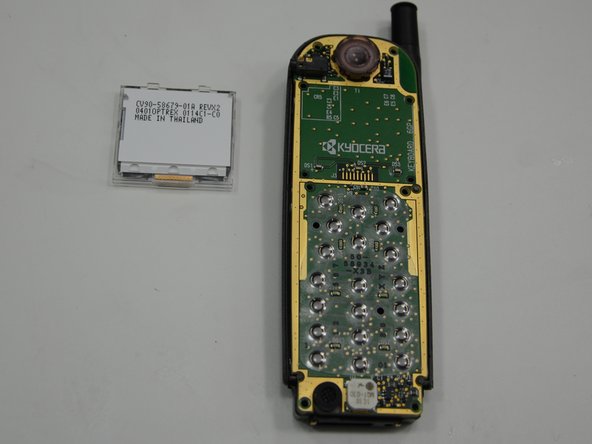
    • Lift the display straight up, by either grabbing it on it's sides, or sliding a pair of tweezers between the screen and the main board.

    • There are four straight plastic pins on the underside corners of the screen that hold it in place.

결론

To reassemble your device, follow these instructions in reverse order.

다른 한 분이 해당 안내서를 완성하였습니다.

Scott Whitney

회원 가입일: 01/21/15

301 평판

안내서 3개 작성하였습니다

USF Tampa, Team 5-3, Brown Winter 2015 USF Tampa, Team 5-3, Brown Winter 2015 회원

USFT-BROWN-W15S5G3

4 회원들

안내서 12개 작성하였습니다

댓글 0개

댓글 쓰기

조회 통계:

24 시간 전: 0

7일 전: 1

30일 전: 2

전체 시간: 176