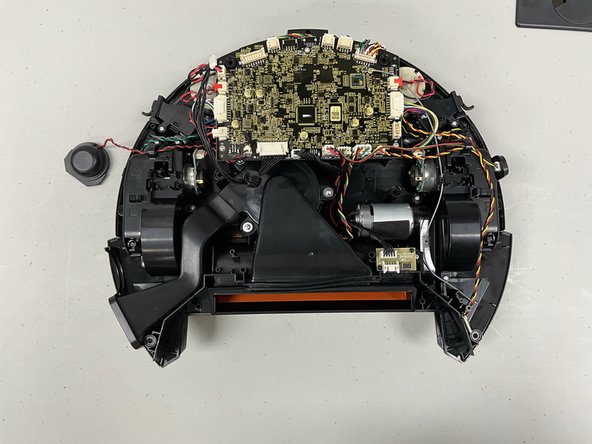
주요 콘텐츠로 건너뛰기

Kyvol Cybovac L20 Motherboard Replacement

필요한 것

  1. Kyvol Cybovac L20 Motherboard Replacement, Battery: 1 단계, 이미지 1/1
    • Begin with the device laying on a flat surface with the power button facing up.

  2. Kyvol Cybovac L20 Motherboard Replacement: 2 단계, 이미지 1/2 Kyvol Cybovac L20 Motherboard Replacement: 2 단계, 이미지 2/2
    • Remove both of the side brushes.

  3. Kyvol Cybovac L20 Motherboard Replacement: 3 단계, 이미지 1/1
    • Use a Phillips #1 screwdriver to remove two 1 mm screws that secure the panel.

    • Remove the battery panel.

  4. Kyvol Cybovac L20 Motherboard Replacement: 4 단계, 이미지 1/2 Kyvol Cybovac L20 Motherboard Replacement: 4 단계, 이미지 2/2
    • Slightly lift the battery out of the compartment.

    • Disconnect the battery connector.

    • Completely remove the battery.

  5. Kyvol Cybovac L20 Motherboard Replacement, Motherboard: 5 단계, 이미지 1/1
    • Use a Phillips #1 screwdriver to remove 8 screws from the device as shown.

  6. Kyvol Cybovac L20 Motherboard Replacement: 6 단계, 이미지 1/2 Kyvol Cybovac L20 Motherboard Replacement: 6 단계, 이미지 2/2
    • Lift base up and unplug any cable connected form the motherboard into the rest of the components.

  7. Kyvol Cybovac L20 Motherboard Replacement: 7 단계, 이미지 1/1
    • Use a Phillips #1 screwdriver to remove the 4 screws holding the motherboard in place.

    • Lift the motherboard up and out of the chassis.

결론

To reassemble your device, follow these instructions in reverse order.

ErickAmaya

회원 가입일: 09/12/23

97 평판

안내서 1개 작성함

University of North Texas, Team 3-5, Coppersmith Fall 2023 University of North Texas, Team 3-5, Coppersmith Fall 2023 회원

UNT-COPPERSMITH-F23S3G5

4 회원들

안내서 3개 작성하였습니다

댓글 0개

댓글 쓰기

조회 통계:

24 시간 전: 0

7일 전: 1

30일 전: 9

전체 시간: 45