소개
The LG Cinebeam's (Model# PH150B) motherboard recognizes the inputs for the projector, so if your device doesn't recognize the inputs, you should replace it.
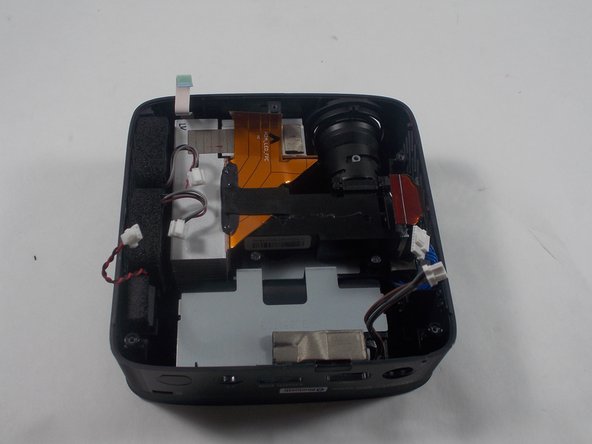
Typically, the motherboard doesn't break easily when the device is closed. However, when opened, be careful as you could damage it or one of its parts.
Removing the motherboard also grants access to the other parts of the projector. This guide will help you through the process of removing the motherboard.
Before beginning, make sure to power off the projector completely and disconnect from any external power source.
When done, make sure all the cables/wires are placed correctly and secured.
필요한 것
-
-
-
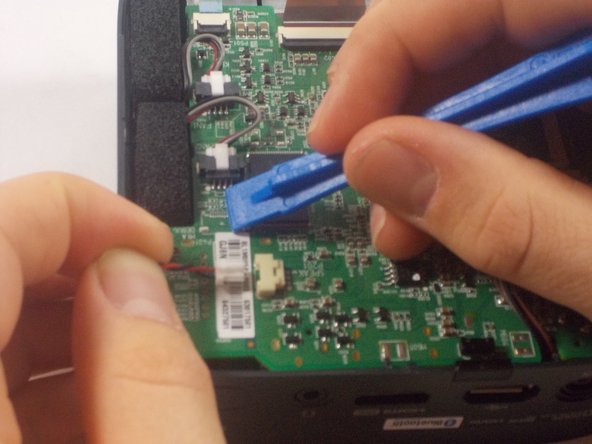
Using an iFixit opening tool, press down the lever on the top of the minilock connector for the speaker and pull the plug out gently.
-
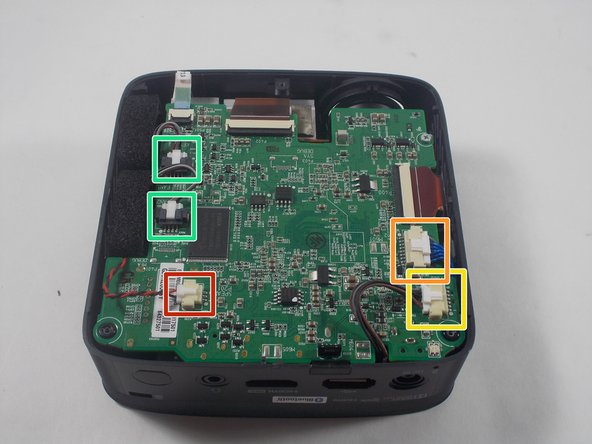
Repeat this process to remove the WiFi/Bluetooth card connector.
-
Remove the battery connector.
-
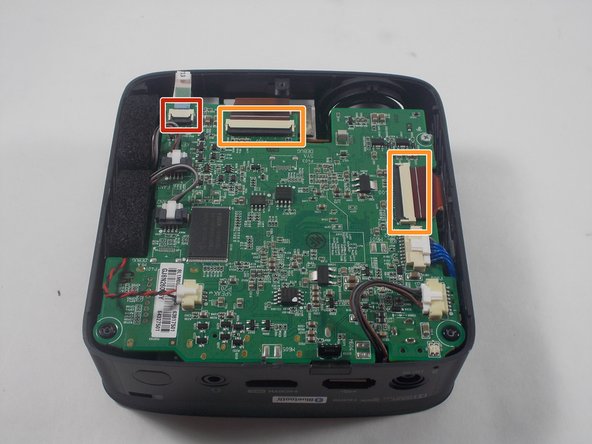
Remove the fan connectors.
-


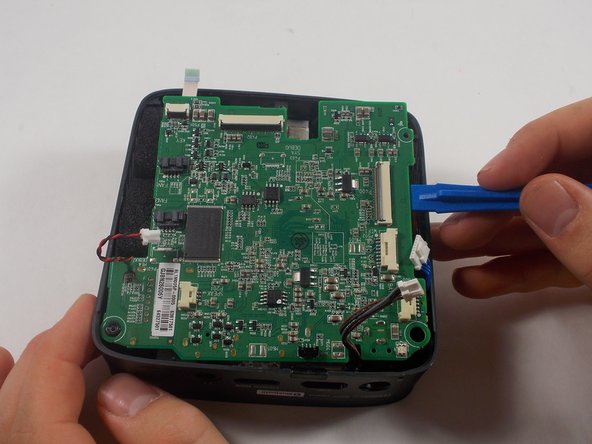
To reassemble your device, follow these instructions in reverse order.
To reassemble your device, follow these instructions in reverse order.

팀

UMass Dartmouth, Team 1-5, Botvin Spring 2022 UMass Dartmouth, Team 1-5, Botvin Spring 2022 회원
UMASSD-BOTVIN-S22S1G5
3 회원들
안내서 6개 작성하였습니다