이 버전에는 잘못된 편집 사항이 있을 수 있습니다. 최신 확인된 스냅샷으로 전환하십시오.
필요한 것
-
이 단계는 번역되지 않았습니다. 번역을 도와주십시오
-
First things first, use the handy pick iFixit sells on their online store. Carefully pry the frame apart in between the screen assembly an back cover. Be extremely careful, you don't want to damage the motherboard..
-
-
이 단계는 번역되지 않았습니다. 번역을 도와주십시오
-
Vuala! We're in! Carefully slide the screen assembly away from the back cover.
-
-
이 단계는 번역되지 않았습니다. 번역을 도와주십시오
-
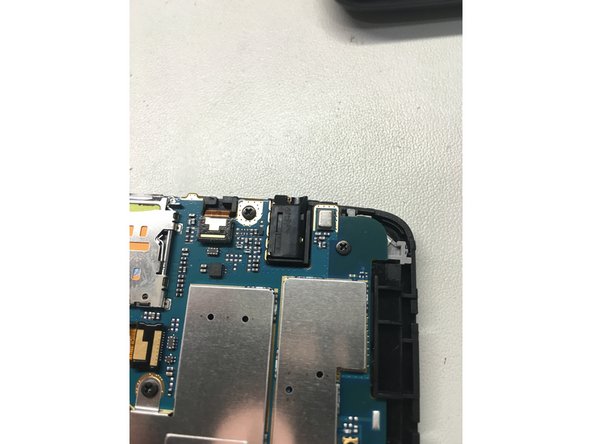
Here's the inside of the tablet. Pretty straight forward, nothing to spectacular.
-
-
-
이 단계는 번역되지 않았습니다. 번역을 도와주십시오
-
이 단계는 번역되지 않았습니다. 번역을 도와주십시오
-
Carefully pry up the charging port connection from the bottom left with your Tweezers.
-
-
이 단계는 번역되지 않았습니다. 번역을 도와주십시오
-
Grab your iSesamo Opening Tool and break the adhesive around the edges of the battery.
-
-
이 단계는 번역되지 않았습니다. 번역을 도와주십시오
-
After removing the faulty/dead battery, make sure you properly dispose it.
-
-
이 단계는 번역되지 않았습니다. 번역을 도와주십시오
-
After reconnecting the new battery and charging flex cable, make sure you put the headphone jack back into place.
-


다른 2명이 해당 안내서를 완성하였습니다.

팀

댓글 2개
Big thanks to the Author for this, I used it on my v410, worked perfect !
My G pad 7.0 wont turn on. Do I have to do some kind or re-boot or restart it? Cause one time when I changed mi iPhone 5c's battery I had to restart it the phone.