주요 콘텐츠로 건너뛰기

LG Optimus Fuel Camera Replacement

필요한 것

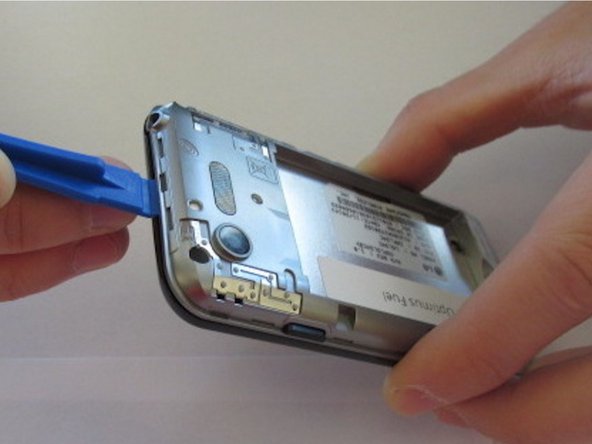
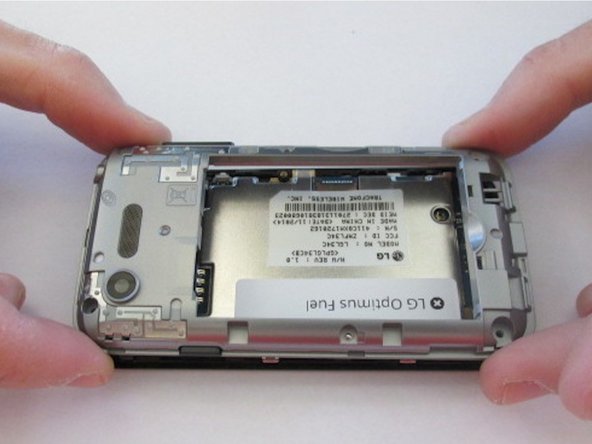
  1. LG Optimus Fuel Camera Replacement, Battery: 1 단계, 이미지 1/2 LG Optimus Fuel Camera Replacement, Battery: 1 단계, 이미지 2/2
    • Use the opening on the right side of the phone to pull off the plastic back cover.

  2. LG Optimus Fuel Camera Replacement: 2 단계, 이미지 1/3 LG Optimus Fuel Camera Replacement: 2 단계, 이미지 2/3 LG Optimus Fuel Camera Replacement: 2 단계, 이미지 3/3
    • Use the curved opening at the center-bottom of the battery to carefully remove the old battery.

  3. LG Optimus Fuel Camera Replacement, Camera: 3 단계, 이미지 1/3 LG Optimus Fuel Camera Replacement, Camera: 3 단계, 이미지 2/3 LG Optimus Fuel Camera Replacement, Camera: 3 단계, 이미지 3/3
    • Remove the six 1.4mm screws using a Phillips head screwdriver with a size PH00 head and remove the back panel with a plastic opening tool.

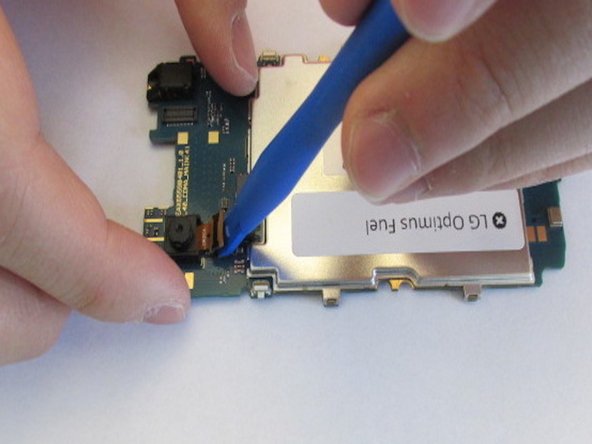
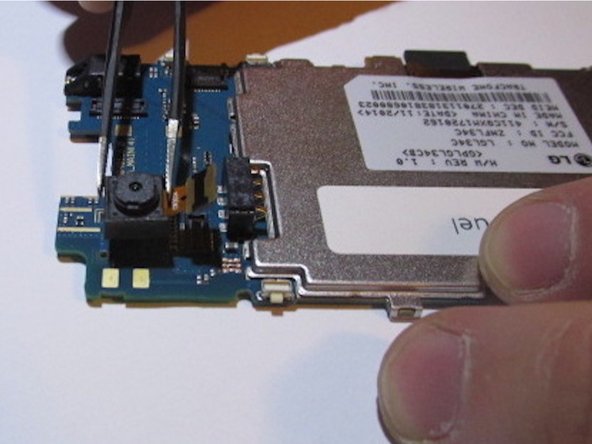
  4. LG Optimus Fuel Camera Replacement: 4 단계, 이미지 1/3 LG Optimus Fuel Camera Replacement: 4 단계, 이미지 2/3 LG Optimus Fuel Camera Replacement: 4 단계, 이미지 3/3
    • The camera has been secured to the circuit board using an adhesive. Use a plastic opening tool and precision tweezers to remove it. Don't be afraid to use a little force when pulling at the camera.

결론

To reassemble your device, follow these instructions in reverse order.

Jason Owen

회원 가입일: 02/01/16

572 평판

안내서 4개 작성하였습니다

댓글 0개

댓글 쓰기

조회 통계:

24 시간 전: 0

7일 전: 0

30일 전: 1

전체 시간: 363