소개
If your LG Optimus V is not getting service when it should, or is otherwise lacking full designed connectivity, use this guide to replace the antenna.
Keep in mind that Step 4 must be done very carefully in order to not damage the device.
Step 5 of this guide requires you to desolder the existing antenna and solder the new antenna in place on the circuit board.
Before beginning this repair, turn off your phone completely and disconnect from your charger.
필요한 것
-
-
-
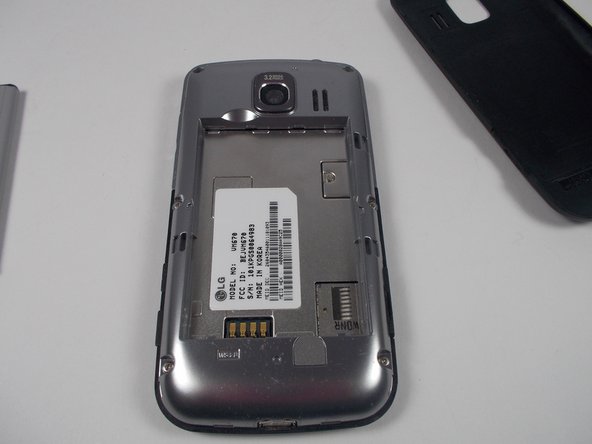
Remove the six screws on the silver casing.
-
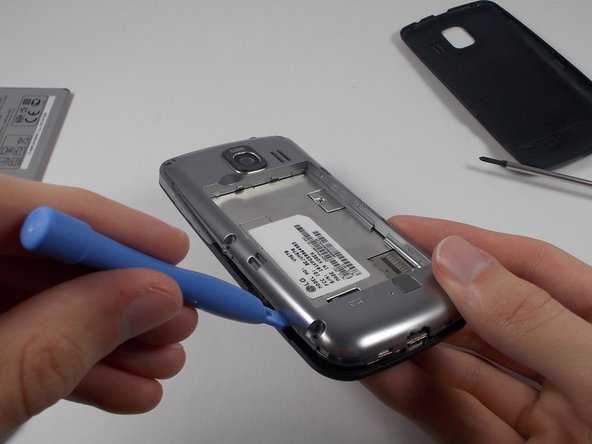
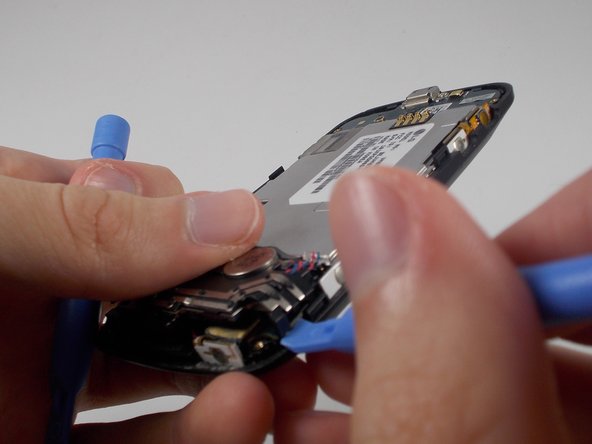
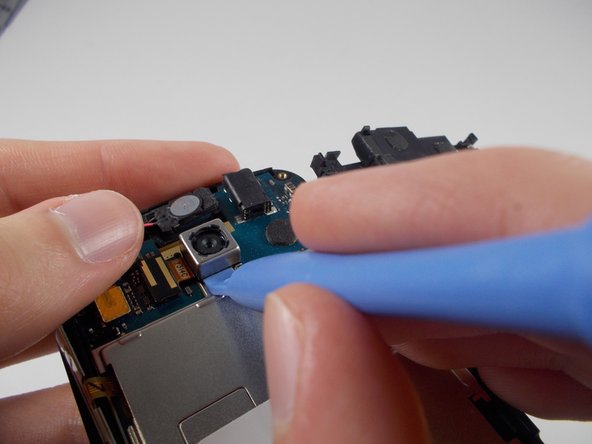
Use the plastic opening tool to remove the silver casing.
-
-
-
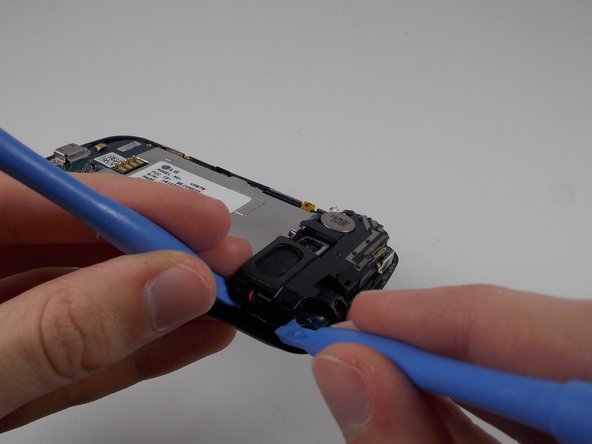
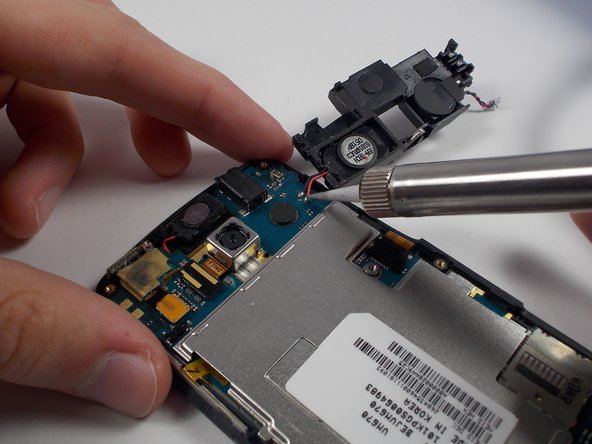
Use a soldering iron to desolder the connections attaching the the antenna to the motherboard.
-


To reassemble your device, follow these instructions in reverse order.
To reassemble your device, follow these instructions in reverse order.
다른 3명이 해당 안내서를 완성하였습니다.
팀

UMass Dartmouth, Team 1-2, Shastany Fall 2013 UMass Dartmouth, Team 1-2, Shastany Fall 2013 회원
UMASSD-SHASTANY-F13S1G2
3 회원들
안내서 5개 작성하였습니다