주요 콘텐츠로 건너뛰기

이 안내서에는 최근 변경 사항이 더 있습니다. 최신 비검증 버전으로 전환하십시오.

LG Optimus V Camera Replacement

필요한 것

  1. LG Optimus V Camera Replacement, Battery: 1 단계, 이미지 1/1
    • Turn the LG Optimus V over, so that the back cover is facing upward.

  2. LG Optimus V Camera Replacement: 2 단계, 이미지 1/1
    • Locate the opening above the camera.

    • Use a spudger to detach the back cover.

  3. LG Optimus V Camera Replacement: 3 단계, 이미지 1/3 LG Optimus V Camera Replacement: 3 단계, 이미지 2/3 LG Optimus V Camera Replacement: 3 단계, 이미지 3/3
    • Gently remove the battery with your spudger.

  4. LG Optimus V Camera Replacement, Camera: 4 단계, 이미지 1/2 LG Optimus V Camera Replacement, Camera: 4 단계, 이미지 2/2
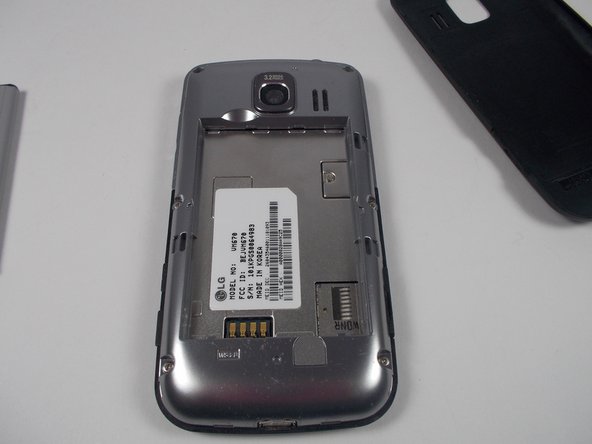
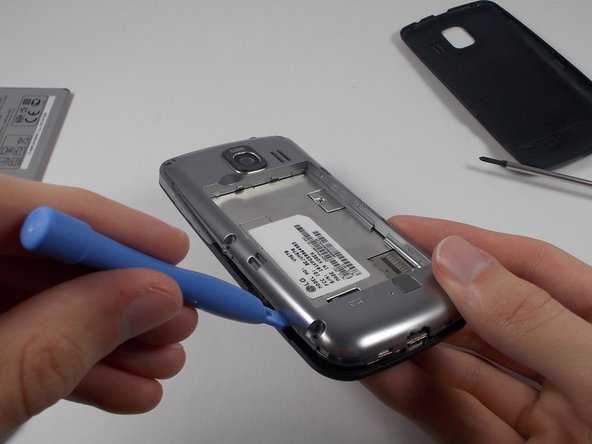
    • Remove the six screws on the silver casing.

    • Use the plastic opening tool to remove the silver casing.

  5. LG Optimus V Camera Replacement: 5 단계, 이미지 1/3 LG Optimus V Camera Replacement: 5 단계, 이미지 2/3 LG Optimus V Camera Replacement: 5 단계, 이미지 3/3
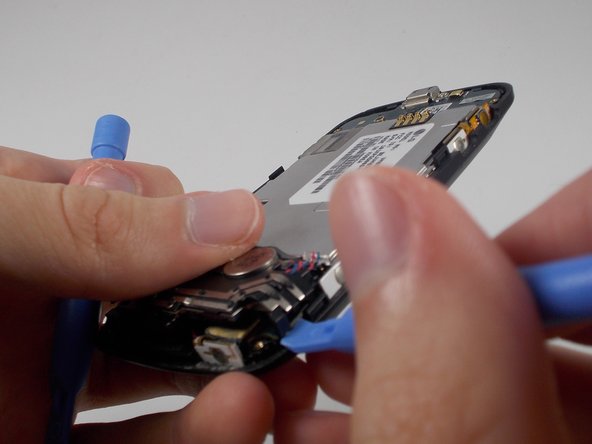
    • Use a plastic opening tool to remove each area holding the parts together.

  6. LG Optimus V Camera Replacement: 6 단계, 이미지 1/2 LG Optimus V Camera Replacement: 6 단계, 이미지 2/2
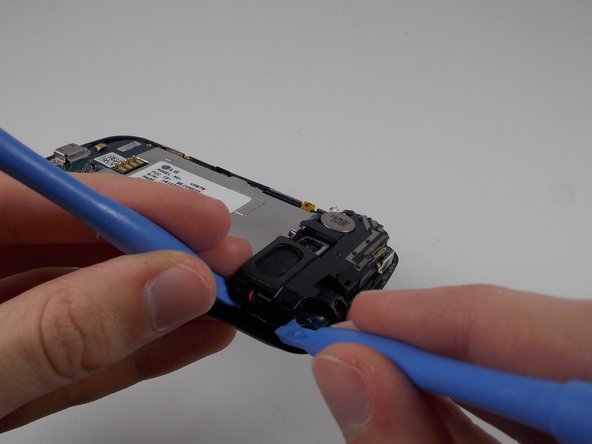
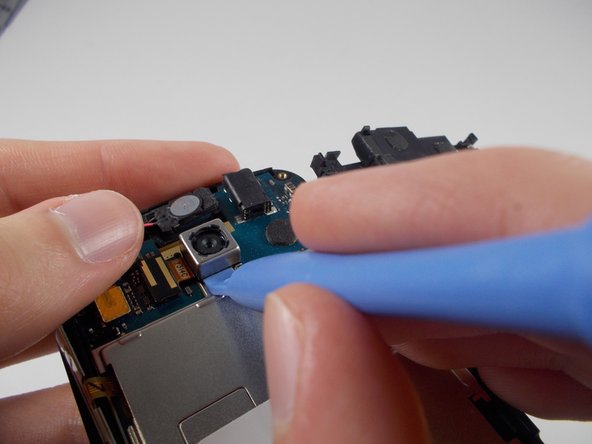
    • Use a plastic opening tool to remove the small black and yellow piece that reads Y3114C.

    • Use a plastic opening tool to pry off the camera.

결론

To reassemble your device, follow these instructions in reverse order.

다른 한 분이 해당 안내서를 완성하였습니다.

Joseph Pasquantonio

회원 가입일: 10/29/13

683 평판

안내서 5개 작성하였습니다

UMass Dartmouth, Team 1-2, Shastany Fall 2013 UMass Dartmouth, Team 1-2, Shastany Fall 2013 회원

UMASSD-SHASTANY-F13S1G2

3 회원들

안내서 5개 작성하였습니다

댓글 0개

댓글 쓰기

조회 통계:

24 시간 전: 0

7일 전: 1

30일 전: 1

전체 시간: 523