소개
The screen is a component that is one of the most susceptible to malfunctioning in a cellphone. In many cases, the screen is prone to breaking and cracking when dropped from various heights. In addition, you may notice that certain images may not be properly appearing due to dead pixels or other impurities in the screen. If your screen is cracked or if you’re experiencing any problems with your screen, the screen needs to be replaced. Follow this guide to replace the display assembly in your LG Stylo 3 Plus.
필요한 것
-
-
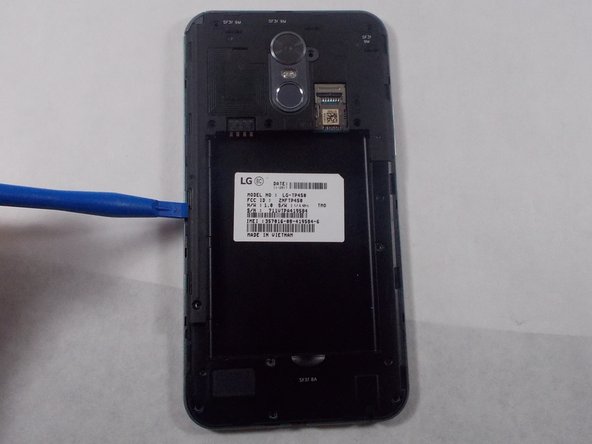
Place the phone face down.
-
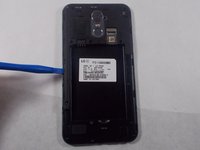
Insert a fingernail or a plastic opening tool into the gap on the side of the phone.
-
Carefully slide your finger or the tool throughout the edge of the phone to ease the back case off.
-
-
-
Place the back cover off to the side.
-
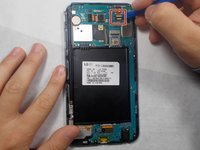
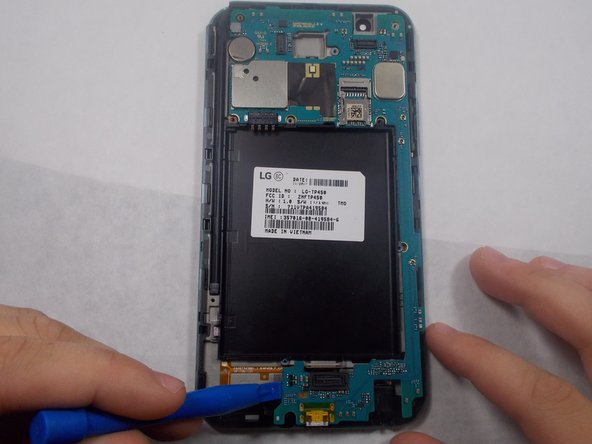
Insert the opening tool into the small gap below the battery.
-
Carefully pop the battery out to prevent damage.
-
-
-
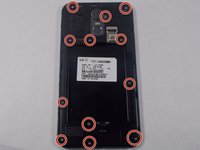
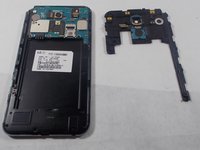
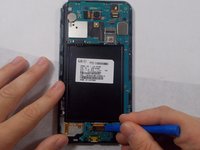
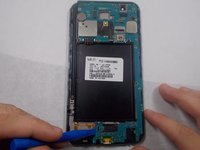
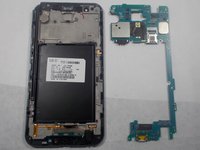
Remove the twelve 4mm screws using the Phillips #000 screwdriver.
-
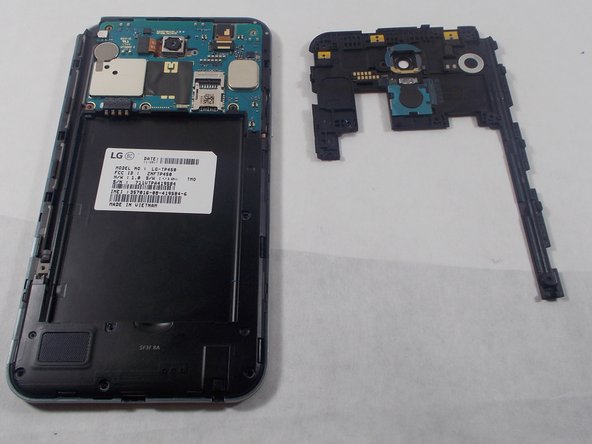
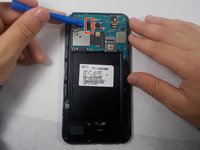
Use the plastic opening tool to remove the inner case.
-
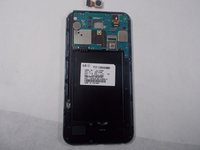
Carefully remove the inner case.
-
-
-
이 단계에 사용된 도구:Tweezers$4.99
-
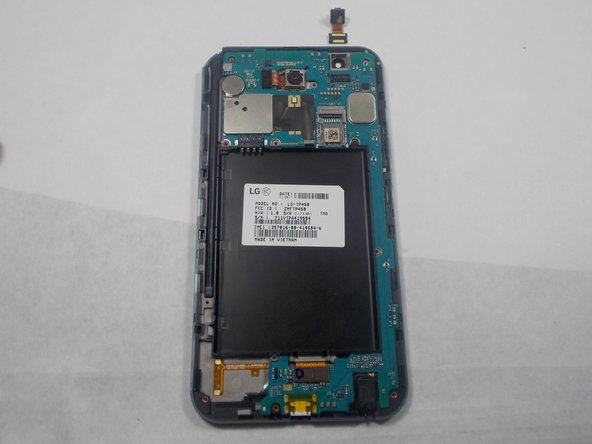
Carefully flip open the flex cable box with the plastic opening tool.
-
Using precision tweezers, carefully lift the front camera off the device.
-
-
-
Gently flip open the flex cable box using a blue plastic opening tool.
-
Carefully remove the motherboard with your hands or a blue plastic opening tool.
-


To reassemble your device, follow these instructions in reverse order.
다른 한 분이 해당 안내서를 완성하였습니다.
팀

University of North Alabama, Team S1-G3, Winner Fall 2019 University of North Alabama, Team S1-G3, Winner Fall 2019 회원
UNA-WINNER-F19S1G3
3 회원들
안내서 6개를 작성함