소개
Shutdown the LG V10 before replacing any component. If your music or other audio emitted from the phone's loudspeaker is distorted but is completely fine when listened through headphones/earphones, then the phone’s loudspeaker may need to be replaced.
필요한 것
-
-
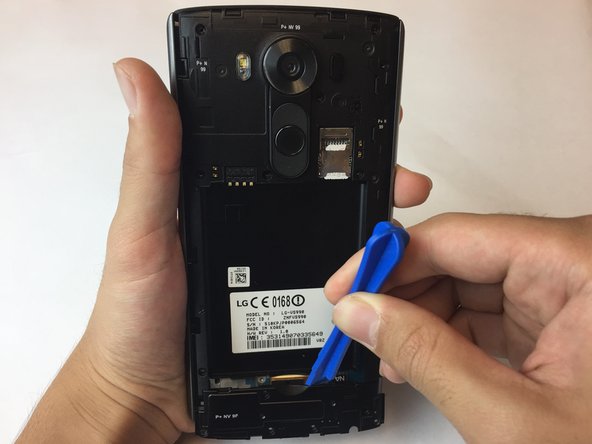
Wedge the flat end of the plastic spudger, or the tip of your finger, in between the back cover and the LG V10’s charging port.
-
Carefully lift up on the spudger or with your finger so that the back cover pops up. The rest of the back cover should easily come off by sliding a finger or spudger under the back cover and around the sides.
-
-
-
-
Using a screwdriver with a J000 Phillips bit, remove the ten 3.175 mm screws.
-
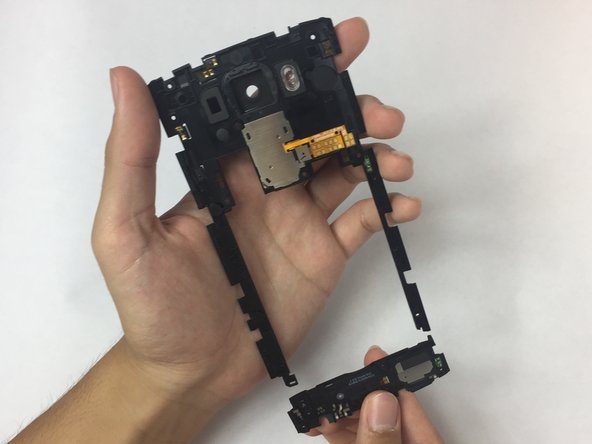
Using a plastic opening tool, pry part of the panel up starting from the sides of the battery slot.
-


After replacing the loudspeaker, follow these instructions in reverse order to reassemble the LG V10.
After replacing the loudspeaker, follow these instructions in reverse order to reassemble the LG V10.
팀

USF Tampa, Team S16-G3, Eyestone Fall 2017 USF Tampa, Team S16-G3, Eyestone Fall 2017 회원
USFT-EYESTONE-F17S16G3
2 회원들
안내서 8개 작성하였습니다