이 버전에는 잘못된 편집 사항이 있을 수 있습니다. 최신 확인된 스냅샷으로 전환하십시오.
필요한 것
-
이 단계는 번역되지 않았습니다. 번역을 도와주십시오
-
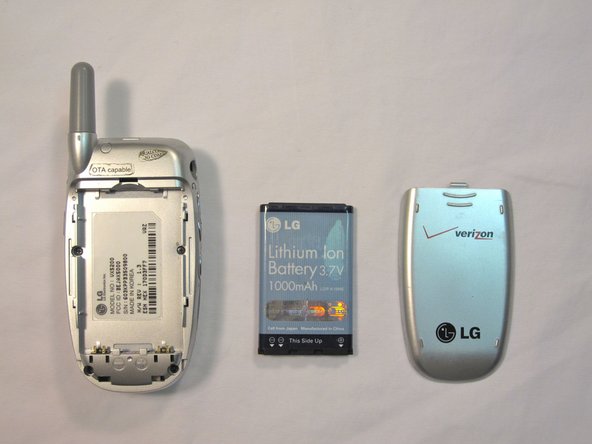
Orient the phone as shown.
-
Remove the battery cover by pushing upward with your thumb.
-
-
이 단계는 번역되지 않았습니다. 번역을 도와주십시오
-
Place your fingernail at the top of the battery and pry the battery out towards you.
-
-
-
이 단계는 번역되지 않았습니다. 번역을 도와주십시오
-
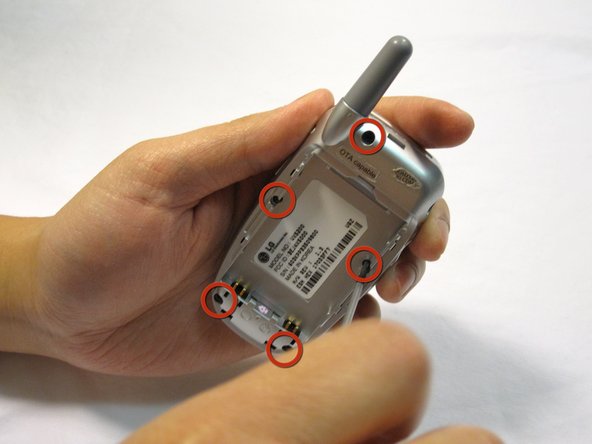
Remove the 2 plastic plugs located on the side and upper quadrant of the rear body panel by using the push-pin and lifting outwards.
-
Use a Phillips #00 screwdriver to remove the 5 screws as shown here.
-
-
이 단계는 번역되지 않았습니다. 번역을 도와주십시오
-
Place an iPod opener tool in the seam above the antenna.
-
Run the tool around the perimeter of the entire phone.
-
-
이 단계는 번역되지 않았습니다. 번역을 도와주십시오
-
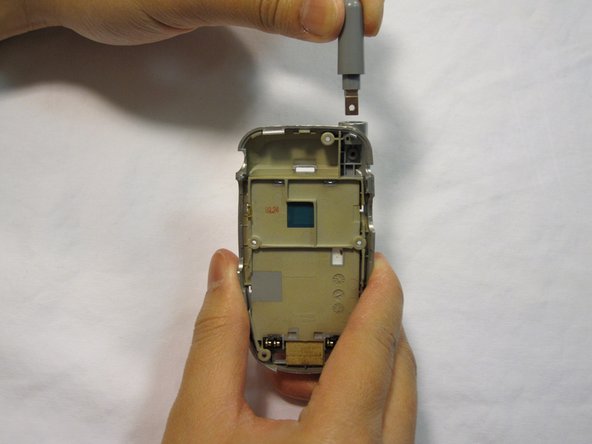
Locate the screw and copper fixture that hold the antenna in place.
-
Remove the screw from the device using a Philips #00 screwdriver.
-


팀

Cal Poly, Team 4-13, Forte Winter 2010 Cal Poly, Team 4-13, Forte Winter 2010 회원
CPSU-FORTE-W10S4G13
5 회원들
안내서 15개 작성하였습니다