주요 콘텐츠로 건너뛰기

LG VX5400 Logic Board Replacement

필요한 것

  1. LG VX5400 Logic Board Replacement, Battery: 1 단계, 이미지 1/1
    • Turn off the cell phone and turn it over on its back side

  2. LG VX5400 Logic Board Replacement: 2 단계, 이미지 1/1
    • Hold the phone case in your palm and slide the back cover towards yourself using your thumb

  3. LG VX5400 Logic Board Replacement: 3 단계, 이미지 1/3 LG VX5400 Logic Board Replacement: 3 단계, 이미지 2/3 LG VX5400 Logic Board Replacement: 3 단계, 이미지 3/3
    • Slide a tool or finger into the notch at the top of the battery to carefully remove it.

  4. LG VX5400 Logic Board Replacement, Outer Casing: 4 단계, 이미지 1/1
    • Take the Philips screwdriver and unscrew the four visible screws on the backside of the phone indicated by the four red circles.

  5. LG VX5400 Logic Board Replacement: 5 단계, 이미지 1/1
    • Then, take the pointed end of a spudger and pry out the rubber stopper to reveal the last screw at the top indicated with the blue circle.

  6. LG VX5400 Logic Board Replacement, Logic Board: 6 단계, 이미지 1/2 LG VX5400 Logic Board Replacement, Logic Board: 6 단계, 이미지 2/2
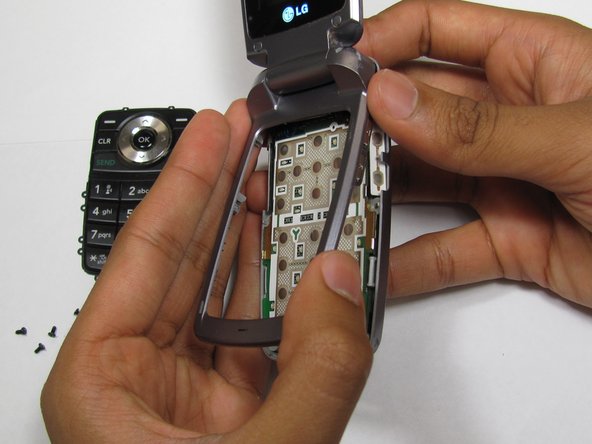
    • While the phone is open and faced up, carefully insert a tool into the middle to seperate the bottom half of the phone.

  7. LG VX5400 Logic Board Replacement: 7 단계, 이미지 1/2 LG VX5400 Logic Board Replacement: 7 단계, 이미지 2/2
    • Carefully slide out the keypad and remove the logic board. Then insert new the logic board.

결론

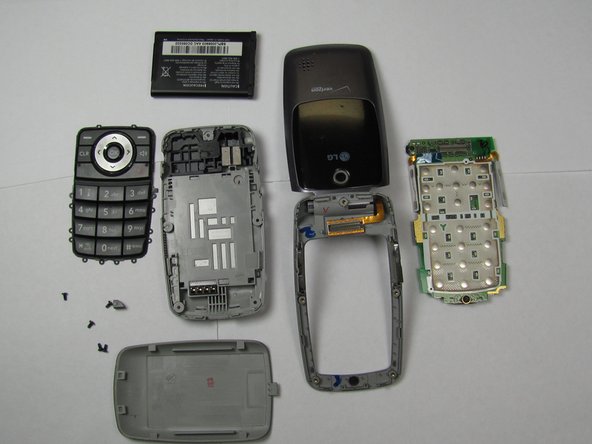
To reassemble your device, follow these instructions in reverse order.

다른 2명이 해당 안내서를 완성하였습니다.

Sourabh

회원 가입일: 04/15/10

132 평판

안내서 3개 작성하였습니다

Cal Poly, Team 26-26, Regan Spring 2010 Cal Poly, Team 26-26, Regan Spring 2010 회원

CPSU-REGAN-S10S26G26

4 회원들

안내서 10개 작성하였습니다

댓글 0개

댓글 쓰기

조회 통계:

24 시간 전: 0

7일 전: 0

30일 전: 1

전체 시간: 2,492