주요 콘텐츠로 건너뛰기

LG VX5600 LCD Screens Replacement

필요한 것

  1. LG VX5600 LCD Screens Replacement, Battery: 1 단계, 이미지 1/2 LG VX5600 LCD Screens Replacement, Battery: 1 단계, 이미지 2/2
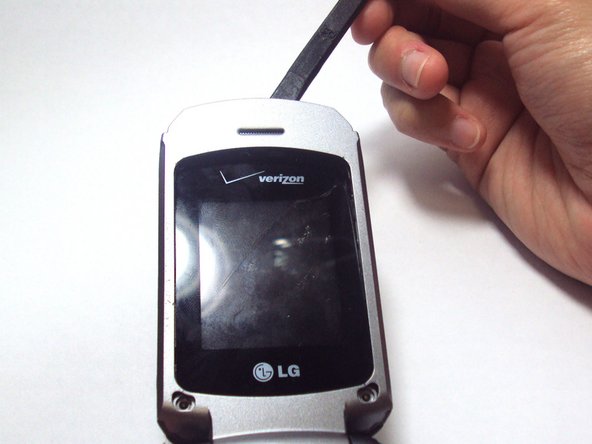
    • Hold your phone with the back casing facing you and the bottom of the phone towards the sky.

    • Push down on the cover and slide down to remove. You should only have to apply minimal pressure.

  2. LG VX5600 LCD Screens Replacement: 2 단계, 이미지 1/2 LG VX5600 LCD Screens Replacement: 2 단계, 이미지 2/2
    • Insert your finger into the small indentation above the battery.

    • Push down on the battery and pull it away from the phone; it will pop out.

  3. LG VX5600 LCD Screens Replacement, Plastic Screen Protector: 3 단계, 이미지 1/1
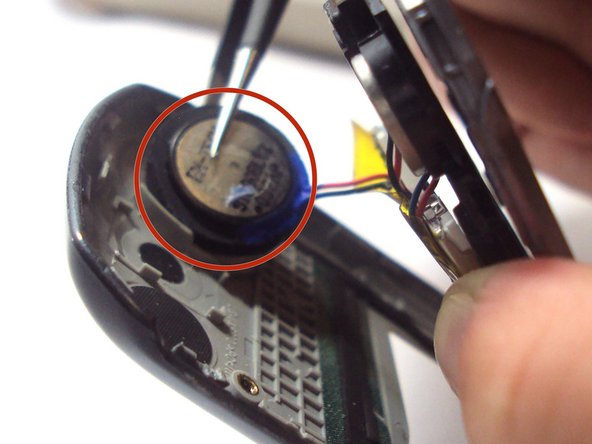
    • Use tweezers to remove the two rubber covers found at the left and right corners below the inside screen.

  4. LG VX5600 LCD Screens Replacement: 4 단계, 이미지 1/1
    • Grasp the phone and rotate it 90 degrees counterclockwise for a better grip.

    • Unscrew the two 3.0-mm Phillips #000 screws, found under the rubber covers at the bottom left and right corners.

    • Some of the pictures show the bottom of the phone disassembled. It is unneccessary to disassemble the bottom of the phone for this guide.

  5. LG VX5600 LCD Screens Replacement: 5 단계, 이미지 1/2 LG VX5600 LCD Screens Replacement: 5 단계, 이미지 2/2
    • Hold the opened phone upright.

    • Use the spudger to pry around the edges of the phone and detach the tabs.

    • Make sure all the tabs around the grey cover are detached. They are located on the top and on both sides of the screen.

  6. LG VX5600 LCD Screens Replacement: 6 단계, 이미지 1/1
    • Use your finger to lift up the grey plastic cover.

    • Use the tweezers to grasp the plastic screen, and pull the plastic screen protector up and out of the phone.

    • The plastic screen protector is adhered with glue to the back of the phone, so a little force is required to remove it.

  7. LG VX5600 LCD Screens Replacement, LCD Screens: 7 단계, 이미지 1/1
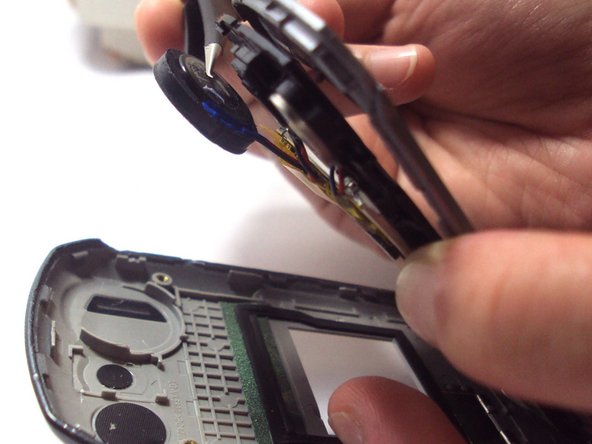
    • Use one hand to grasp the phone and prop the inner grey casing up.

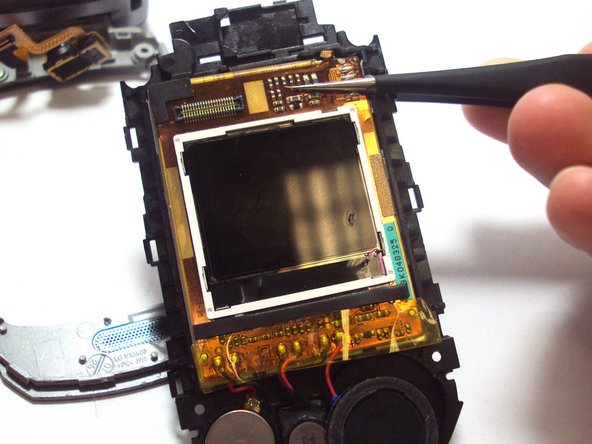
    • Unscrew the two 3.0-mm Phillips #000 screws located in the upper left and right hand corners.

  8. LG VX5600 LCD Screens Replacement: 8 단계, 이미지 1/1
    • Using your hands hold the inner grey casing up and pull on the black plastic that surrounds the screen away from the outer grey casing.

    • The black plastic piece is attached with glue and two wires to the outer grey casing, so you will not be able to completely separate the plastic pieces yet.

  9. LG VX5600 LCD Screens Replacement: 9 단계, 이미지 1/2 LG VX5600 LCD Screens Replacement: 9 단계, 이미지 2/2
    • Using tweezers, pull the vibration motor away from the outer grey casing and towards the black plastic surrounding the screens.

    • The vibration motor is adhered with glue, so it may take some force to pry it off of the outer grey casing of the phone.

  10. LG VX5600 LCD Screens Replacement: 10 단계, 이미지 1/1
    • Flip the phone closed so that the top outer casing is facing you.

    • Lift up on the the outer grey casing, completely removing it from the phone.

  11. LG VX5600 LCD Screens Replacement: 11 단계, 이미지 1/1
    • Remove the green tape that covers the end of the yellow flex cable.

  12. LG VX5600 LCD Screens Replacement: 12 단계, 이미지 1/1
    • Grasp the phone with one hand, and use the tweezers with the other hand to pull up on the flex cable disconnecting it from the screen.

  13. LG VX5600 LCD Screens Replacement: 13 단계, 이미지 1/2 LG VX5600 LCD Screens Replacement: 13 단계, 이미지 2/2
    • Use your fingers to lift up the detached flex cable and use the tweezers to lift the LCD screen component out of the phone casing.

    • The speakers and vibration motor will still be attached to the screen component. These are soldered onto the screens and are installed as a single unit.

결론

To reassemble your device, follow these instructions in reverse order.

다른 3명이 해당 안내서를 완성하였습니다.

Jessica Bradley

회원 가입일: 06/04/13

279 평판

안내서 2개 작성하였습니다

댓글 한 개

just swapped screens Perfect. step 5 is harder than it look but take time and go easy, I used a 1/8 in blade screwdriver.

Bil Heybruck - 답글

댓글 쓰기

조회 통계:

24 시간 전: 0

7일 전: 1

30일 전: 5

전체 시간: 1,993