소개
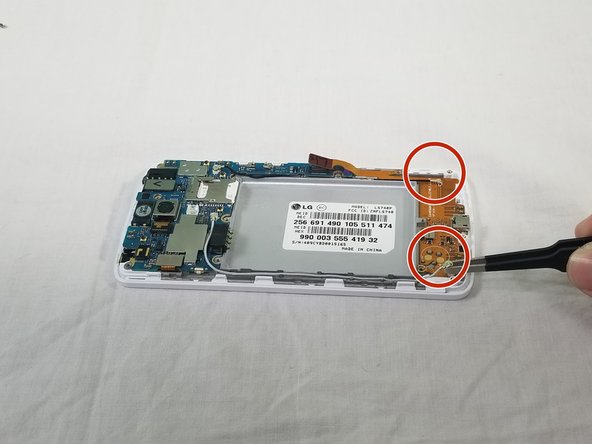
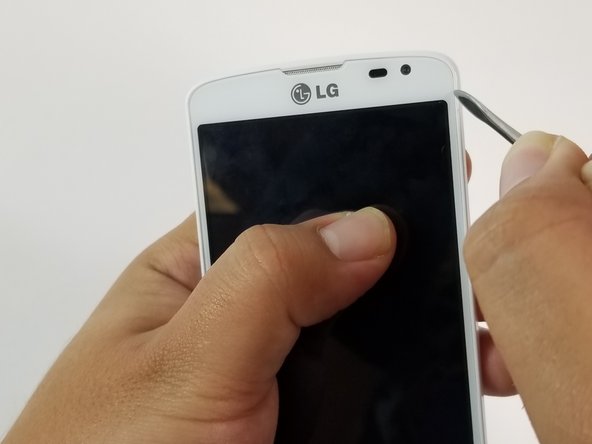
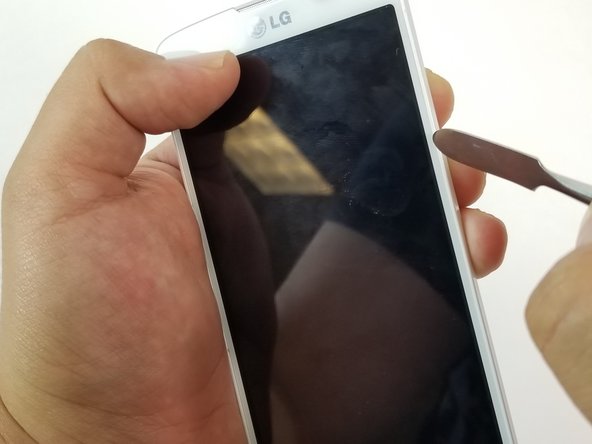
When the screen is not responsive or it has been damaged by an accidentally dropping the phone, the screen will have to be replaced. In this guide you will learn how to replace the screen for the LG Volt.
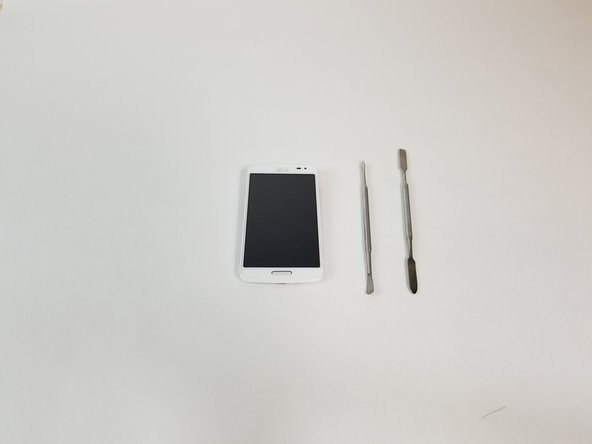
필요한 것


거의 끝나갑니다!
To reassemble your device, follow these instructions in reverse order.
결론
To reassemble your device, follow these instructions in reverse order.
다른 한 분이 해당 안내서를 완성하였습니다.

팀

USF Tampa, Team S3-G3, Cannon Fall 2017 USF Tampa, Team S3-G3, Cannon Fall 2017 회원
USFT-CANNON-F17S3G3
3 회원들
안내서 8개 작성하였습니다