소개
Use this guide to replace the air dome in your LG WM3050CW Washing Machine.
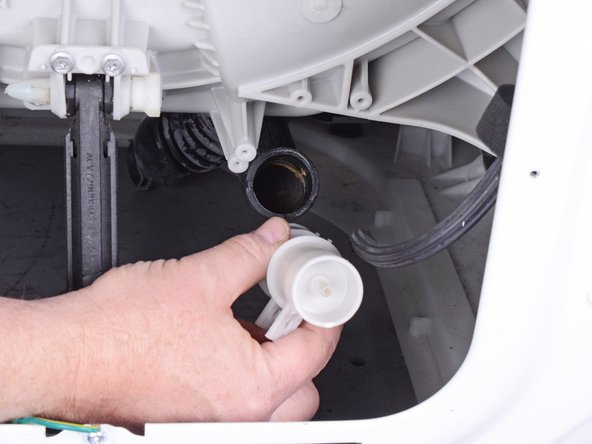
The air dome helps regulate the water level inside the tub. If the dome is cracked, your washer may overflow.
필요한 것
-
-
Turn off the main water supply
-
Unplug your washer
-
Disconnect all water connections at the rear of your washer
-
-
-
Use a Phillips driver to remove the four 10.7 mm‑long screws securing the rear panel.
-
-
-
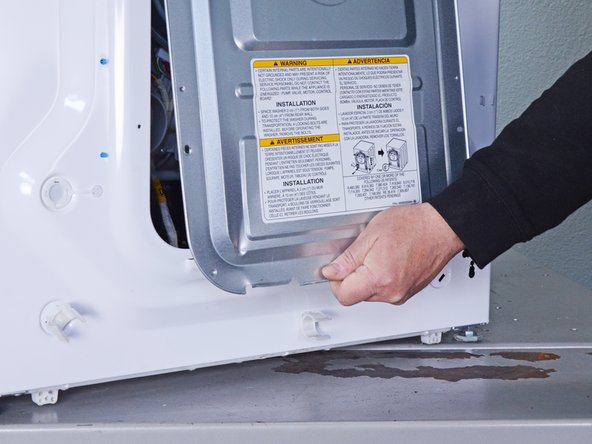
Lift the rear panel upward to release its bottom clips.
-
Pull the rear panel away from the chassis to release the remaining clips.
-
-
-
-
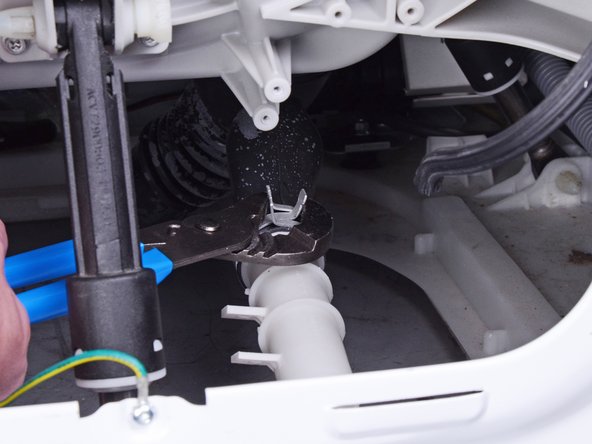
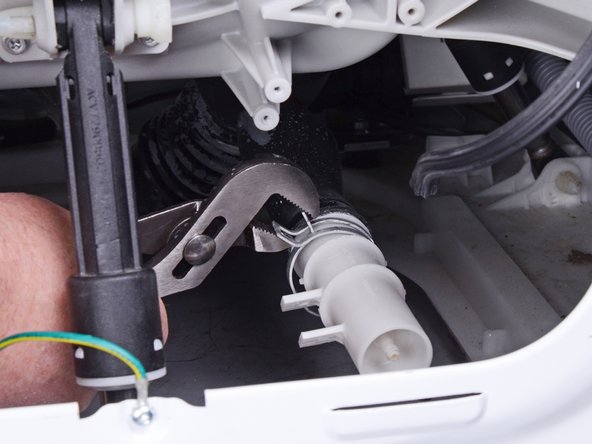
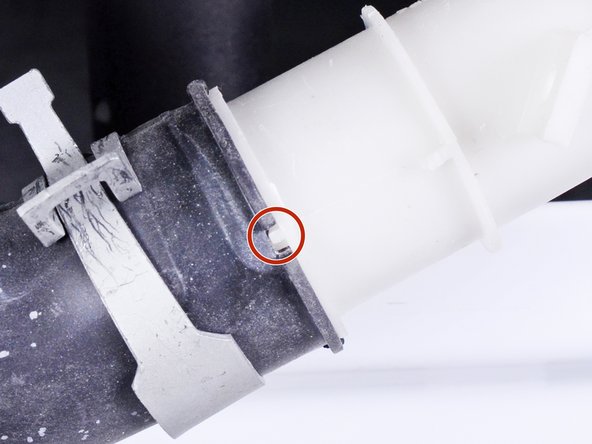
Use a Phillips driver to remove the two 16.5 mm‑long screws securing the air dome.
-


To reassemble your device, follow these instructions in reverse order.
Take your e-waste to an R2 or e-Stewards certified recycler.
Repair didn’t go as planned? Ask our Answers community for help.
To reassemble your device, follow these instructions in reverse order.
Take your e-waste to an R2 or e-Stewards certified recycler.
Repair didn’t go as planned? Ask our Answers community for help.

