주요 콘텐츠로 건너뛰기

LG-A275 Speaker Replacement

필요한 것

  1. 주의: 1-3 단계들은 진행 중으로 표시된 안내서에서 제공되었습니다.

    LG-A275 Speaker Replacement, Battery: 1 단계, 이미지 1/2 LG-A275 Speaker Replacement, Battery: 1 단계, 이미지 2/2
    • Turn the phone upside down so that the bottom of the back is facing you.

  2. LG-A275 Speaker Replacement, Remove cover: 2 단계, 이미지 1/2 LG-A275 Speaker Replacement, Remove cover: 2 단계, 이미지 2/2
    • Slide the back down towards you and remove the back cover. You should hear a slight click as the cover comes off.

  3. LG-A275 Speaker Replacement: 3 단계, 이미지 1/1
    • Gently remove the battery from the device.

  4. LG-A275 Speaker Replacement, Speaker: 4 단계, 이미지 1/3 LG-A275 Speaker Replacement, Speaker: 4 단계, 이미지 2/3 LG-A275 Speaker Replacement, Speaker: 4 단계, 이미지 3/3
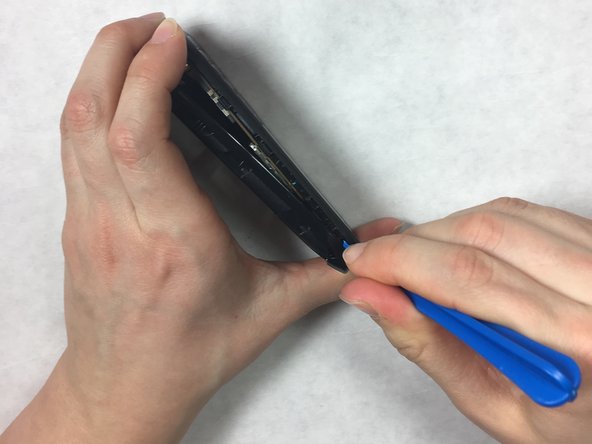
    • Using the plastic opening tool, wedge it around the edge of the phone to release the front plastic piece from the phone.

    • Be careful when using the opening tool not to use brute force and potentially break the fragile phone plastics.

  5. LG-A275 Speaker Replacement: 5 단계, 이미지 1/3 LG-A275 Speaker Replacement: 5 단계, 이미지 2/3 LG-A275 Speaker Replacement: 5 단계, 이미지 3/3
    • After separating the front and back components of the phone, proceed to take off the motherboard. This can be done by releasing the plastic clamps on the corners and edges of the plastic front using your fingernail.

    • Be careful when doing this to avoid breaking the phone plastics, it should release easily.

  6. LG-A275 Speaker Replacement: 6 단계, 이미지 1/3 LG-A275 Speaker Replacement: 6 단계, 이미지 2/3 LG-A275 Speaker Replacement: 6 단계, 이미지 3/3
    • Lastly remove the speaker using the plastic opening tool.

결론

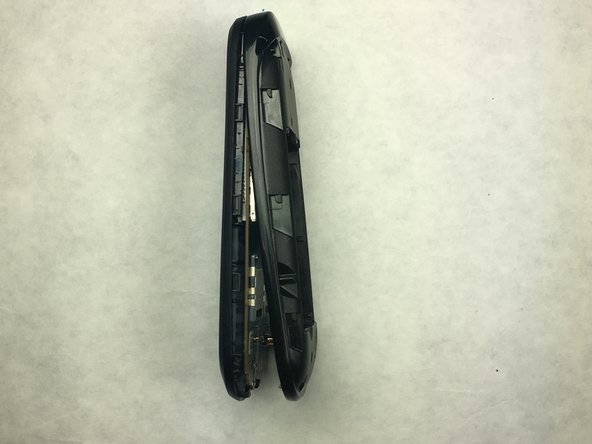
To reassemble your device, follow these instructions in reverse order.

Nathanael Knight

회원 가입일: 03/27/18

181 평판

안내서 2개 작성하였습니다

IUPUI, Team S3-G1, Harley Spring 2018 IUPUI, Team S3-G1, Harley Spring 2018 회원

IUPUI-HARLEY-S18S3G1

3 회원들

안내서 2개 작성하였습니다

댓글 0개

댓글 쓰기

조회 통계:

24 시간 전: 0

7일 전: 2

30일 전: 10

전체 시간: 219