소개
If the auxiliary or USB port is not working in your Lenovo Flex 6-11IGM (model #: 81A70005US), use this guide to help you replace them.
These two ports are connected to each other so removing them are easy to do together. They allow the user to plug either an aux cord or USB into the laptop and the user is able to either output sound or transfer data. If the aux cord or USB is not going into the respective ports, or they aren’t accepting the inputs of them, you may need to replace the ports themselves if the aux cord or the USB aren’t damaged themselves.
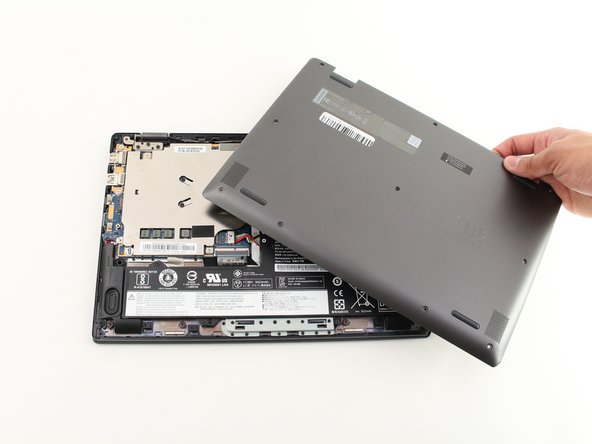
Before beginning, make sure you power off the device and make sure the laptop is closed for an easier and safer replacement.
필요한 것
-
-
-
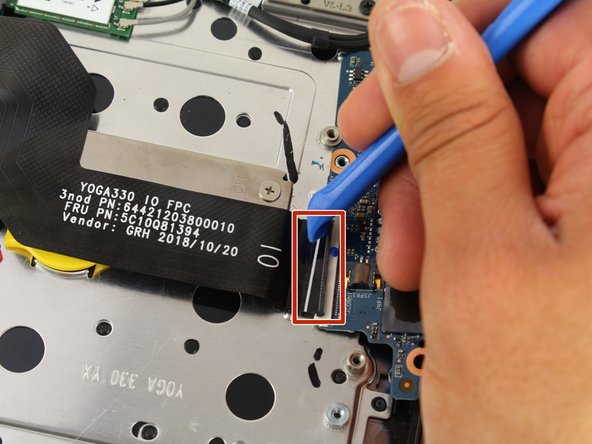
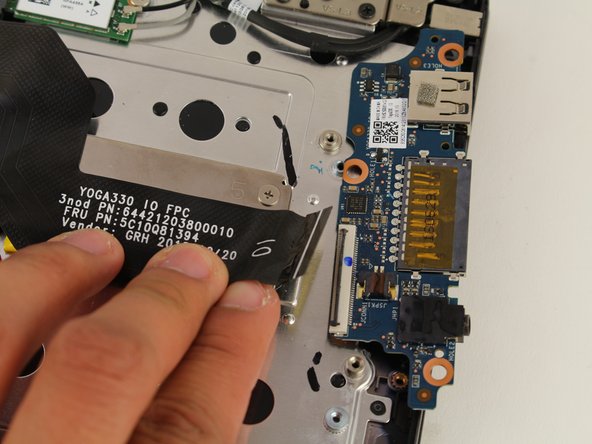
Disconnect the ribbon connector using the iFixit opening tool tool by flipping up the black flap and pulling the ribbon out.
-


To reassemble your device, follow these instructions in reverse order.
To reassemble your device, follow these instructions in reverse order.
다른 한 분이 해당 안내서를 완성하였습니다.
팀

Cal Poly, Team S7-G10, Paton Spring 2020 Cal Poly, Team S7-G10, Paton Spring 2020 회원
CPSU-PATON-S20S7G10
2 회원들
안내서 9개 작성하였습니다