소개
This guide shows how to remove the display from the Lenovo Flex 6-11IGM laptop. The display provides the user the images created by the graphics processing unit. If your screen is cracked or chipped, removing the screen with too much force may cause glass to come loose.
필요한 것
-
-
-
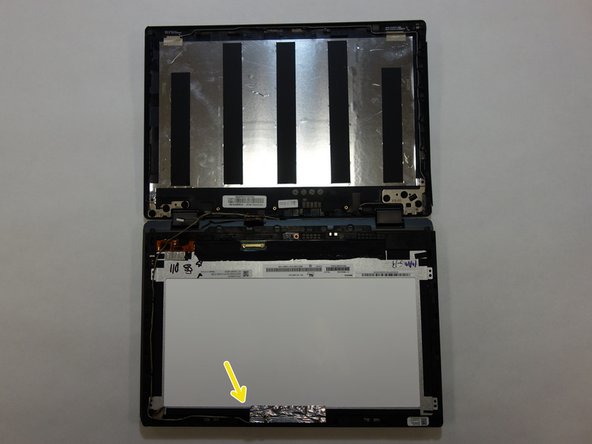
Disengage the cable located at the bottom of the display.
-
Slide a plastic opening pick under the brown bar, lifting the bar up, and disengage the wire with your fingers.
-
Disengage the cable at the bottom left of the display with your fingers.
-
Disengage the cable at the top center of the display using your fingers and remove the cable from the display housing.
-


To reassemble your device, follow these instructions in reverse order.
To reassemble your device, follow these instructions in reverse order.
다른 한 분이 해당 안내서를 완성하였습니다.
팀

The Citadel Military College of South Carolina, Team S2-G14, Eggleston Fall 2020 The Citadel Military College of South Carolina, Team S2-G14, Eggleston Fall 2020 회원
CMCSC-EGGLESTON-F20S2G14
3 회원들
안내서 2개 작성하였습니다
댓글 한 개
Can you replace the digitizer separately? Or do you have to get the digitizer and lcd combo for replacement? Is it worth it at $130 for the replacement? Laptop is only a couple years old…