소개
The fan on a computer is important for cooling the parts that generate a lot of heat. If fan is not running properly, there is a risk of other parts overheating and causing damage to critical components. Most computers have thermal throttling; this means speeds will decrease when it starts to overheat to prevent from damage.
필요한 것
-
-
Push the left switch (labeled 1) to the left to show red underneath. This will unlock battery.
-
Push the right switch (labeled 2) to the right. This will eject battery.
-
-
-
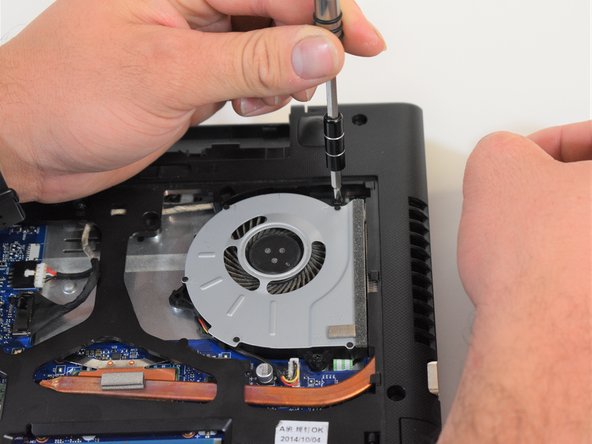
Remove the three 6mm Phillips #0 screws holding the back access panel on.
-
-


To reassemble your device, follow these instructions in reverse order.
To reassemble your device, follow these instructions in reverse order.
다른 6명이 해당 안내서를 완성하였습니다.

팀

Central Washington University, Team S1-G7, Pengilly Fall 2018 Central Washington University, Team S1-G7, Pengilly Fall 2018 회원
CWU-PENGILLY-F18S1G7
3 회원들
안내서 6개 작성하였습니다