주요 콘텐츠로 건너뛰기

Lenovo G70-70 Webcam Replacement

필요한 것

  1. Lenovo G70-70 Webcam Replacement, Battery: 1 단계, 이미지 1/2 Lenovo G70-70 Webcam Replacement, Battery: 1 단계, 이미지 2/2
    • Ensure the battery is removed before attempting to fix anything on the laptop.

    • Orient the laptop so the bottom side is facing you.

    • To unlock the battery, place your thumb over the left switch and slide it to the left.

  2. Lenovo G70-70 Webcam Replacement: 2 단계, 이미지 1/2 Lenovo G70-70 Webcam Replacement: 2 단계, 이미지 2/2
    • To access the battery, place your thumb over the right switch and slide it to the right.

    • When the battery is unlocked, it will automatically pop up.

  3. Lenovo G70-70 Webcam Replacement: 3 단계, 이미지 1/3 Lenovo G70-70 Webcam Replacement: 3 단계, 이미지 2/3 Lenovo G70-70 Webcam Replacement: 3 단계, 이미지 3/3
    • Remove the battery by lifting it up and away from yourself.

  4. Lenovo G70-70 Webcam Replacement, Webcam: 4 단계, 이미지 1/3 Lenovo G70-70 Webcam Replacement, Webcam: 4 단계, 이미지 2/3 Lenovo G70-70 Webcam Replacement, Webcam: 4 단계, 이미지 3/3
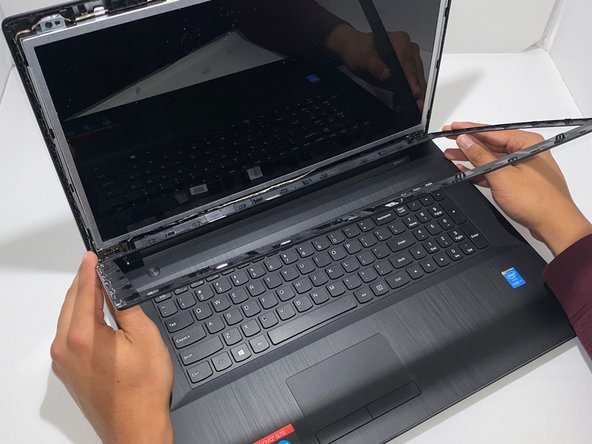
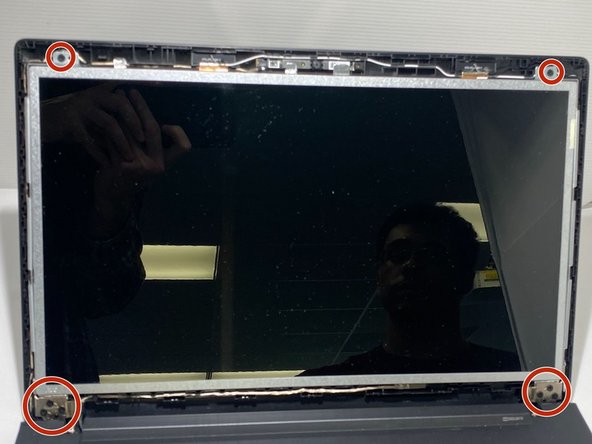
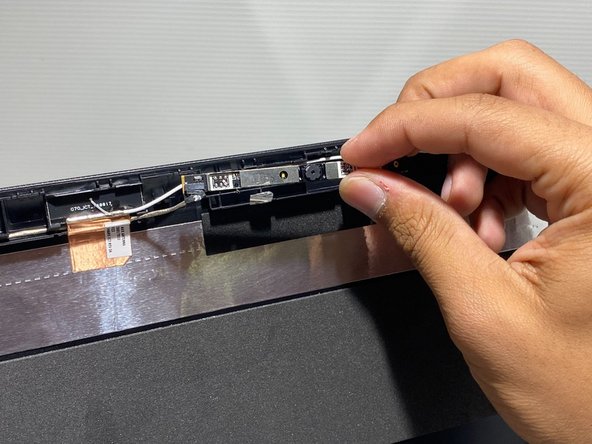
    • Pry open the plastic casing surrounding the screen with the opening tool.

    • You will hear loud popping noises as you separate the plastic casing from the screen.

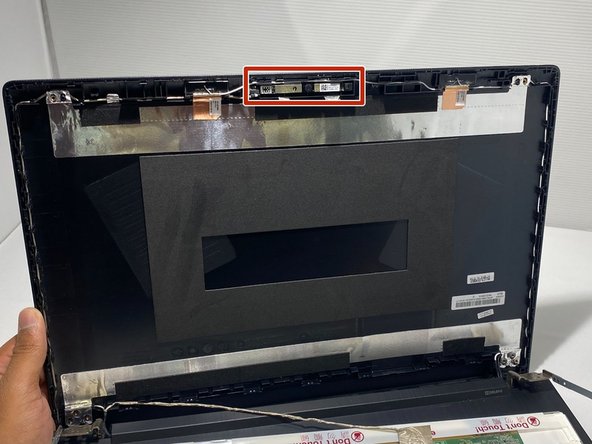
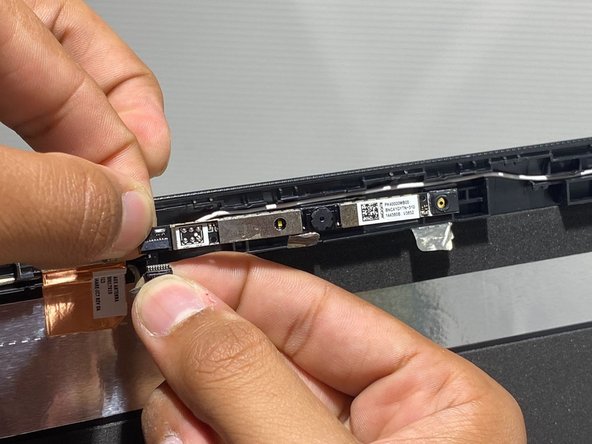
    • Pull the plastic casing toward yourself and separate it from the screen.

  5. Lenovo G70-70 Webcam Replacement: 5 단계, 이미지 1/3 Lenovo G70-70 Webcam Replacement: 5 단계, 이미지 2/3 Lenovo G70-70 Webcam Replacement: 5 단계, 이미지 3/3
    • Pull the plastic casing upward and toward yourself to completely remove it from the laptop.

    • Remove eight 4.5 mm screws from the front of the metal casing with a Phillips #0 screwdriver.

    • There are three screws on the bottom left and right sides of the screen. There is one screw on the top left and right side of the screen.

  6. Lenovo G70-70 Webcam Replacement: 6 단계, 이미지 1/2 Lenovo G70-70 Webcam Replacement: 6 단계, 이미지 2/2
    • Lower the screen to separate it from the plastic casing behind it.

    • The webcam will be located at the top of the back casing.

  7. Lenovo G70-70 Webcam Replacement: 7 단계, 이미지 1/3 Lenovo G70-70 Webcam Replacement: 7 단계, 이미지 2/3 Lenovo G70-70 Webcam Replacement: 7 단계, 이미지 3/3
    • Pull the silver flaps down to access the webcam.

    • Pull the webcam out of the plastic casing to gain access to its cable.

  8. Lenovo G70-70 Webcam Replacement: 8 단계, 이미지 1/3 Lenovo G70-70 Webcam Replacement: 8 단계, 이미지 2/3 Lenovo G70-70 Webcam Replacement: 8 단계, 이미지 3/3
    • Pull the cable down to remove the webcam from the laptop.

결론

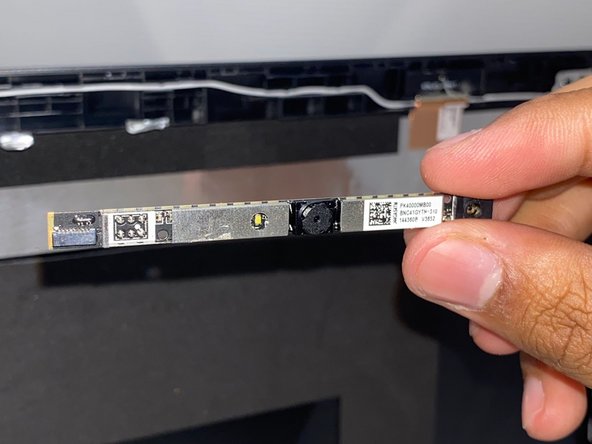
To reassemble your device, follow these instructions in reverse order.

다른 2명이 해당 안내서를 완성하였습니다.

Joseph Crews

회원 가입일: 09/15/22

815 평판

안내서 5개 작성하였습니다

University of Memphis, Team 3-3, Lane Fall 2022 University of Memphis, Team 3-3, Lane Fall 2022 회원

UM-LANE-F22S3G3

3 회원들

안내서 5개 작성하였습니다

댓글 0개

댓글 쓰기

조회 통계:

24 시간 전: 0

7일 전: 0

30일 전: 2

전체 시간: 54