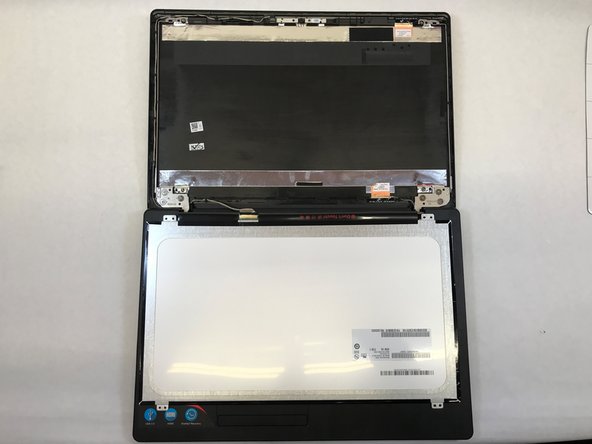
주요 콘텐츠로 건너뛰기

Lenovo IdeaPad 110-15IBR Display Replacement

필요한 것

  1. Lenovo IdeaPad 110-15IBR Display Replacement, Display: 1 단계, 이미지 1/3 Lenovo IdeaPad 110-15IBR Display Replacement, Display: 1 단계, 이미지 2/3 Lenovo IdeaPad 110-15IBR Display Replacement, Display: 1 단계, 이미지 3/3
    • Before you proceed, make sure your computer is turned off and it's not connected to any power source.

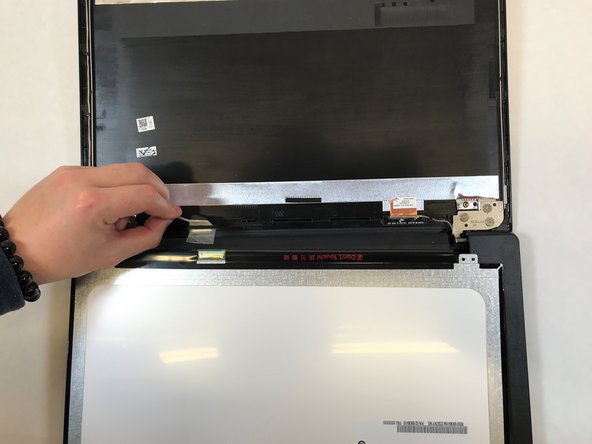
    • Using a plastic opening tool, gently pry the cover off of the display.

    • Lay screen flat down to remove the tabs from each corner.

  2. Lenovo IdeaPad 110-15IBR Display Replacement: 2 단계, 이미지 1/1
    • Using the #1 Phillips head screwdriver unscrew the 4 (9mmx6mm) screws holding the screen in place.

  3. Lenovo IdeaPad 110-15IBR Display Replacement: 3 단계, 이미지 1/2 Lenovo IdeaPad 110-15IBR Display Replacement: 3 단계, 이미지 2/2
    • Carefully lay the screen facing down on the keyboard.

    • Careful not to lift the screen to high up or tug on the screen due to a wire still being connected to the screen and display.

  4. Lenovo IdeaPad 110-15IBR Display Replacement: 4 단계, 이미지 1/2 Lenovo IdeaPad 110-15IBR Display Replacement: 4 단계, 이미지 2/2
    • Remove the tape holding the connected wire to the display.

    • Gently remove the display wire from the connection.

    • Remove the display from the device.

결론

To reassemble your device, follow these instructions in reverse order.

다른 12명이 해당 안내서를 완성하였습니다.

Saddam Alsinai

회원 가입일: 10/18/17

669 평판

안내서 4개 작성하였습니다

UW Tacoma, Team S3-G4, Liner Fall 2017 UW Tacoma, Team S3-G4, Liner Fall 2017 회원

UWT-LINER-F17S3G4

4 회원들

안내서 14개 작성하였습니다

댓글 0개

댓글 쓰기

조회 통계:

24 시간 전: 0

7일 전: 6

30일 전: 25

전체 시간: 5,111