주요 콘텐츠로 건너뛰기

Lenovo IdeaPad Flex 5-1470 Display Replacement

필요한 것

  1. Lenovo IdeaPad Flex 5-1470 Display Replacement, Back Panel: 1 단계, 이미지 1/1
    • Remove all ten 6.6 mm screws with a Phillips #00 screwdriver.

  2. Lenovo IdeaPad Flex 5-1470 Display Replacement: 2 단계, 이미지 1/2 Lenovo IdeaPad Flex 5-1470 Display Replacement: 2 단계, 이미지 2/2
    • Use the plastic opening tool to lift up and remove the casing.

  3. Lenovo IdeaPad Flex 5-1470 Display Replacement, Motherboard: 3 단계, 이미지 1/3 Lenovo IdeaPad Flex 5-1470 Display Replacement, Motherboard: 3 단계, 이미지 2/3 Lenovo IdeaPad Flex 5-1470 Display Replacement, Motherboard: 3 단계, 이미지 3/3
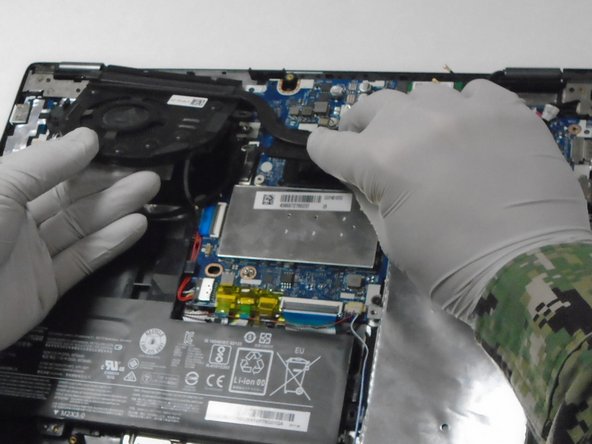
    • Use a Phillips #00 screwdriver to remove the three screws securing the fan.

    • Lift the fan up and out.

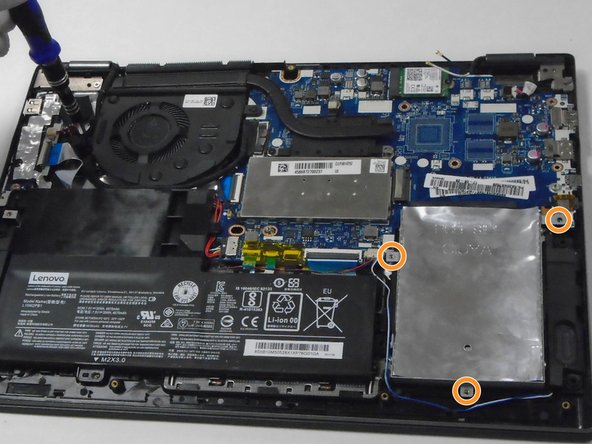
    • Use a Phillips #00 screwdriver to remove the three screws securing the hard drive.

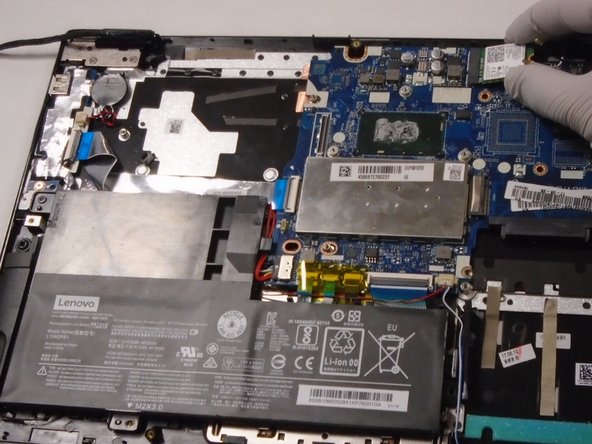
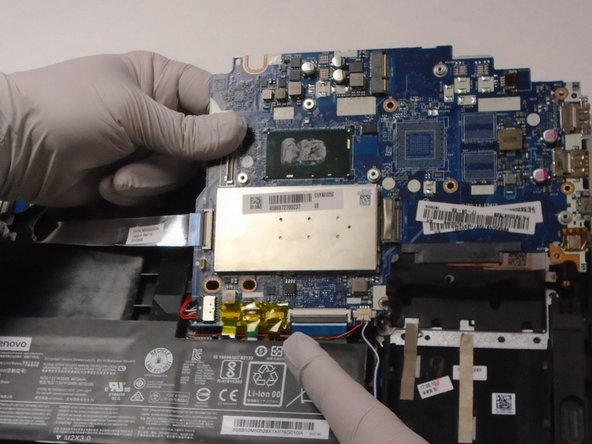
    • Lift the hard drive up and out.

  4. Lenovo IdeaPad Flex 5-1470 Display Replacement: 4 단계, 이미지 1/2 Lenovo IdeaPad Flex 5-1470 Display Replacement: 4 단계, 이미지 2/2
    • Use a Phillips #00 screwdriver to remove the single screw securing the Wi-Fi card.

    • The Wi-Fi card will slightly lift away from the motherboard.

    • Pull the Wi-Fi card directly out of its port.

  5. Lenovo IdeaPad Flex 5-1470 Display Replacement: 5 단계, 이미지 1/2 Lenovo IdeaPad Flex 5-1470 Display Replacement: 5 단계, 이미지 2/2
    • Use a Phillips #00 screwdriver to remove the three screws securing the motherboard.

    • Gently disconnect the cables and ribbon cables connected to the motherboard.

  6. Lenovo IdeaPad Flex 5-1470 Display Replacement, Display: 6 단계, 이미지 1/1
    • Use a Phillips #00 screwdriver to remove the four 5 mm screws from the left and right hinges (two screws on each hinge).

  7. Lenovo IdeaPad Flex 5-1470 Display Replacement: 7 단계, 이미지 1/3 Lenovo IdeaPad Flex 5-1470 Display Replacement: 7 단계, 이미지 2/3 Lenovo IdeaPad Flex 5-1470 Display Replacement: 7 단계, 이미지 3/3
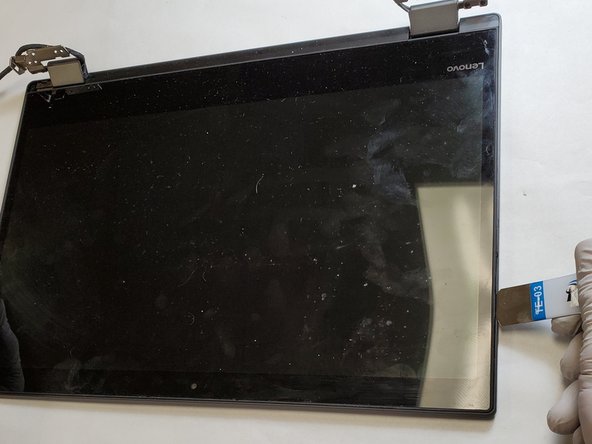
    • Disconnect the display assembly from the rest of the device by separating the hinges of the display from the body of the laptop.

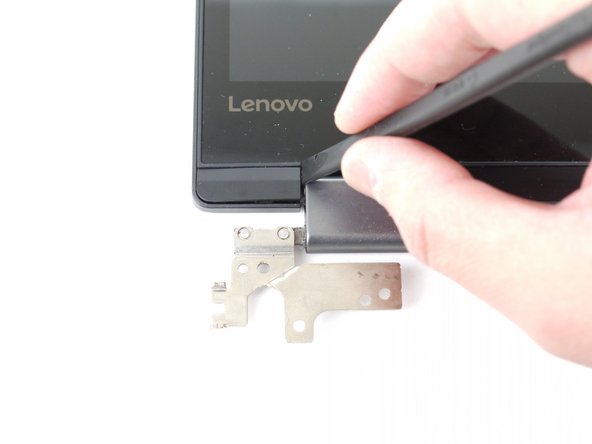
    • Use a spudger to carefully pry loose the two screw covers (one on each hinge).

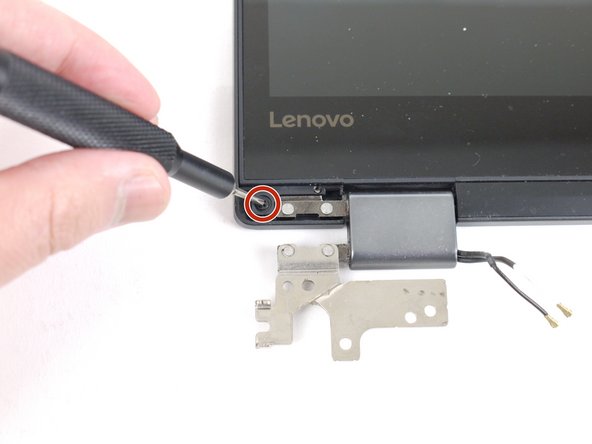
    • Use a Phillips #00 screwdriver to remove the two 3 mm screws from the display (one on each side).

  8. Lenovo IdeaPad Flex 5-1470 Display Replacement: 8 단계, 이미지 1/2 Lenovo IdeaPad Flex 5-1470 Display Replacement: 8 단계, 이미지 2/2
    • Use a heat gun or an iOpener to lightly heat the outer edges of the display, loosening the adhesive strips.

    • Wedge a Jimmy or opening picks between the display and display housing, then carefully pry around the entire perimeter until the display separates from the housing.

  9. Lenovo IdeaPad Flex 5-1470 Display Replacement: 9 단계, 이미지 1/1
    • Disconnect the display ribbon cable.

결론

To reassemble your device, follow these instructions in reverse order.

다른 한 분이 해당 안내서를 완성하였습니다.

Randall Welton

회원 가입일: 02/11/22

229 평판

안내서 2개 작성하였습니다

댓글 0개

댓글 쓰기

조회 통계:

24 시간 전: 1

7일 전: 14

30일 전: 60

전체 시간: 1,579