주요 콘텐츠로 건너뛰기

이 버전에는 잘못된 편집 사항이 있을 수 있습니다. 최신 확인된 스냅샷으로 전환하십시오.

필요한 것

  1. 이 단계는 번역되지 않았습니다. 번역을 도와주십시오

    : 1 단계, 이미지 1/1
    • Remove the bezel by using the iFixit plastic opening tool to lift up an edge.

    • The bezel is the plastic lining along the edge of the screen.

  2. 이 단계는 번역되지 않았습니다. 번역을 도와주십시오

    : 2 단계, 이미지 1/1
    • Finish removing the bezel by using your hand on the inside of the screen and popping it off.

    • If part of the bezel is stuck, start on the opposite side and work your way back to the area that is stuck.

    • The plastic on the hinges will pop off with the rest of the bezel.

  3. 이 단계는 번역되지 않았습니다. 번역을 도와주십시오

    : 3 단계, 이미지 1/3 : 3 단계, 이미지 2/3 : 3 단계, 이미지 3/3
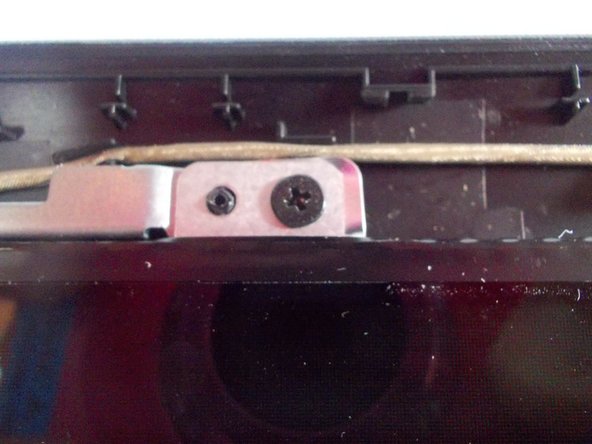
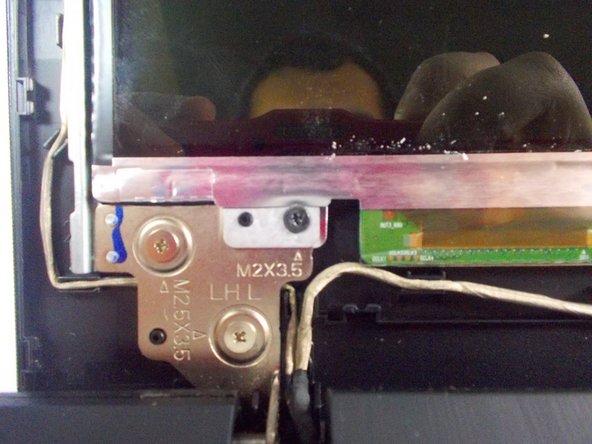
    • Remove the 4 screws located in each corner of the screen using the Phillips #2 screwdriver.

  4. 이 단계는 번역되지 않았습니다. 번역을 도와주십시오

    : 4 단계, 이미지 1/1
    • Peel back the sticker that attaches the connector to the back of the screen.

    • Disconnect the cable that connects the screen to the computer.

    • There may be two cables.

  5. 이 단계는 번역되지 않았습니다. 번역을 도와주십시오

    : 5 단계, 이미지 1/1
    • Test the new screen by turning it on before putting the bezel back on.

결승점

다른 6명이 해당 안내서를 완성하였습니다.

Jessy McDermott

회원 가입일: 10/26/15

200 평판

안내서 1개 작성함

UMass Dartmouth, Team 2-6, Shastany Fall 2015 UMass Dartmouth, Team 2-6, Shastany Fall 2015 회원

UMASSD-SHASTANY-F15S2G6

3 회원들

안내서 5개 작성하였습니다

댓글 2개

The tutorial was pretty straightforward, and worked.

Remy G - 답글

My Laptop is got work the searen is blue it what trun on

Rebecca - 답글

댓글 쓰기

조회 통계:

24 시간 전: 2

7일 전: 5

30일 전: 28

전체 시간: 7,869