이 버전에는 잘못된 편집 사항이 있을 수 있습니다. 최신 확인된 스냅샷으로 전환하십시오.
필요한 것
-
이 단계는 번역되지 않았습니다. 번역을 도와주십시오
-
Power off your computer before you begin.
-
Find and remove the 10 Phillips style body screws on the bottom of the laptop case.
-
-
이 단계는 번역되지 않았습니다. 번역을 도와주십시오
-
Remove 2 screws, 1 located on the left hinge cover and one located on the right hinge cover.
-
-
이 단계는 번역되지 않았습니다. 번역을 도와주십시오
-
Starting from the front, use a plastic opening tool to separate the bottom of the case from the body of the laptop.
-
-
이 단계는 번역되지 않았습니다. 번역을 도와주십시오
-
Remove the five 2.8 mm #1 Phillips head screws that hold down the battery pack.
-
-
-
이 단계는 번역되지 않았습니다. 번역을 도와주십시오
-
Using a combination of plastic opening tool and spudger, press in on the clips on the sides of the battery connector and push the connector out
-
When you get the connector out far enough, grab behind the connector tabs with tweezers and wiggle the connector the rest of the way out.
-
-
이 단계는 번역되지 않았습니다. 번역을 도와주십시오
-
Once the battery is disconnected, lift up on the front of the battery and remove it from the laptop body.
-
-
이 단계는 번역되지 않았습니다. 번역을 도와주십시오
-
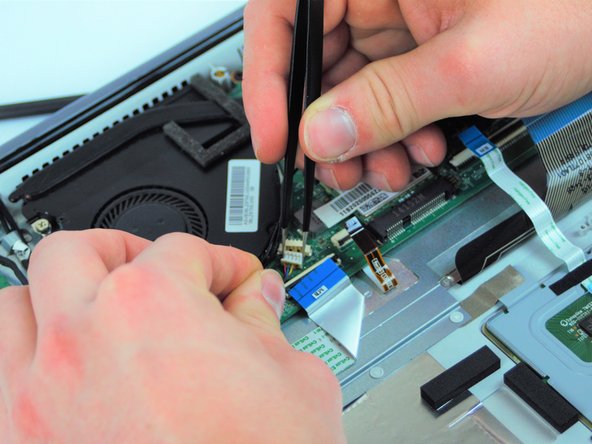
Using a plastic spudger, liift up and remove the hard drive and screen flat-topped connectors
-
Use the spudger and metal tweezers to remove the two cable connectors and two bundled cable connectors.
-
Use the plastic spudger to lift up and remove the two antenna connectors.
-
-
이 단계는 번역되지 않았습니다. 번역을 도와주십시오
-
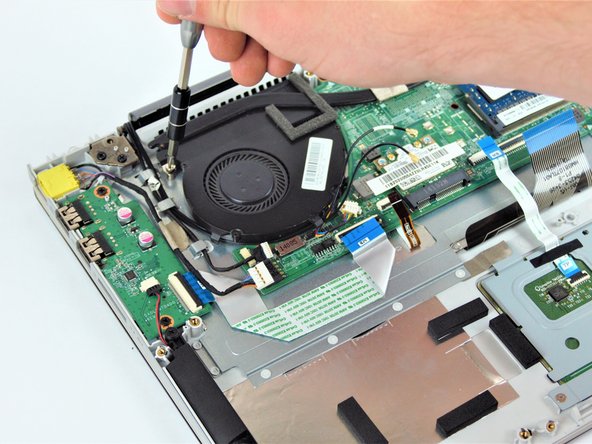
Unscrew the three 3mm #1 Phillips head screws holding down the cooling assembly and fan.
-
Remove the cooling assembly from the motherboard.
-
-
이 단계는 번역되지 않았습니다. 번역을 도와주십시오
-
Unscrew all seven 2.8mm #1 Phillips head screws that secure the motherboard to the laptop.
-


다른 3명이 해당 안내서를 완성하였습니다.
팀

USF Tampa, Team S2-G6, Nance Spring 2017 USF Tampa, Team S2-G6, Nance Spring 2017 회원
USFT-NANCE-S17S2G6
3 회원들
안내서 15개 작성하였습니다