소개
This guide provides details on how to replace the display on a Lenovo IdeaPad Y700-15ACZ laptop. The Lenovo IdeaPad Y700-15ACZ uses a FHD 15.6" 1920x1080 display.
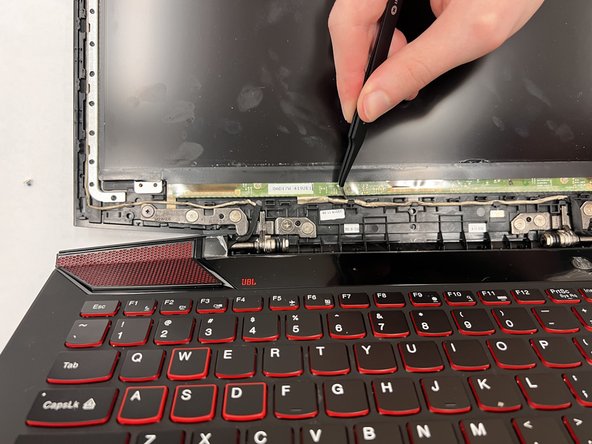
Before you begin, you will need a PH0 bit or screwdriver and the new display. This is a very fragile component, so exercise caution when disassembling the device. You may need this guide if your device is failing to display images on the screen, but audio and the device is still powered on.
필요한 것


Repeat steps backward to put the computer back together. After you have completed the reassembly, make sure to test the new display by powering on the device.
Repeat steps backward to put the computer back together. After you have completed the reassembly, make sure to test the new display by powering on the device.
팀

IUPUI, Team 3-1, Harley Spring 2023 IUPUI, Team 3-1, Harley Spring 2023 회원
IUPUI-HARLEY-S23S3G1
3 회원들
안내서 3개 작성하였습니다