주요 콘텐츠로 건너뛰기

Lenovo Ideapad 330-15ARR Fan Assembly Replacement

필요한 것

  1. Lenovo Ideapad 330-15ARR Fan Assembly Replacement, Lower Case: 1 단계, 이미지 1/1
    • Remove all Phillips #0 screws securing the case to the laptop.

  2. Lenovo Ideapad 330-15ARR Fan Assembly Replacement: 2 단계, 이미지 1/2 Lenovo Ideapad 330-15ARR Fan Assembly Replacement: 2 단계, 이미지 2/2
    • Pry all edges off of the laptop with the opening tool until the lower case releases.

    • Remove the lower case.

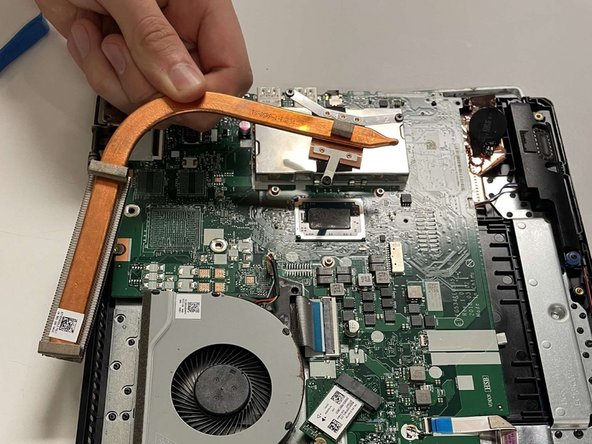
  3. Lenovo Ideapad 330-15ARR Fan Assembly Replacement, Fan Assembly: 3 단계, 이미지 1/2 Lenovo Ideapad 330-15ARR Fan Assembly Replacement, Fan Assembly: 3 단계, 이미지 2/2
    • Unscrew all three captive screws attaching the heat sink to the motherboard with a Phillips #0 screwdriver.

    • These screws stay attached to the heatsink, so do not attempt to remove them.

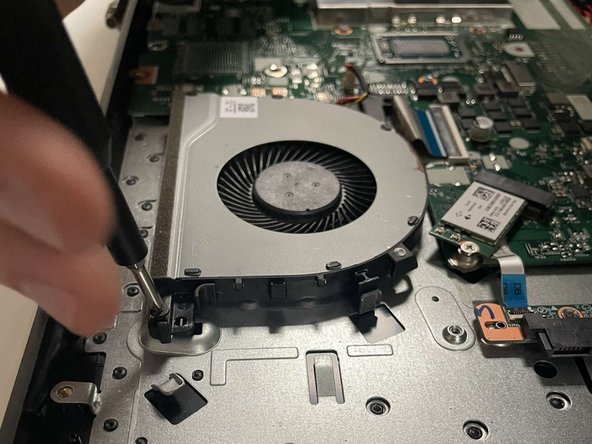
  4. Lenovo Ideapad 330-15ARR Fan Assembly Replacement: 4 단계, 이미지 1/2 Lenovo Ideapad 330-15ARR Fan Assembly Replacement: 4 단계, 이미지 2/2
    • Remove the three Phillips #0 screws securing the fan assembly.

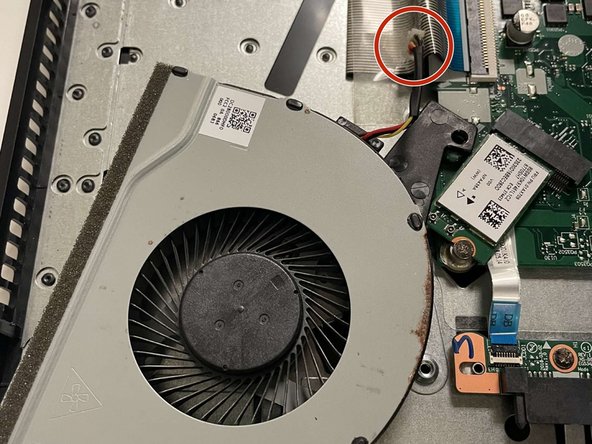
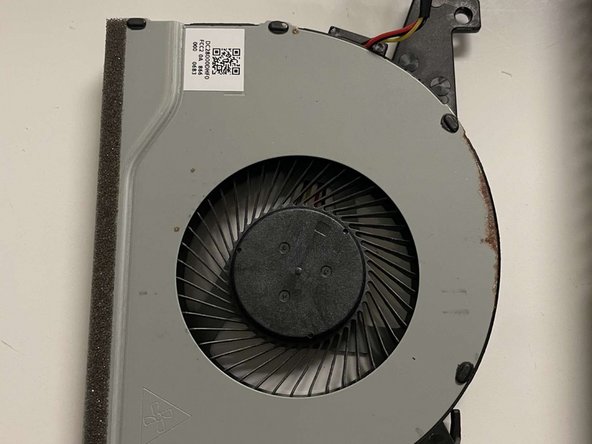
  5. Lenovo Ideapad 330-15ARR Fan Assembly Replacement: 5 단계, 이미지 1/3 Lenovo Ideapad 330-15ARR Fan Assembly Replacement: 5 단계, 이미지 2/3 Lenovo Ideapad 330-15ARR Fan Assembly Replacement: 5 단계, 이미지 3/3
    • Take the wires in your hand, and firmly but gently pull it out of its port.

    • Lift the fan assembly out of the device.

결론

To reassemble your device, follow these instructions in reverse order.

Brayden Fleming

회원 가입일: 09/22/22

479 평판

안내서 3개 작성하였습니다

University of North Texas, Team 3-2, Saru Jimmy Fall 2022 University of North Texas, Team 3-2, Saru Jimmy Fall 2022 회원

UNT-SARU JIMMY-F22S3G2

4 회원들

안내서 3개 작성하였습니다

댓글 0개

댓글 쓰기

조회 통계:

24 시간 전: 1

7일 전: 2

30일 전: 13

전체 시간: 307