주요 콘텐츠로 건너뛰기

Lenovo Ideatab S6000 Speakers Replacement

필요한 것

  1. Lenovo Ideatab S6000 Speakers Replacement, Battery: 1 단계, 이미지 1/1
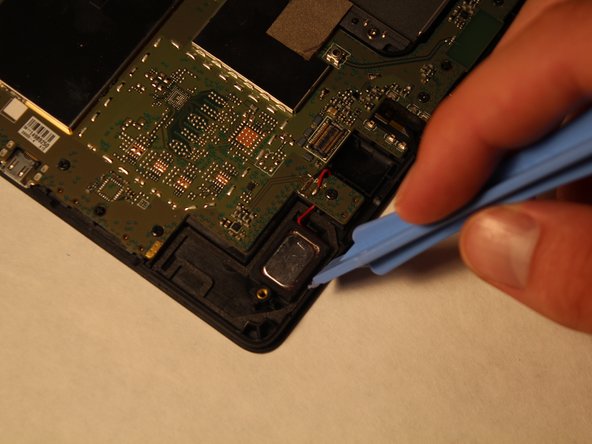
    • Remove the speaker screens by working them loose with a plastic opening tool. You may need to first loosen them with tweezers or a craft knife.

    • These screens are held in place by glue that is hard to remove. Please take your time to ensure that that this step is done correctly.

  2. Lenovo Ideatab S6000 Speakers Replacement: 2 단계, 이미지 1/1
    • Remove the screws from both of the spots that were covered.

  3. Lenovo Ideatab S6000 Speakers Replacement: 3 단계, 이미지 1/1
    • DO NOT USE A METAL TOOL FOR THIS.

    • Go all around the casing, prying the screen away from the backing with the spudger.

    • It will make a popping sound each time one of the lock tabs is disconnected.

    • Take your time as you move all around the device when prying the backing off.

  4. Lenovo Ideatab S6000 Speakers Replacement: 4 단계, 이미지 1/1
    • Pull off the plastic that is covering the battery cable.

  5. Lenovo Ideatab S6000 Speakers Replacement: 5 단계, 이미지 1/2 Lenovo Ideatab S6000 Speakers Replacement: 5 단계, 이미지 2/2
    • Using either the plastic opening tool or your fingers, gently pull on both sides of the plug to release it.

  6. Lenovo Ideatab S6000 Speakers Replacement: 6 단계, 이미지 1/1
    • Remove the battery by grabbing the tab shown and pulling up.

    • The battery is held to the device by adhesive. Pull the battery up from the tab and it will lift out with a bit of effort.

  7. Lenovo Ideatab S6000 Speakers Replacement, Speakers: 7 단계, 이미지 1/3 Lenovo Ideatab S6000 Speakers Replacement, Speakers: 7 단계, 이미지 2/3 Lenovo Ideatab S6000 Speakers Replacement, Speakers: 7 단계, 이미지 3/3
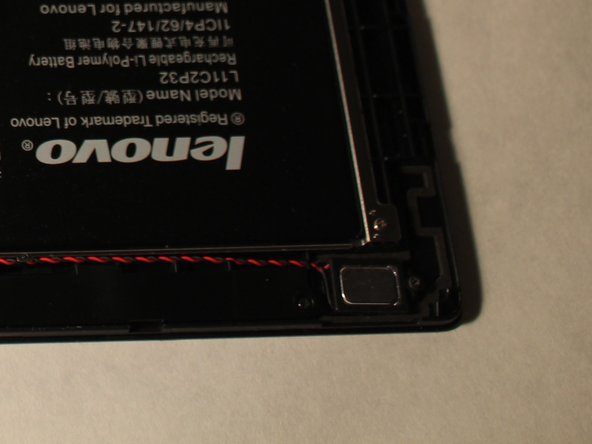
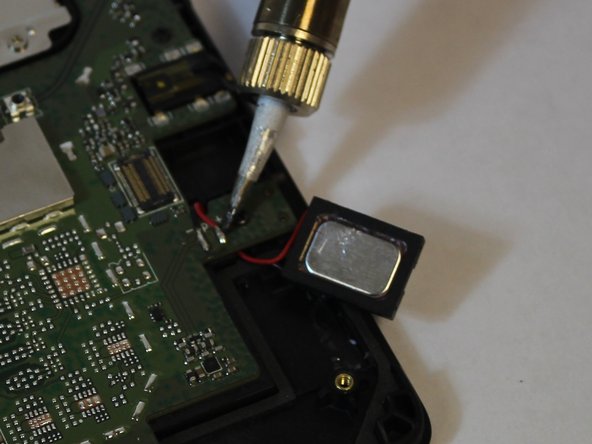
    • The speakers are connected to the tablet by glue and require a lot of prying to remove.

    • Make sure to get all the way under the speakers when prying.

  8. Lenovo Ideatab S6000 Speakers Replacement: 8 단계, 이미지 1/2 Lenovo Ideatab S6000 Speakers Replacement: 8 단계, 이미지 2/2
    • This step is not necessary if you aren't replacing the speakers.

    • To the remove the wires heat the solder connecting the wires to the board, and gently pull on the wires.

    • Remember the placement of the red and black wires.

    • Connect new speakers by soldering the wires onto the board.

결론

To reassemble your device, follow these instructions in reverse order.

다른 한 분이 해당 안내서를 완성하였습니다.

Josiah Speed

회원 가입일: 09/22/14

965 평판

안내서 4개 작성하였습니다

USF Tampa, Team 10-4, Brown Fall 2014 USF Tampa, Team 10-4, Brown Fall 2014 회원

USFT-BROWN-F14S10G4

4 회원들

안내서 10개 작성하였습니다

댓글 0개

댓글 쓰기

조회 통계:

24 시간 전: 0

7일 전: 0

30일 전: 0

전체 시간: 625