주요 콘텐츠로 건너뛰기

Lenovo IdeaPad Y40-70 Laptop Fan Replacement

필요한 것

  1. Lenovo IdeaPad Y40-70 Laptop Fan Replacement, Remove the bottom cover screws: 1 단계, 이미지 1/2 Lenovo IdeaPad Y40-70 Laptop Fan Replacement, Remove the bottom cover screws: 1 단계, 이미지 2/2
    • Turn off the computer and close the lid.

    • Remove the three M2.0 x 11mm screws circled in red.

    • Put the screws in a container so they don't get lost.

    • Remove the eight M2.0 x 5mm screws circled in orange.

    • Put the screws in a separate container.

  2. Lenovo IdeaPad Y40-70 Laptop Fan Replacement, Release the bottom cover: 2 단계, 이미지 1/3 Lenovo IdeaPad Y40-70 Laptop Fan Replacement, Release the bottom cover: 2 단계, 이미지 2/3 Lenovo IdeaPad Y40-70 Laptop Fan Replacement, Release the bottom cover: 2 단계, 이미지 3/3
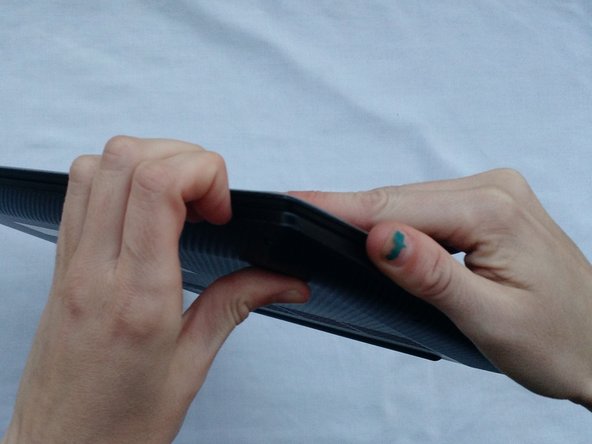
    • Carefully remove the back cover by pulling up on the edges from all sides.

    • Do not pull too hard on one side of the cover as it may damage the computer.

    • Place the cover to the side.

  3. Lenovo IdeaPad Y40-70 Laptop Fan Replacement, Remove the fan: 3 단계, 이미지 1/3 Lenovo IdeaPad Y40-70 Laptop Fan Replacement, Remove the fan: 3 단계, 이미지 2/3 Lenovo IdeaPad Y40-70 Laptop Fan Replacement, Remove the fan: 3 단계, 이미지 3/3
    • Use a small M2.5 Phillips screwdriver to remove the two M2.5 x 4.45 mm screws surrounding the fan.

    • Place these screws to the side, separate from the screws from step one.

    • This screw has a warranty seal covering it. You may void the warranty by disassembling the system further.

    • If you are concerned about the warranty, use compressed air to clean the fan at this step. Afterward, make sure to reassemble the laptop by going through the guide in reverse.

  4. Lenovo IdeaPad Y40-70 Laptop Fan Replacement, Loosen the speaker connectors: 4 단계, 이미지 1/3 Lenovo IdeaPad Y40-70 Laptop Fan Replacement, Loosen the speaker connectors: 4 단계, 이미지 2/3 Lenovo IdeaPad Y40-70 Laptop Fan Replacement, Loosen the speaker connectors: 4 단계, 이미지 3/3
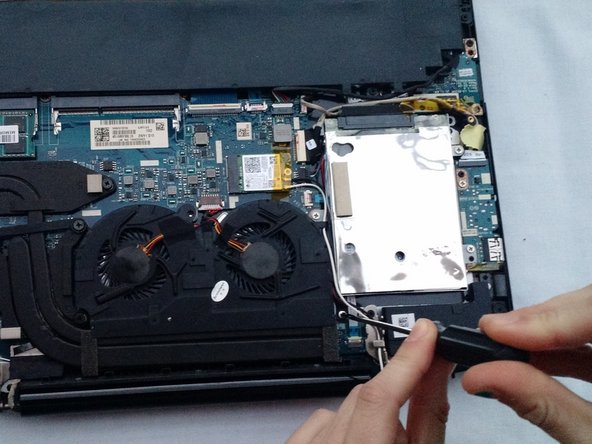
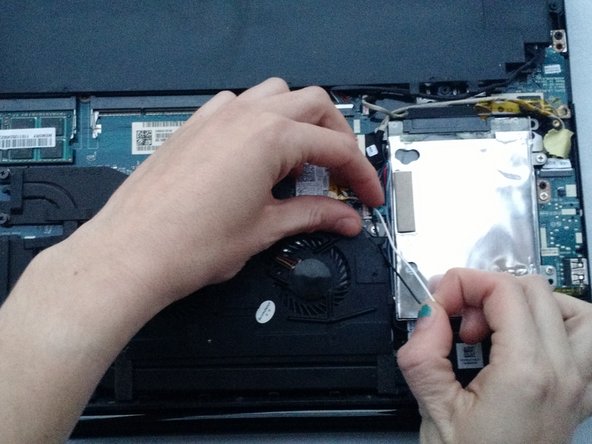
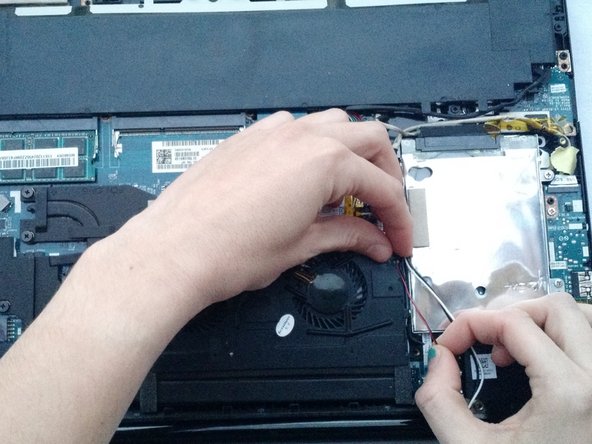
    • Remove the wires from the side of the fan.

    • Carefully unhook each grouping from the small black tabs on the fan.

  5. Lenovo IdeaPad Y40-70 Laptop Fan Replacement, Disconnect the fan: 5 단계, 이미지 1/1
    • Carefully pull out the small white plug connecting the fan to the motherboard.

  6. Lenovo IdeaPad Y40-70 Laptop Fan Replacement: 6 단계, 이미지 1/3 Lenovo IdeaPad Y40-70 Laptop Fan Replacement: 6 단계, 이미지 2/3 Lenovo IdeaPad Y40-70 Laptop Fan Replacement: 6 단계, 이미지 3/3
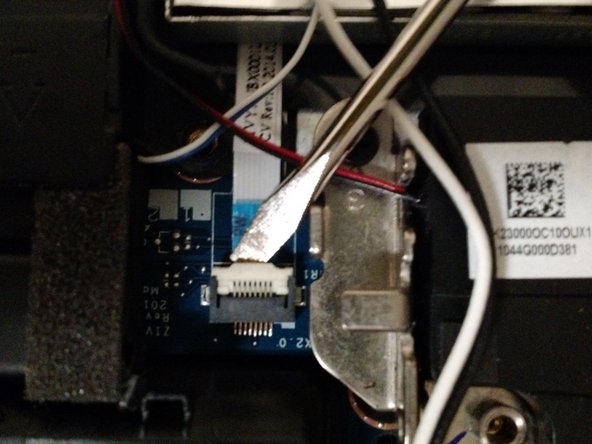
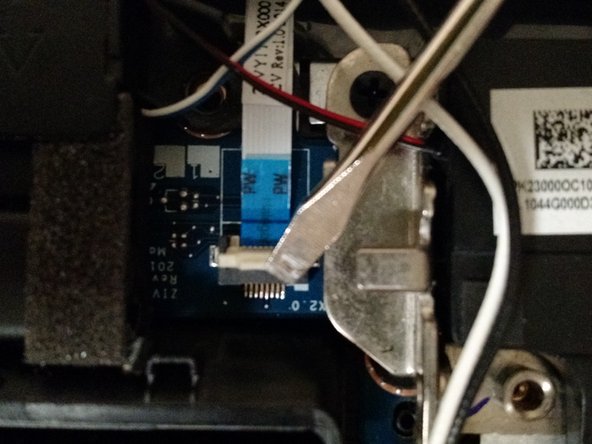
    • Use a small flathead screwdriver to pull upwards on the tab connecting the white ribbon wire to the board. Unhook the white wire from the black latch.

  7. Lenovo IdeaPad Y40-70 Laptop Fan Replacement, Remove the fan: 7 단계, 이미지 1/3 Lenovo IdeaPad Y40-70 Laptop Fan Replacement, Remove the fan: 7 단계, 이미지 2/3 Lenovo IdeaPad Y40-70 Laptop Fan Replacement, Remove the fan: 7 단계, 이미지 3/3
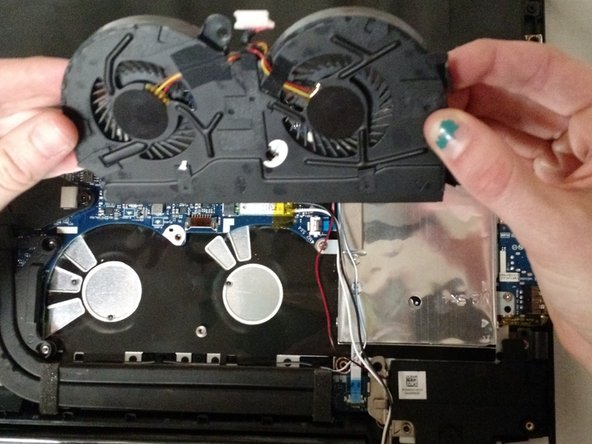
    • Carefully lift the fan out of the computer and place it on a clean surface.

    • As you lift up the left side, you will have to apply some force to overcome the adhesive on the bottom.

  8. Lenovo IdeaPad Y40-70 Laptop Fan Replacement, Clean the fan: 8 단계, 이미지 1/3 Lenovo IdeaPad Y40-70 Laptop Fan Replacement, Clean the fan: 8 단계, 이미지 2/3 Lenovo IdeaPad Y40-70 Laptop Fan Replacement, Clean the fan: 8 단계, 이미지 3/3
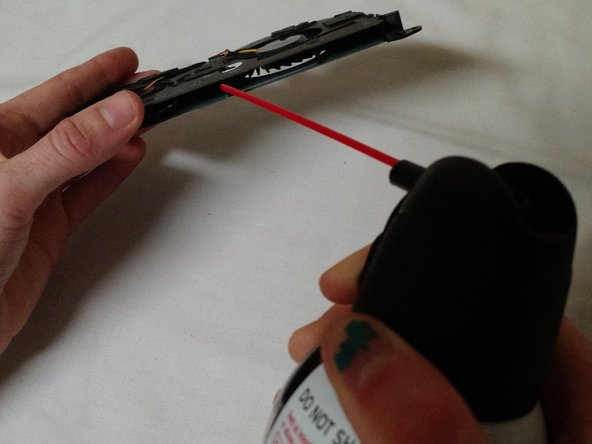
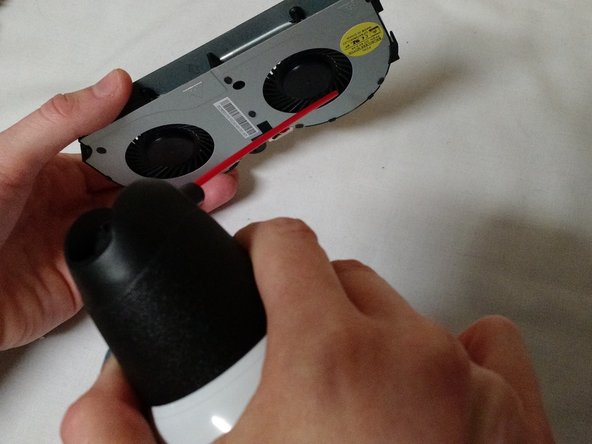
    • Use compressed air or a vacuum with a tube to clean out the dust from the fan.

    • If you wish to replace the fan, set the old fan to the side, and complete the reassembly using your replacement.

결론

To reassemble, complete the steps in reverse order. Make sure you fully close the back panel of the laptop before turning it on.

다른 6명이 해당 안내서를 완성하였습니다.

Nina Yadlowsky

회원 가입일: 04/09/15

242 평판

안내서 1개 작성함

Cal Poly, Team 30-4, Green Spring 2015 Cal Poly, Team 30-4, Green Spring 2015 회원

CPSU-GREEN-S15S30G4

5 회원들

안내서 6개 작성하였습니다

댓글 0개

댓글 쓰기

조회 통계:

24 시간 전: 0

7일 전: 9

30일 전: 36

전체 시간: 25,983