소개
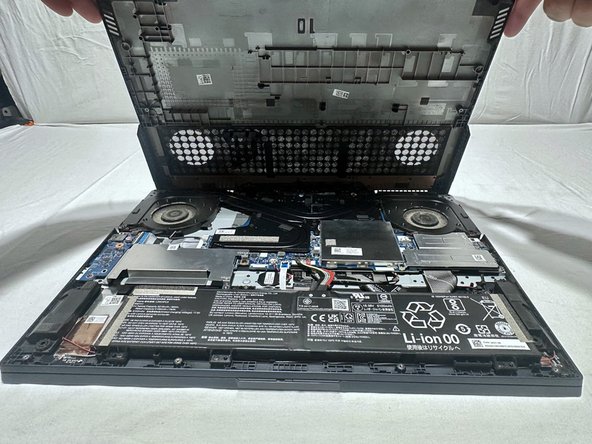
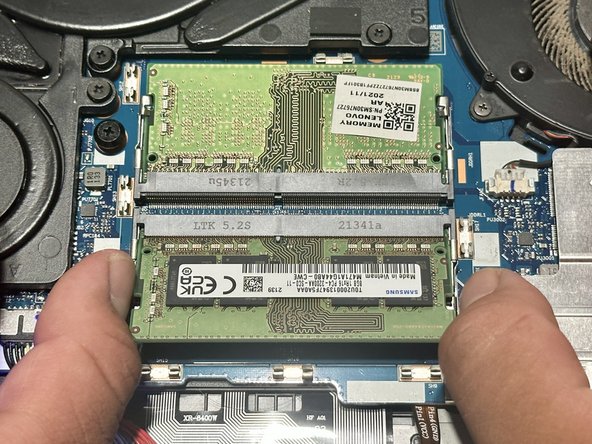
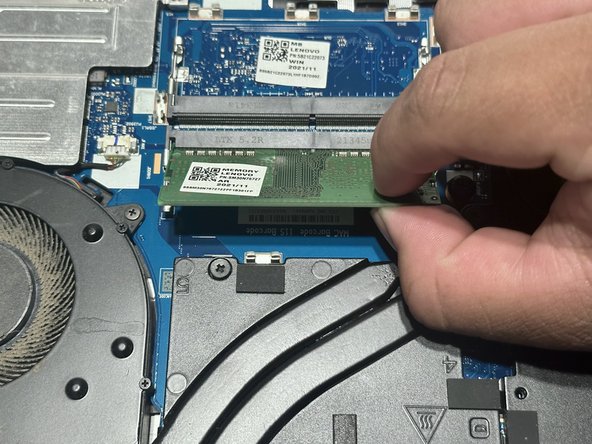
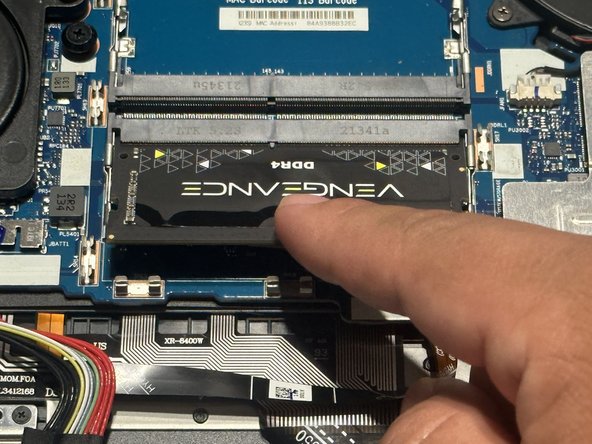
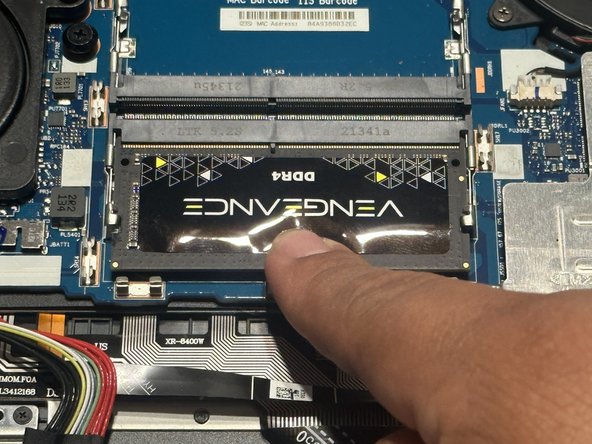
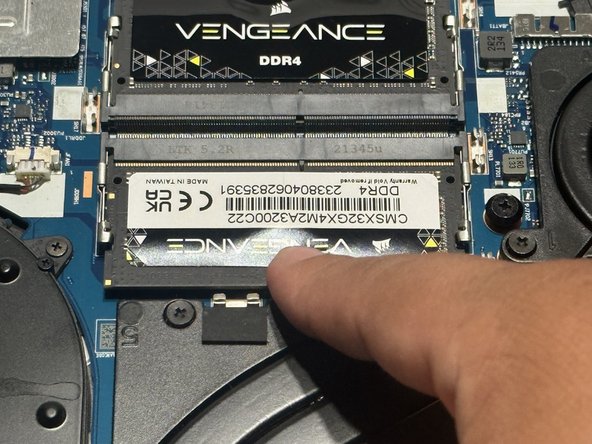
This guide is for replacing both RAM modules for the Lenovo Legion 5 17ACH6H laptop. According to the laptop's manual, the laptop supports up to 16 GB DDR4 - 3200, dual channel RAM. However, this laptop can run 32 GB of RAM. You can choose a different RAM module brand as long as it meets the laptop's RAM specifications.
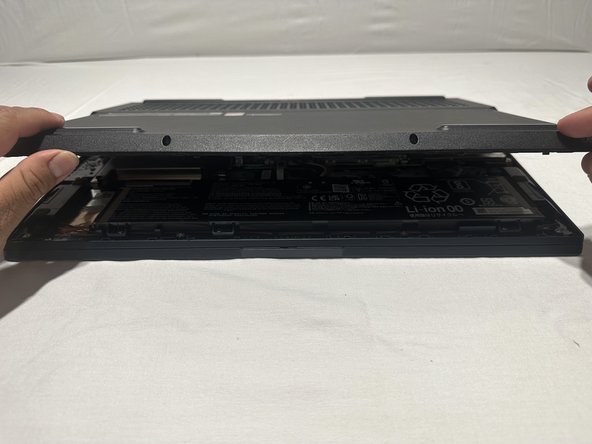
Before opening the laptop, ensure this does not void its warranty. Opening without damaging the parts won't void the warranty in the United States, but this may vary with region and seller.
Before replacing any part of this laptop, ensure it is completely powered off and not connected to power. It is also important that the laptop is not in sleep or hibernation mode.
필요한 것


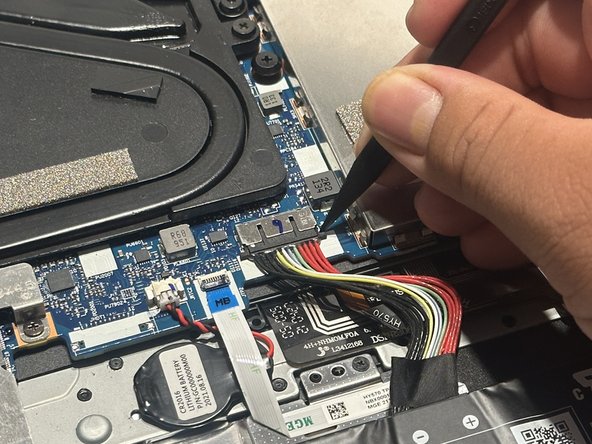
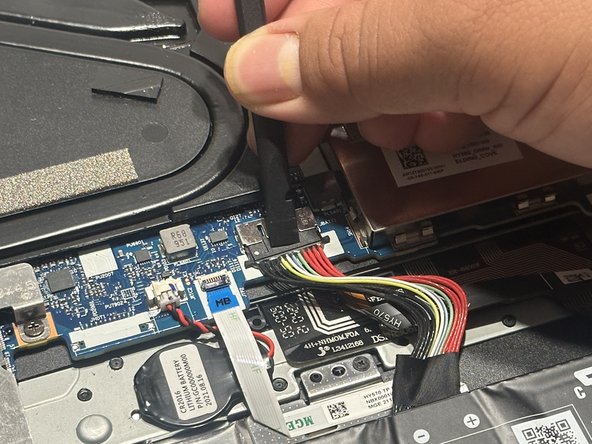


To reassemble your device, follow these instructions in reverse order.
To reassemble your device, follow these instructions in reverse order.
다른 한 분이 해당 안내서를 완성하였습니다.
팀

CSU Los Angeles, Team 12-4, Ribeiro Fall 2023 CSU Los Angeles, Team 12-4, Ribeiro Fall 2023 회원
CSULA-RIBEIRO-F23S12G4
2 회원들
안내서 1개 작성하였습니다