주요 콘텐츠로 건너뛰기

Lenovo Miix 2 Rear Camera Replacement

필요한 것

  1. Lenovo Miix 2 Rear Camera Replacement, Battery: 1 단계, 이미지 1/2 Lenovo Miix 2 Rear Camera Replacement, Battery: 1 단계, 이미지 2/2
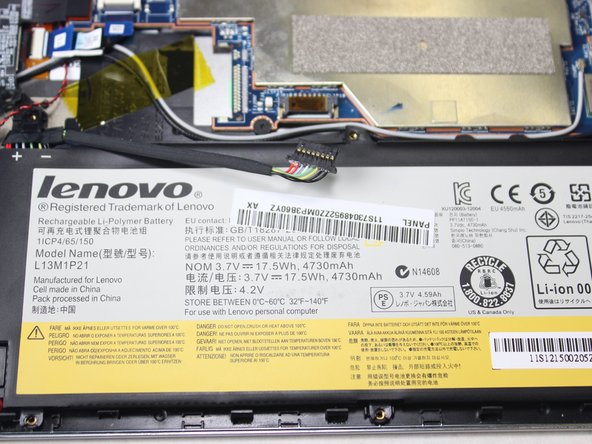
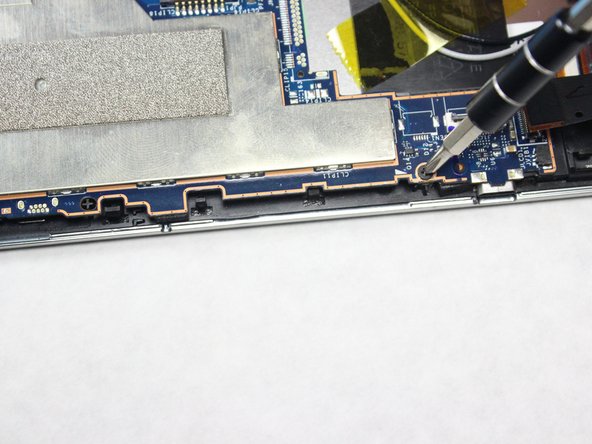
    • Remove the back cover of the tablet by inserting a nylon or metal spudger in the small hole between the screen and rear cover near the volume button. Slide the tool along the edge of the tablet to release the internal clasps.

    • You should have to apply a good amount of force, but pry carefully in order to avoid damaging the clasps or the internals.

  2. Lenovo Miix 2 Rear Camera Replacement: 2 단계, 이미지 1/2 Lenovo Miix 2 Rear Camera Replacement: 2 단계, 이미지 2/2
    • Unscrew the six 3mm screws surrounding the battery dock using a Phillips #0 screwdriver.

  3. Lenovo Miix 2 Rear Camera Replacement: 3 단계, 이미지 1/2 Lenovo Miix 2 Rear Camera Replacement: 3 단계, 이미지 2/2
    • Using a plastic spudger, slowly push each side of the battery connector (back and forward a couple of times) out of its socket on the motherboard.

  4. Lenovo Miix 2 Rear Camera Replacement: 4 단계, 이미지 1/2 Lenovo Miix 2 Rear Camera Replacement: 4 단계, 이미지 2/2
    • Remove the battery by prying up with your fingers or a plastic opening tool.

  5. Lenovo Miix 2 Rear Camera Replacement, Motherboard: 5 단계, 이미지 1/2 Lenovo Miix 2 Rear Camera Replacement, Motherboard: 5 단계, 이미지 2/2
    • Locate the LCD cable connector and gently pry it directly up with a spudger.

  6. Lenovo Miix 2 Rear Camera Replacement: 6 단계, 이미지 1/3 Lenovo Miix 2 Rear Camera Replacement: 6 단계, 이미지 2/3 Lenovo Miix 2 Rear Camera Replacement: 6 단계, 이미지 3/3
    • Remove the 5 ribbon cables. use the tip of the spudger to flip up the retaining flap, making sure to lift on the hinge and not the connector itself, then remove the cable from the connector.

    • The flaps and connectors vary in color.

    • Once the hinge has been lifted, the ribbon cable should take no force to remove.

  7. Lenovo Miix 2 Rear Camera Replacement: 7 단계, 이미지 1/2 Lenovo Miix 2 Rear Camera Replacement: 7 단계, 이미지 2/2
    이 단계에 사용된 도구:
    Tweezers
    $4.99
    구매
    • Remove the 3 antenna cables using the tweezers by slowly pulling up.

    • We found that pulling up and twisting a bit works best.

  8. Lenovo Miix 2 Rear Camera Replacement: 8 단계, 이미지 1/2 Lenovo Miix 2 Rear Camera Replacement: 8 단계, 이미지 2/2
    • Remove the 4 1.6mm screws with a J0 head.

  9. Lenovo Miix 2 Rear Camera Replacement: 9 단계, 이미지 1/2 Lenovo Miix 2 Rear Camera Replacement: 9 단계, 이미지 2/2
    • Remove the red and black cable using the tweezers by gently pulling the connector to the right.

  10. Lenovo Miix 2 Rear Camera Replacement: 10 단계, 이미지 1/1
    • Lift the motherboard out of the tablet's case.

  11. Lenovo Miix 2 Rear Camera Replacement, Rear Camera: 11 단계, 이미지 1/2 Lenovo Miix 2 Rear Camera Replacement, Rear Camera: 11 단계, 이미지 2/2
    이 단계에 사용된 도구:
    Tweezers
    $4.99
    구매
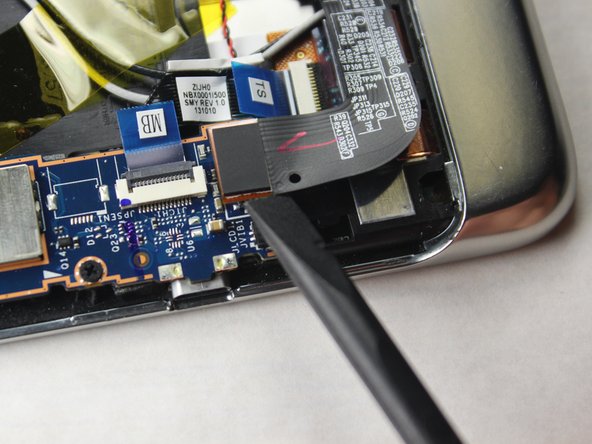
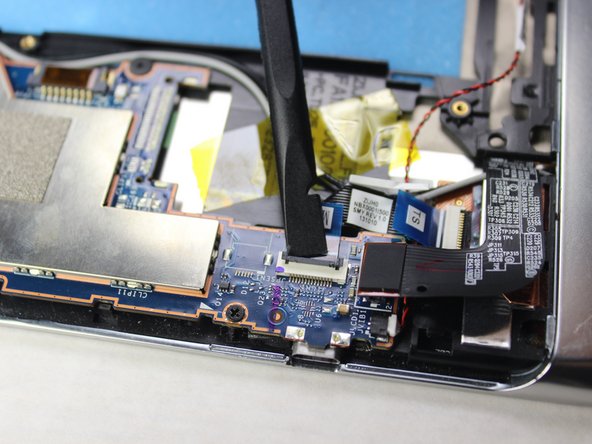
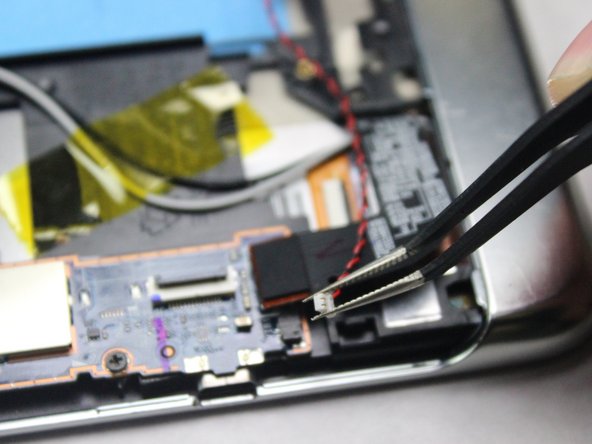
    • Free the rubber housing around the camera by gently prying up with the spudger.

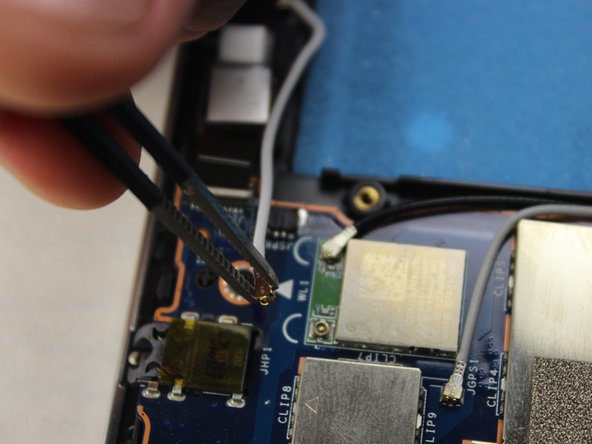
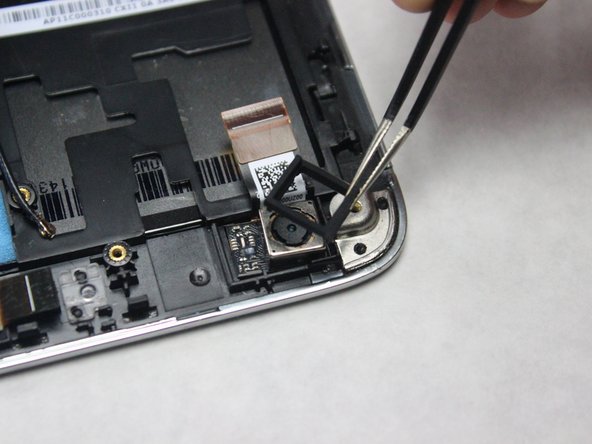
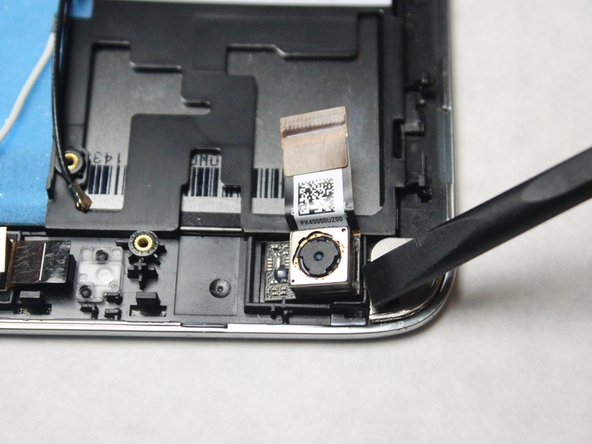
    • Remove the rubber housing from the camera with tweezers.

  12. Lenovo Miix 2 Rear Camera Replacement: 12 단계, 이미지 1/2 Lenovo Miix 2 Rear Camera Replacement: 12 단계, 이미지 2/2
    • Remove the camera by carefully prying it out with the spudger.

결론

To reassemble your device, follow these instructions in reverse order.

Diana Chiu

회원 가입일: 07/14/14

654 평판

안내서 4개 작성하였습니다

Kid fixers Kid fixers 회원

Community

162 회원들

안내서 301개 작성하였습니다

댓글 0개

댓글 쓰기

조회 통계:

24 시간 전: 0

7일 전: 0

30일 전: 13

전체 시간: 682