소개
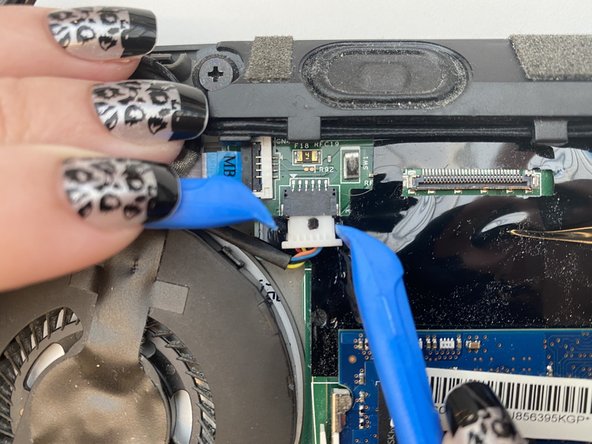
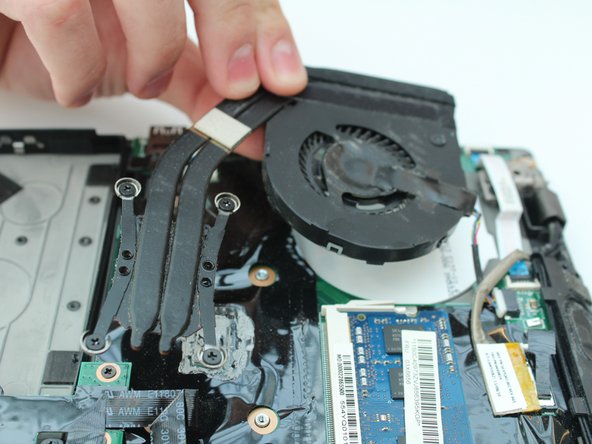
This guide will show you how to locate and replace the Lenovo T431s fan. The cooling fan is what keeps your processing unit cool so the elements of your computer don’t overheat. If you are experiencing malfunction, overheat warning messages, or hot components, you might need to replace your cooling fan.
필요한 것


To reassemble your device, follow these instructions in reverse order.
To reassemble your device, follow these instructions in reverse order.
다른 2명이 해당 안내서를 완성하였습니다.
팀

Embry-Riddle Aeronautical University, Team S14-G2, Lamothe Spring 2020 Embry-Riddle Aeronautical University, Team S14-G2, Lamothe Spring 2020 회원
ERAU-LAMOTHE-S20S14G2
4 회원들
안내서 5개 작성하였습니다