소개
This repair may be necessary if audio is not playing through your device's internal speakers while the volume is turned up and the correct audio output is selected. If you tend to play loud music for extended periods of time, or you noticed the speaker function ceased after playing particularly loud audio, it's probably time to replace the speakers. For more possible troubleshooting click here.
필요한 것
-
-
Use a Phillips #1 screwdriver to remove the five 5 mm screws that secure the base panel.
-
Wedge a spudger between the base panel and chassis, and pry around the entire perimeter until you hear a pop and the base panel releases.
-
Lift the base panel up and off of the chassis.
-
-
-
Use a Phillips #1 screwdriver to remove the five 4.5 mm screws securing the battery.
-
Lift the battery up and out.
-
-
-
-
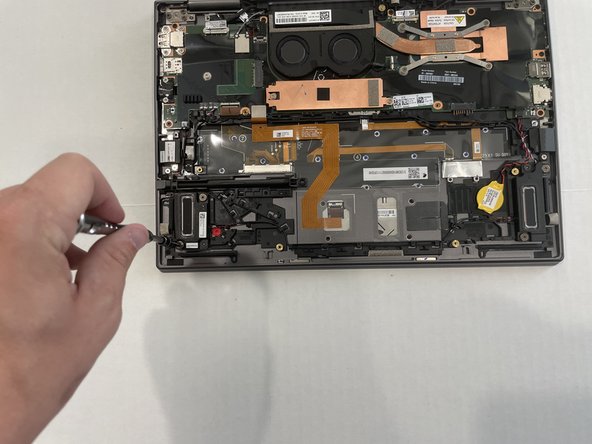
Use the spudger to lift the flap covering the speaker wire.
-
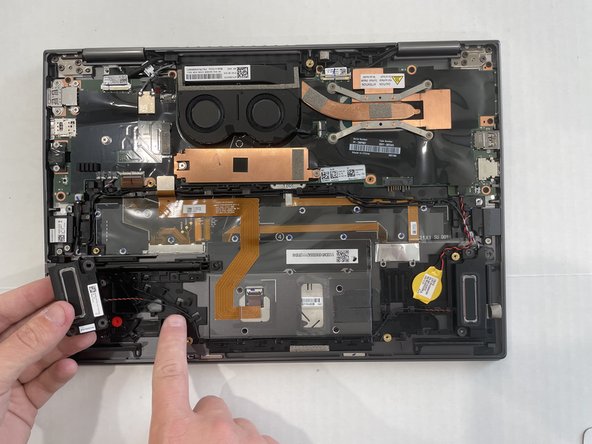
Starting at the top of the right speaker, follow the wire connected to the top of the left speaker. Use the tip of a spudger to free the wire from the plastic brackets it lies under.
-
Starting from near the bottom-left side of the right speaker, follow the lower wire, unseating the speaker cable as you go.
-


To reassemble your device, follow these instructions in reverse order.
To reassemble your device, follow these instructions in reverse order.
팀

Western Carolina University, Team 1-1, Virtue Spring 2022 Western Carolina University, Team 1-1, Virtue Spring 2022 회원
WCU-VIRTUE-S22S1G1
4 회원들
안내서 10개 작성하였습니다