주요 콘텐츠로 건너뛰기

Lenovo ThinkPad Yoga 14 20FY Keyboard Replacement

필요한 것

  1. Lenovo ThinkPad Yoga 14 20FY Keyboard Replacement, Keyboard: 1 단계, 이미지 1/1
    • Unplug and completely shut down your computer beforehand to reduce the risk of electric shock.

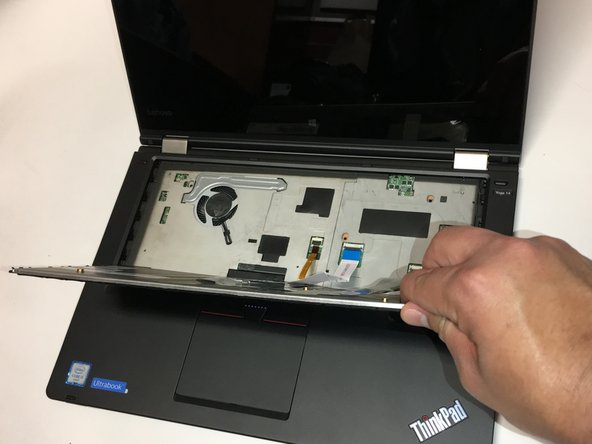
    • Flip the laptop over so you can see the bottom panel.

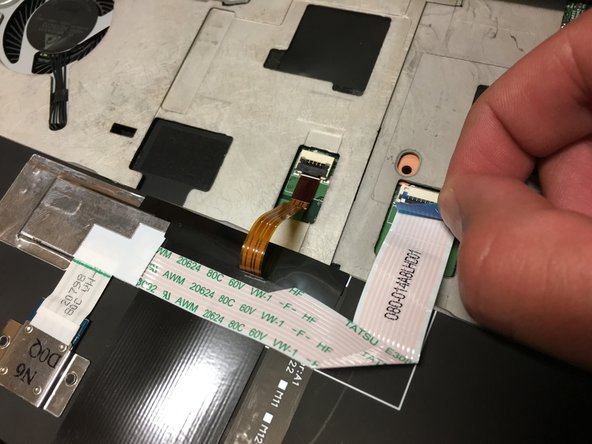
    • Unscrew the circled screws to detach the keyboard.

  2. Lenovo ThinkPad Yoga 14 20FY Keyboard Replacement: 2 단계, 이미지 1/3 Lenovo ThinkPad Yoga 14 20FY Keyboard Replacement: 2 단계, 이미지 2/3 Lenovo ThinkPad Yoga 14 20FY Keyboard Replacement: 2 단계, 이미지 3/3
    • Flip the laptop back over and open it normally.

    • Use a plastic opening tool to lift up the keyboard along the bottom edge until it is detached.

  3. Lenovo ThinkPad Yoga 14 20FY Keyboard Replacement: 3 단계, 이미지 1/2 Lenovo ThinkPad Yoga 14 20FY Keyboard Replacement: 3 단계, 이미지 2/2
    • Using a finger, push the top of the keyboard out of its holder to completely detach it.

    • Move the keyboard out of the way by rotating the far side of the keyboard towards you.

  4. Lenovo ThinkPad Yoga 14 20FY Keyboard Replacement: 4 단계, 이미지 1/2 Lenovo ThinkPad Yoga 14 20FY Keyboard Replacement: 4 단계, 이미지 2/2
    • Be gentle! These connectors are very small and can easily break off.

    • Lay the keyboard on its front.

    • Disconnect the 3 cables by pulling on the attached tabs.

결론

To reassemble your device, follow these instructions in reverse order.

다른 3명이 해당 안내서를 완성하였습니다.

Sarthak Khillon

회원 가입일: 04/12/17

259 평판

안내서 1개 작성함

Cal Poly, Team S14-G2, Banghart Spring 2017 Cal Poly, Team S14-G2, Banghart Spring 2017 회원

CPSU-BANGHART-S17S14G2

5 회원들

안내서 6개 작성하였습니다

댓글 0개

댓글 쓰기

조회 통계:

24 시간 전: 0

7일 전: 2

30일 전: 13

전체 시간: 5,496