소개
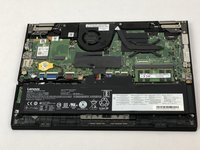
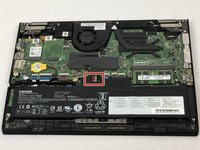
The fingerprint reader is feature of the ThinkPad laptop that allows the laptop to scan the user's fingerprint instead of a password to make securing the laptop a more efficient process. Sometimes the fingerprint reader breaks, stops working, or falls down into the computer. This guide shows how to gain access to, remove, and replace the fingerprint reader from the Lenovo ThinkPad Yoga 370 Laptop.
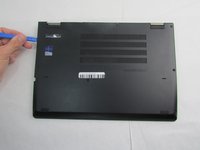
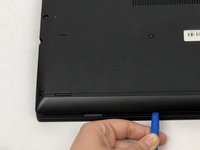
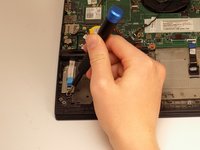
Be sure to power off your laptop and disconnect from the power adapter prior to starting this repair.
필요한 것


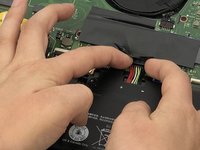


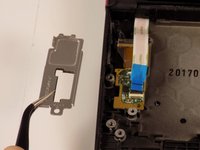

To reassemble your device, follow these instructions in reverse order.
To reassemble your device, follow these instructions in reverse order.

팀

Embry-Riddle Aeronautical University, Team 2-4, Rauch Spring 2022 Embry-Riddle Aeronautical University, Team 2-4, Rauch Spring 2022 회원
ERAU-RAUCH-S22S2G4
3 회원들
안내서 3개를 작성함