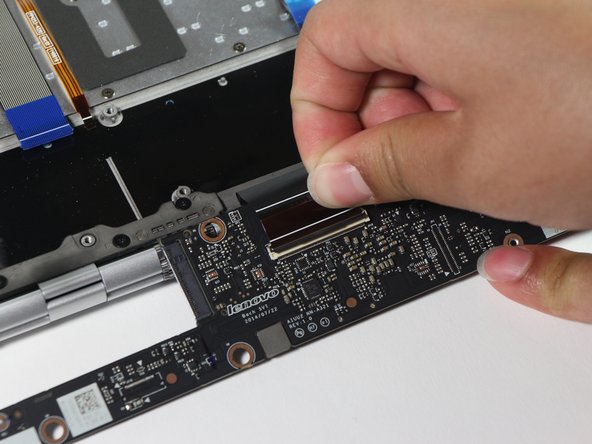
주요 콘텐츠로 건너뛰기

Lenovo Yoga 3 Pro Screen Replacement

보관된 가이드
해당 안내서는 단지 역사적인 목적으로 보관됩니다. 최신 버전 안내서를 사용하여 수리 하십시오.

필요한 것

  1. Lenovo Yoga 3 Pro Screen Replacement, Back Panel: 1 단계, 이미지 1/2 Lenovo Yoga 3 Pro Screen Replacement, Back Panel: 1 단계, 이미지 2/2
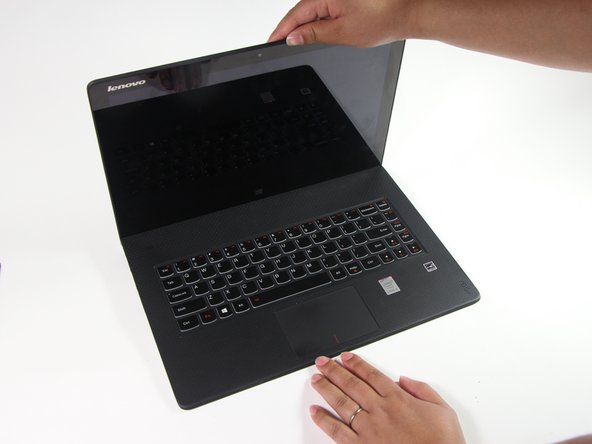
    • Flip the laptop so that the back panel is facing up.

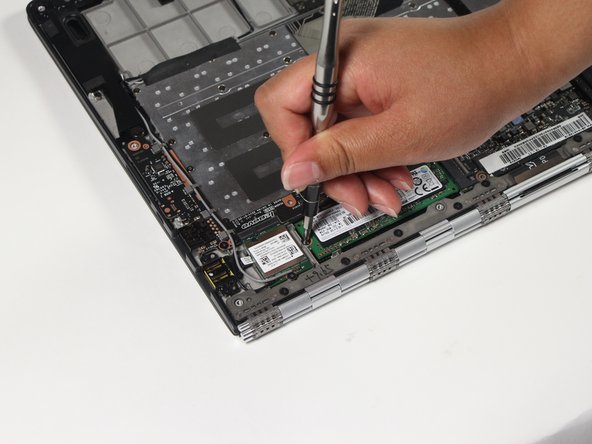
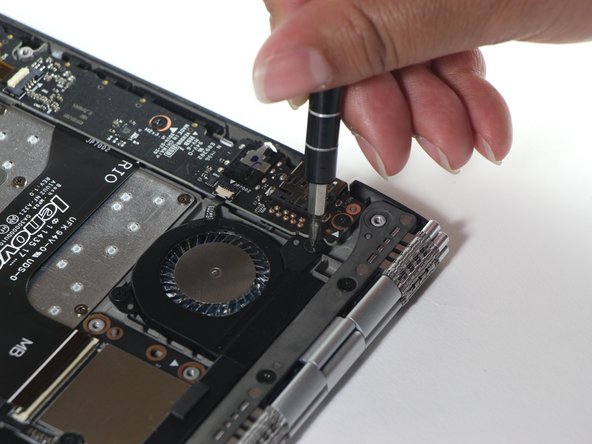
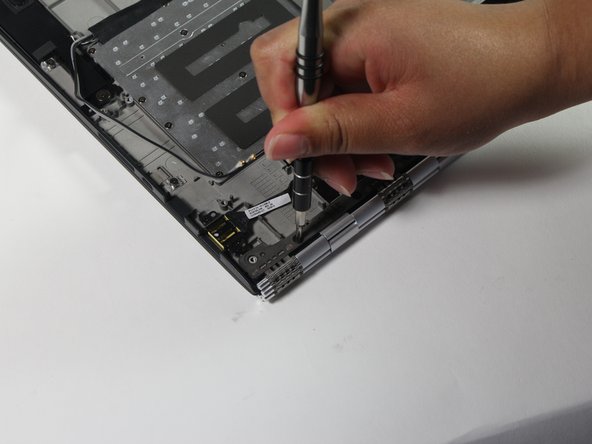
    • Remove the ten 4.0mm T6 Torx screws from the back of the laptop.

  2. Lenovo Yoga 3 Pro Screen Replacement: 2 단계, 이미지 1/1
    • Gently lift the back cover off of the laptop.

  3. Lenovo Yoga 3 Pro Screen Replacement, Battery: 3 단계, 이미지 1/2 Lenovo Yoga 3 Pro Screen Replacement, Battery: 3 단계, 이미지 2/2
    • Push the black battery cable towards the battery to disconnect it.

  4. Lenovo Yoga 3 Pro Screen Replacement: 4 단계, 이미지 1/2 Lenovo Yoga 3 Pro Screen Replacement: 4 단계, 이미지 2/2
    • Remove the six #0 3.8mm Phillips screws from the battery.

  5. Lenovo Yoga 3 Pro Screen Replacement: 5 단계, 이미지 1/1
    • Gently lift the battery out of the laptop chassis.

  6. Lenovo Yoga 3 Pro Screen Replacement, SSD: 6 단계, 이미지 1/2 Lenovo Yoga 3 Pro Screen Replacement, SSD: 6 단계, 이미지 2/2
    • Remove the one #0 2.9mm Phillips screw from the SSD.

  7. Lenovo Yoga 3 Pro Screen Replacement: 7 단계, 이미지 1/1
    • Gently lift and wiggle the SSD side to side to remove it from the laptop chassis.

  8. Lenovo Yoga 3 Pro Screen Replacement, Wireless Card: 8 단계, 이미지 1/2 Lenovo Yoga 3 Pro Screen Replacement, Wireless Card: 8 단계, 이미지 2/2
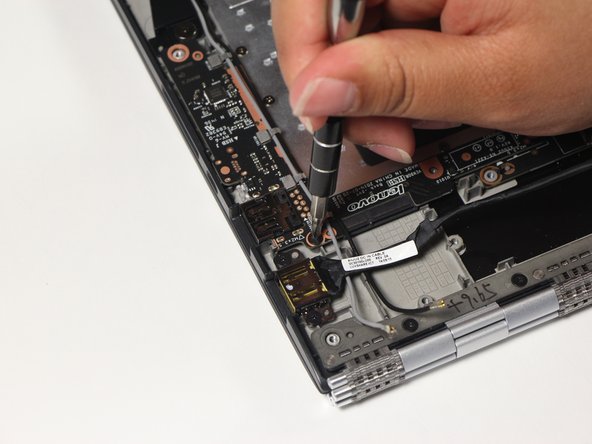
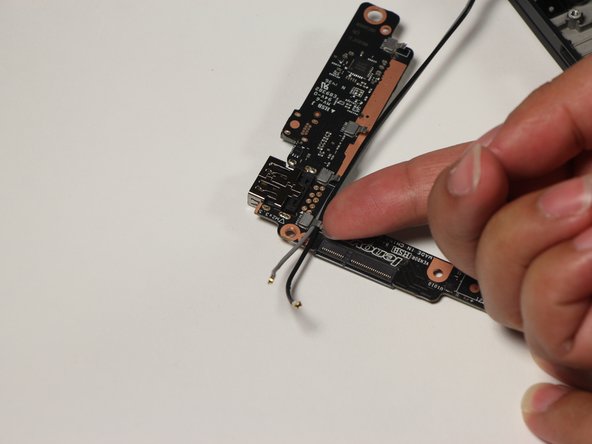
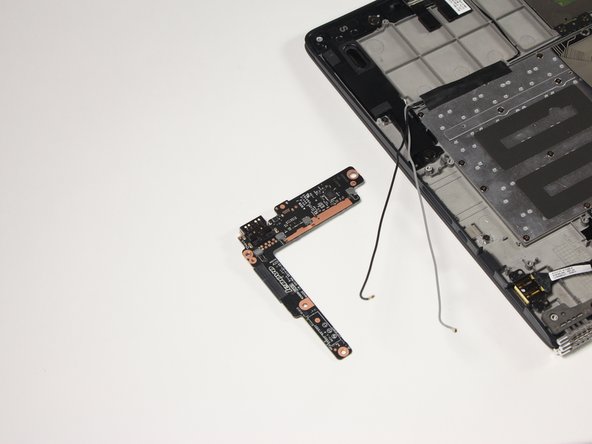
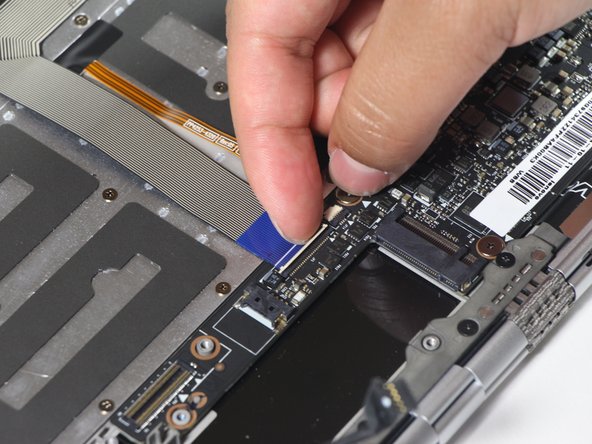
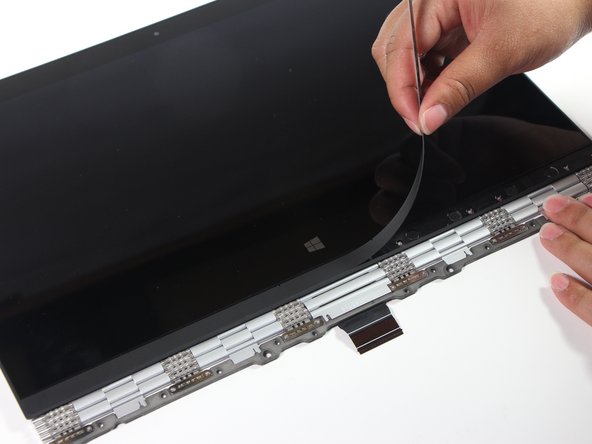
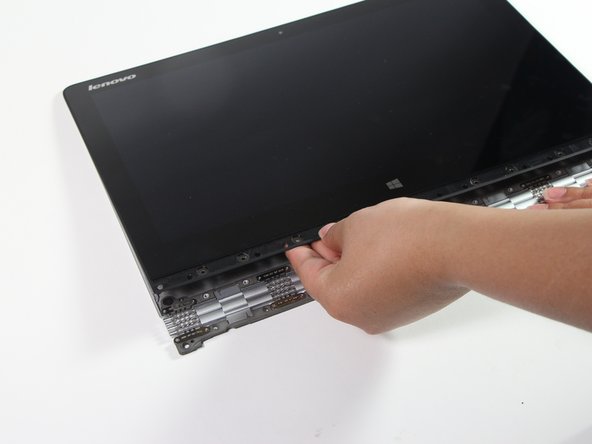
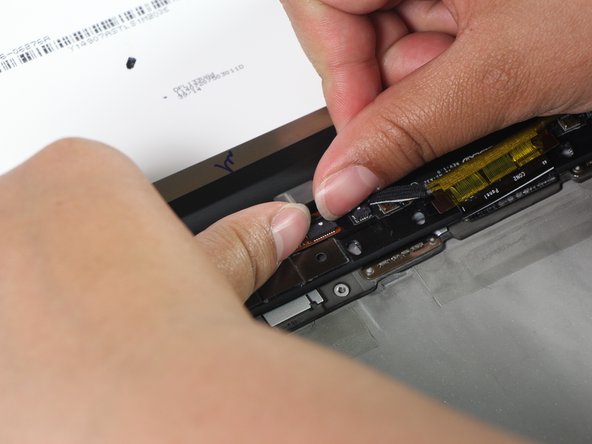
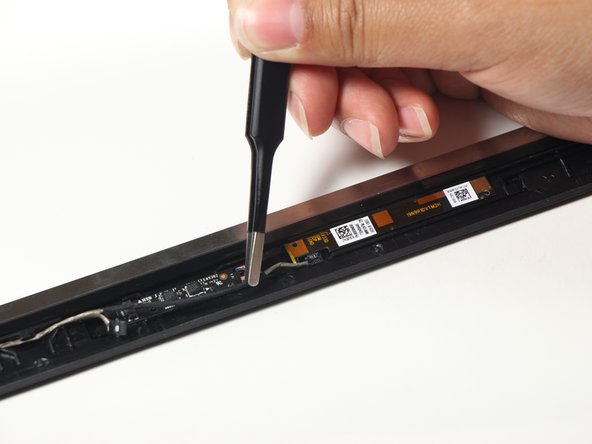
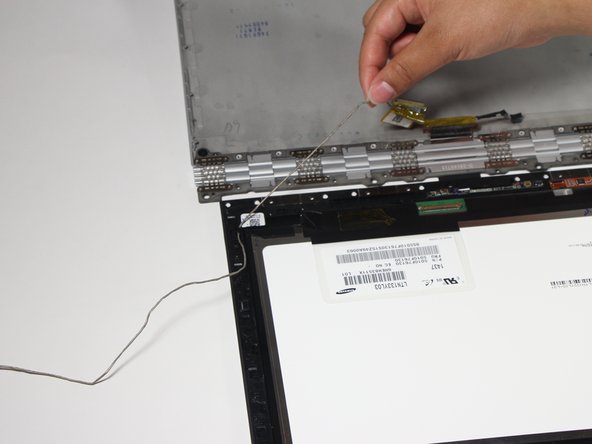
    • Using the plastic opening tool, gently pry the grey wire off the wifi card.

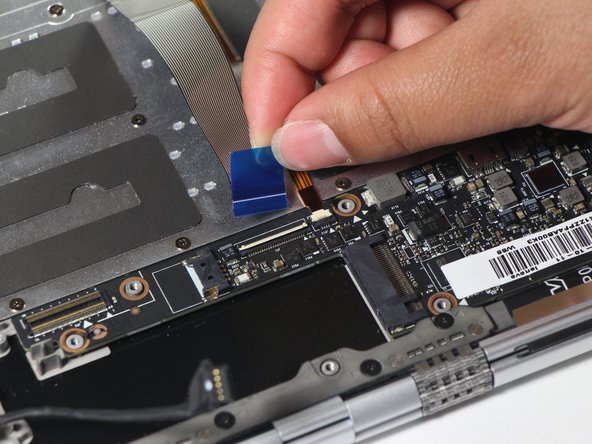
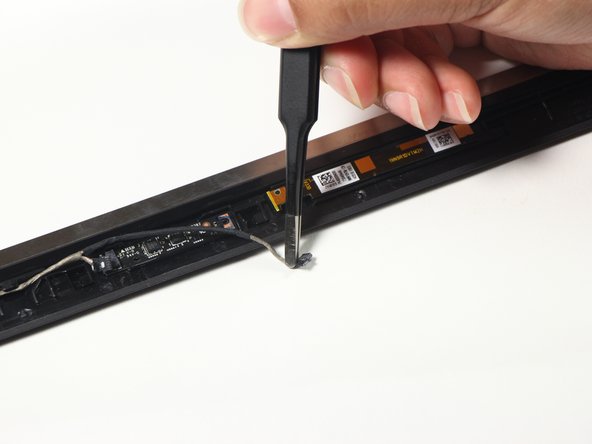
    • Pry the black wire off the wifi card.

  9. Lenovo Yoga 3 Pro Screen Replacement: 9 단계, 이미지 1/1
    • Remove the one #0 2.9mm Phillips screw from the base of the wifi card.

  10. Lenovo Yoga 3 Pro Screen Replacement: 10 단계, 이미지 1/2 Lenovo Yoga 3 Pro Screen Replacement: 10 단계, 이미지 2/2
    • Gently lift and pull the wifi card out.

  11. Lenovo Yoga 3 Pro Screen Replacement, Motherboard: 11 단계, 이미지 1/3 Lenovo Yoga 3 Pro Screen Replacement, Motherboard: 11 단계, 이미지 2/3 Lenovo Yoga 3 Pro Screen Replacement, Motherboard: 11 단계, 이미지 3/3
    • Push the cable away from the motherboard.

  12. Lenovo Yoga 3 Pro Screen Replacement: 12 단계, 이미지 1/3 Lenovo Yoga 3 Pro Screen Replacement: 12 단계, 이미지 2/3 Lenovo Yoga 3 Pro Screen Replacement: 12 단계, 이미지 3/3
    • Remove the two #0 2.9mm Phillips screws from the daughter board.

  13. Lenovo Yoga 3 Pro Screen Replacement: 13 단계, 이미지 1/1
    • Lift the daughter board with the plastic opening tool.

    • You will hear two clicks when lifting the daughter board.

  14. Lenovo Yoga 3 Pro Screen Replacement: 14 단계, 이미지 1/3 Lenovo Yoga 3 Pro Screen Replacement: 14 단계, 이미지 2/3 Lenovo Yoga 3 Pro Screen Replacement: 14 단계, 이미지 3/3
    • Lift the daughter board, unrouting the wireless cables from their plastic holders, and place it to the side.

  15. Lenovo Yoga 3 Pro Screen Replacement: 15 단계, 이미지 1/3 Lenovo Yoga 3 Pro Screen Replacement: 15 단계, 이미지 2/3 Lenovo Yoga 3 Pro Screen Replacement: 15 단계, 이미지 3/3
    • Gently lift the metal tabs on the daughter board to free the wires.

  16. Lenovo Yoga 3 Pro Screen Replacement: 16 단계, 이미지 1/3 Lenovo Yoga 3 Pro Screen Replacement: 16 단계, 이미지 2/3 Lenovo Yoga 3 Pro Screen Replacement: 16 단계, 이미지 3/3
    • Detach the five flat flex cables attached to the motherboard as follows:

    • 1. Flip the cable holder up with a finger nail

    • 2. Pull on the tab to remove the cable.

    • The large black flat flex labeled 'MB' does not have a tab so gently tug the cable free from the end after flipping the cable holder.

  17. Lenovo Yoga 3 Pro Screen Replacement: 17 단계, 이미지 1/3 Lenovo Yoga 3 Pro Screen Replacement: 17 단계, 이미지 2/3 Lenovo Yoga 3 Pro Screen Replacement: 17 단계, 이미지 3/3
    • Remove the four #0 2.3mm Phillips screws holding down the motherboard.

    • Remove the two #0 2.9mm Phillips screws holding down the fan.

  18. Lenovo Yoga 3 Pro Screen Replacement: 18 단계, 이미지 1/3 Lenovo Yoga 3 Pro Screen Replacement: 18 단계, 이미지 2/3 Lenovo Yoga 3 Pro Screen Replacement: 18 단계, 이미지 3/3
    • Make sure the motherboard and fan are not caught on anything when flipping it over.

    • Gently lift and flip the motherboard over.

  19. Lenovo Yoga 3 Pro Screen Replacement: 19 단계, 이미지 1/3 Lenovo Yoga 3 Pro Screen Replacement: 19 단계, 이미지 2/3 Lenovo Yoga 3 Pro Screen Replacement: 19 단계, 이미지 3/3
    • Flip the cable lock holding down the monitor connector.

    • Remove the monitor connector by tugging on the tab.

  20. Lenovo Yoga 3 Pro Screen Replacement, Screen: 20 단계, 이미지 1/2 Lenovo Yoga 3 Pro Screen Replacement, Screen: 20 단계, 이미지 2/2
    • Remove the ten #0 3.7mm Phillips screws holding down the monitor assembly.

  21. Lenovo Yoga 3 Pro Screen Replacement: 21 단계, 이미지 1/3 Lenovo Yoga 3 Pro Screen Replacement: 21 단계, 이미지 2/3 Lenovo Yoga 3 Pro Screen Replacement: 21 단계, 이미지 3/3
    • Flip over the laptop so that it's facing up

    • Gently open the laptop to separate the screen from the laptop chassis.

  22. Lenovo Yoga 3 Pro Screen Replacement: 22 단계, 이미지 1/2 Lenovo Yoga 3 Pro Screen Replacement: 22 단계, 이미지 2/2
    • The screw cover is held down with adhesive and is very fragile.

    • Remove the black screw cover from the screen by prying with the wide plastic opening tool.

    • Pull it off slowly.

  23. Lenovo Yoga 3 Pro Screen Replacement: 23 단계, 이미지 1/1
    • Remove the eight #0 2.4mm Phillips screws holding down the monitor.

  24. Lenovo Yoga 3 Pro Screen Replacement: 24 단계, 이미지 1/3 Lenovo Yoga 3 Pro Screen Replacement: 24 단계, 이미지 2/3 Lenovo Yoga 3 Pro Screen Replacement: 24 단계, 이미지 3/3
    • Insert the wide plastic opening tool between the rubberized plastic and the watchband hinge.

    • Pry the monitor assembly up until you can fit a few fingers under it.

    • Lift until the tabs holding the bottom of the monitor are released.

  25. Lenovo Yoga 3 Pro Screen Replacement: 25 단계, 이미지 1/1
    • Slowly go around the perimeter of the screen with your fingers to loosen all the tabs holding down the monitor.

  26. Lenovo Yoga 3 Pro Screen Replacement: 26 단계, 이미지 1/2 Lenovo Yoga 3 Pro Screen Replacement: 26 단계, 이미지 2/2
    • Be careful with the ribbon cable.

    • With the screen facing up, flip the screen assembly over

  27. Lenovo Yoga 3 Pro Screen Replacement: 27 단계, 이미지 1/3 Lenovo Yoga 3 Pro Screen Replacement: 27 단계, 이미지 2/3 Lenovo Yoga 3 Pro Screen Replacement: 27 단계, 이미지 3/3
    • Disconnect the two monitor connectors with the tips of your fingers.

  28. Lenovo Yoga 3 Pro Screen Replacement: 28 단계, 이미지 1/3 Lenovo Yoga 3 Pro Screen Replacement: 28 단계, 이미지 2/3 Lenovo Yoga 3 Pro Screen Replacement: 28 단계, 이미지 3/3
    • Remove the flat flex cable by first lifting the hinge then pulling the hinge away from the connector.

    • The hinge may be taped down, so lift the tape and pull the hinge via the tape.

  29. Lenovo Yoga 3 Pro Screen Replacement: 29 단계, 이미지 1/1
    • Peel off the tape holding down the webcam cable.

  30. Lenovo Yoga 3 Pro Screen Replacement: 30 단계, 이미지 1/3 Lenovo Yoga 3 Pro Screen Replacement: 30 단계, 이미지 2/3 Lenovo Yoga 3 Pro Screen Replacement: 30 단계, 이미지 3/3
    • Disconnect the two cables connecting the webcam.

    • It may be easier to remove the webcam connector with tweezers.

  31. Lenovo Yoga 3 Pro Screen Replacement: 31 단계, 이미지 1/2 Lenovo Yoga 3 Pro Screen Replacement: 31 단계, 이미지 2/2
    • Carefully unroute the webcam connector from the plastic tabs holding it down.

결론

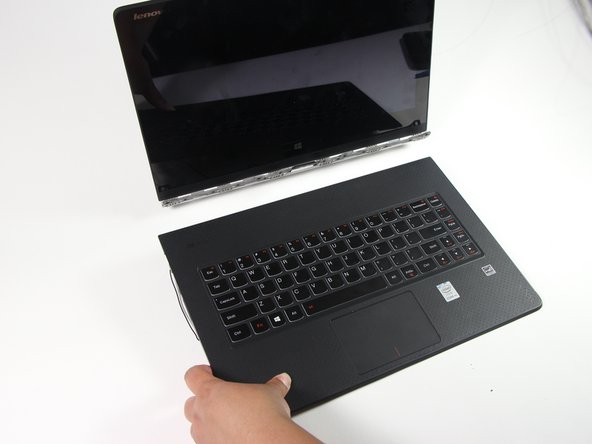
To reassemble your device, follow these instructions in reverse order.

다른 10명이 해당 안내서를 완성하였습니다.

Nathan Lui

회원 가입일: 04/10/17

839 평판

안내서 5개 작성하였습니다

Cal Poly, Team S13-G6, Forte Spring 2017 Cal Poly, Team S13-G6, Forte Spring 2017 회원

CPSU-FORTE-S17S13G6

4 회원들

안내서 12개 작성하였습니다

댓글 4개

Wrong laptop Screen.

it’s not for 900-13ISK2

https://www.microsoft.com/en-us/store/d/...

3 3 - 답글

this is for the 131sk2 not the 131sk ?

i wasn’t aware the was a difference until my screen developed issues. i have read the 131SK is glued to the back panel not clipped in

is there a way to figure this out for sure?

Shawn Thomas - 답글

I can confirm that the monitor on my 900 does not have the strip at the bottom of the screen to expose the screws. I have a video on YouTube here. [|https://youtu.be/mBiChrP6MAA] It shows the issue with the video cable, and that the screen is glued all the way around. Thanks for the rest of the info tho

…. and you REALLY don’t have to take apart the entire MOBO and all the DB’s as well, just to replace the screen. All that is handled on the other side of the hinge. So not needed…. in my opinion. Of course, you DO want to disconnect your battery.

Danny B - 답글

댓글 쓰기

조회 통계:

24 시간 전: 1

7일 전: 12

30일 전: 43

전체 시간: 15,924